To organize your tracks before finalizing a mix, start by ensuring every track is clearly labeled and grouped logically. Use color coding for easy navigation and remove any unused or duplicate tracks to minimize clutter. Balance levels between tracks, focusing on kick and bass placement for a strong foundation. Address any phase and frequency overlaps and check for automation accuracy. Make sure your listening environment is optimized, and consider referencing professional tracks for guidance. Finally, document your mixing decisions and changes. Explore these strategies further to elevate your mixing game even more.
Key Takeaways
- Clearly label all tracks for easy identification and navigation during the mixing process.
- Group similar instruments or vocal tracks together to streamline mixing workflow.
- Utilize color coding to differentiate track categories, such as drums, vocals, and guitars.
- Remove unused or duplicate tracks to minimize clutter and enhance focus.
- Regularly review and solo tracks to identify and address any glitches or unwanted noises.
Preparation and Setup
When you plunge into mixing, having everything in place can make all the difference, both in your focus and productivity. A well-organized workspace setup reduces distractions, allowing you to dive deeper into your creative process.
Start by saving layouts of your preferred window combinations; this way, you can quickly return to a familiar setup for future sessions. Assigning these layouts to function keys helps you access essential tools in a flash, improving your workflow.
Next, focus on organizing tracks logically. Verify all tracks are named correctly, so you can easily navigate through your session. Clear and concise track names save time and prevent frustration during the mixing process. Consistent color coding or grouping similar instruments can further streamline the workflow, making it easier to identify different sections at a glance. Additionally, ensure unused tracks are hidden or deleted to reduce clutter and maintain a clean workspace. Having a solid session preparation checklist for recording not only enhances efficiency but also lets you focus more on the creative aspects of your project.
Consider utilizing hardware controllers, like a fader box, as they enhance your tactile experience, giving you intuitive control over levels and effects.
Track Review and Cleanup
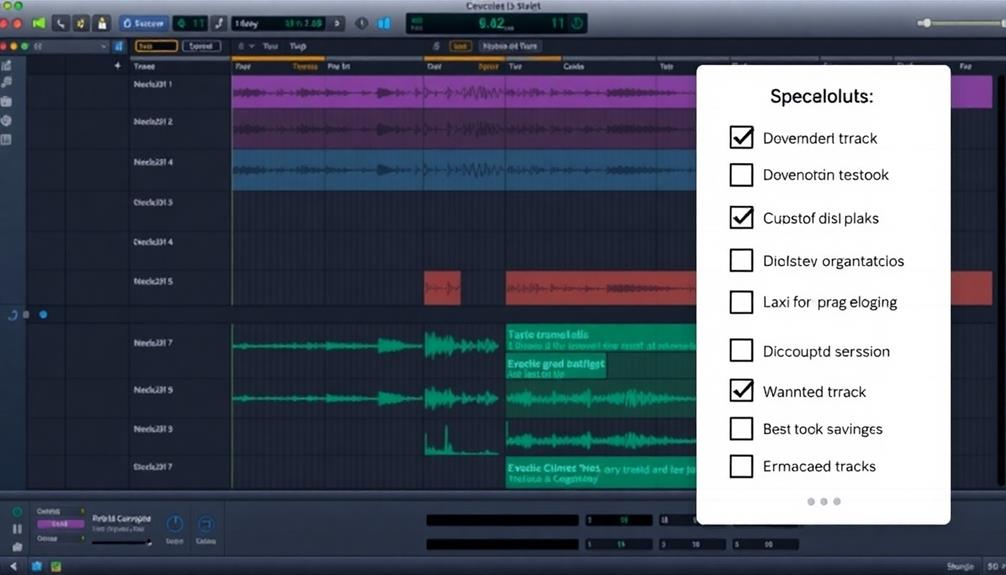
As you review your tracks, start by soloing each one to catch any glitches or unwanted noises that need fixing.
This focused inspection helps you identify and address issues before they become problems in the mix.
Don't forget to mute or archive any unused elements to keep your workspace tidy and efficient.
Solo Track Inspection
Soloing each track in your mix is an essential step for identifying clicks, pops, and unwanted noises that mightn't be noticeable in the full mix. By checking each track individually, you can pinpoint audio clipping and poor recordings, ensuring that every element meets quality standards before diving into the mixing process.
As you solo, pay close attention to automation cuts and alignment issues. These problems often become clear when you focus on one track at a time, allowing you to address any inconsistencies affecting the mix's overall clarity.
This is also an excellent opportunity to assess your sound design decisions. Evaluate how each track contributes to the overall sound, ensuring they enhance rather than detract from the mix.
Furthermore, soloing can help uncover buried elements that may need adjustments or enhancements for better balance and presence. Taking the time to inspect each track this way prepares you for a more polished final mix.
Mute Unused Elements
Cleaning up your mix often starts with muting unused elements. By doing this, you can declutter your mixing session and focus on the essential tracks that truly contribute to the overall sound.
This practice not only improves clarity but also helps maintain headroom, which is vital for a polished final product. Additionally, understanding the importance of a well-structured music production workflow can greatly enhance your mixing process, allowing for a more efficient approach to track management and overall sound quality music production workflow.
Here's a quick checklist to guide you:
- Identify Non-Contributing Elements: Use the mute test to pinpoint tracks that don't add value.
- Solo Tracks: Regularly solo tracks to catch any unwanted noises like clicks or pops that need fixing.
- Archive Unused Takes: If a take doesn't fit, either mute it or archive it to reduce visual clutter.
- Regular Review: Periodically review your tracks to confirm everything in your mix sounds good and serves a purpose.
Level Balancing Techniques
Achieving a well-balanced mix is essential for a polished sound, and it starts with level balancing techniques.
Begin by establishing a relative level balance among your tracks. Make sure no individual track dominates the mix; this preserves the integrity of the overall sound. Aim for your master fader to remain at unity (0 dB) while setting individual track levels between -3 to -6 dB. This will prevent clipping and maintain headroom for further processing.
Next, employ the Mute Test. Mute elements one at a time to evaluate their contribution to the mix. This helps you identify any non-essential tracks that can be removed, enhancing clarity and making your mix sound better.
Adjusting track levels also creates a sense of space, ensuring that each instrument occupies its own frequency range without clashing with others.
Stereo Imaging Strategies
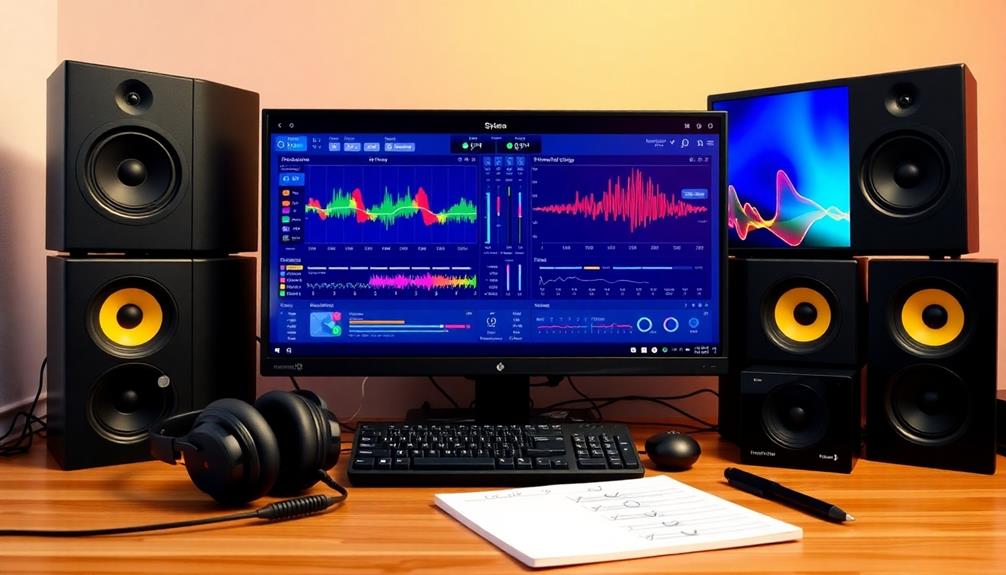
When you're mixing, using pan controls effectively can really shape the stereo field and create a balanced sound.
By slightly positioning instruments away from the edges, you keep the focus while avoiding listener fatigue.
Don't forget about dynamic panning automation, which can add movement and interest to your mix.
Pan Control Techniques
Effective pan control techniques are essential for creating a compelling stereo image in your mix. By strategically positioning your instruments across the stereo soundstage, you can enhance clarity and spatial definition.
Here are some key strategies to reflect upon:
- Slight Off-Center Positioning: Use pan controls to place instruments about 20-30% to one side. This prevents listener fatigue while keeping focus on the main elements.
- Center Low Frequencies: Always keep kick and bass centered. This retains punch and clarity, ensuring a solid foundation for your mix.
- Distribute Higher Frequencies: Spread higher-frequency instruments across the stereo field. This creates a fuller sound and enhances the overall listening experience.
- Automate Panning: Introduce dynamic changes by automating panning throughout the song. This keeps your mix engaging and allows certain elements to shine in different sections.
Dynamic Panning Automation
Dynamic panning automation can transform your mix by allowing real-time adjustments in stereo placement. This technique enhances the spatial experience by moving sounds across the stereo field throughout the track.
By utilizing dynamic panning automation, you create a sense of depth and movement, making your mix feel more engaging—especially during shifts or climactic moments.
Automating pan positions can help avoid frequency masking by clearing space for each element. This way, instruments like guitars or synths can be heard distinctly within the mix. Remember to keep low-frequency elements, such as kick drums and bass, centered to maintain punch and clarity.
To keep your listeners hooked, consider varying the panning positions of certain instruments throughout the song. This adds excitement and dynamic contrast, ensuring your mix sounds good and keeps the audience engaged.
Experiment with subtle shifts in panning to evoke different emotions and highlight various sections of your track. With thoughtful implementation, dynamic panning automation becomes a powerful tool in your mixing arsenal, elevating your sound to new heights.
Phase and Frequency Checks

Identifying phase and frequency issues early in the mixing process is vital for achieving a polished sound. If you ignore these factors, you'll likely end up with a mix that sounds weak or muddied.
Here's a checklist to guide your phase and frequency checks:
- Check for Phase Issues: Use phase metering plugins or switch to mono to spot any out-of-phase waveforms. This can help you avoid weak sounds in your mix.
- Center Low Frequencies: Make sure low frequencies, like kick and bass, are centered in the stereo field. This retains punch and clarity while minimizing phase cancellation.
- Evaluate Frequency Overlaps: Listen for frequency overlaps between instruments. If you boost a frequency in one track, consider cutting it in another to prevent masking and maintain clarity.
- Use Equalization (EQ): Carve out distinct frequency spaces for each instrument. Guarantee all elements occupy their own sonic territory, which will enhance the overall mix.
Solo Track Assessment
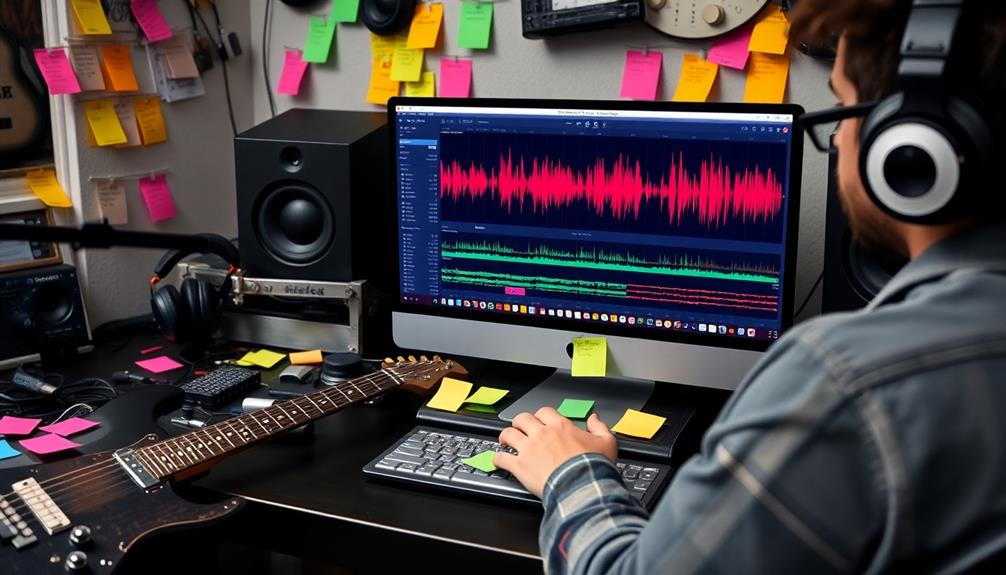
When you solo each track, you can pinpoint unwanted noises like clicks and pops that might get lost in the mix.
It's also vital to check for automation accuracy and guarantee volume levels are consistent, as this boosts clarity.
Identify Unwanted Noises
To effectively pinpoint unwanted noises in your mix, start by soloing each track to isolate its sound. This process allows you to identify any unwanted noise—like clicks, pops, or background hums—that may not be noticeable in the full mix.
Pay special attention to the beginning and end of each track, as this is often where unwanted artifacts or abrupt cuts occur.
Here's a quick checklist to help you identify unwanted noises:
- Listen Closely: Solo each track and focus on any irregular sounds that disrupt the audio.
- Inspect Start/End: Check for abrupt cuts or unwanted artifacts at the start and end of tracks.
- Use Tools: Utilize spectral analysis tools or noise reduction plugins to visualize and eliminate problematic frequencies.
- Check Automation: Verify there are no automation cuts or alignment issues that can cause sudden sound changes.
Check Automation Accuracy
After you've identified unwanted noises, the next step is verifying your automation points are accurate. Solo each track to evaluate the automation settings carefully. Listen for any abrupt changes in volume or effects that might disrupt the mix's flow. Check that all automated parameters, like panning and EQ adjustments, are smooth and enhance the overall sound.
| Parameter | Desired Effect | Adjustment Needed |
|---|---|---|
| Volume | Consistent dynamics | Smooth out volume jumps |
| Panning | Balanced stereo image | Adjust for even spread |
| EQ | Clear tonal definition | Fine-tune frequencies |
As you assess, pay attention to the timing of automated effects. Confirm they sync with the musical elements they support. Document any necessary adjustments to your automation settings; this can greatly improve clarity and maintain the track's emotional impact. By meticulously checking automation accuracy, you set the stage for a polished final mix that truly resonates with your audience.
Optimize Track Clarity
Soloing each track is vital for optimizing track clarity. By listening to each track individually, you can identify and address any unwanted noises, such as clicks or pops, that mightn't be noticeable in the full mix.
This evaluation is essential for guaranteeing that all your tracks sound their best before finalizing the mix.
Here's a quick checklist to help you with your solo track evaluation:
- Identify Noise: Listen for any clicks, pops, or other artifacts that need fixing.
- Check Clipping: Confirm there's no audio clipping and that each recording maintains high fidelity.
- Evaluate Elements: Solo tracks to uncover buried elements, evaluating their contribution and making adjustments to achieve balance.
- Spot Automation Issues: Pay attention to automation cuts and alignment problems, as these can reveal discrepancies that require correction.
Reference Track Comparison
Having a solid reference track can make all the difference in achieving a polished mix. When you compare your mix to a reference track, you can evaluate the overall loudness, confirming your mix stands up to professionally mixed songs. This comparison helps you make certain your track is competitive in volume, which is essential in today's music landscape.
Next, assess the stereo width and panning of your elements against the reference track. This allows you to identify imbalances and enhance the spatial clarity of your mix. Pay attention to the depth and front-to-back placement of sounds in the reference track, as this can greatly improve the three-dimensional quality of your mix.
Moreover, use the reference track to evaluate the tonal balance of your mix. By referencing the frequency distribution in the track, you can pinpoint areas of frequency masking or imbalance that need adjustment.
Ultimately, let the reference track guide your mixing decisions, helping you tweak elements that mightn't translate well compared to established professional standards. This way, you can guarantee your mix achieves the quality and impact you're aiming for.
Listening Environment Considerations
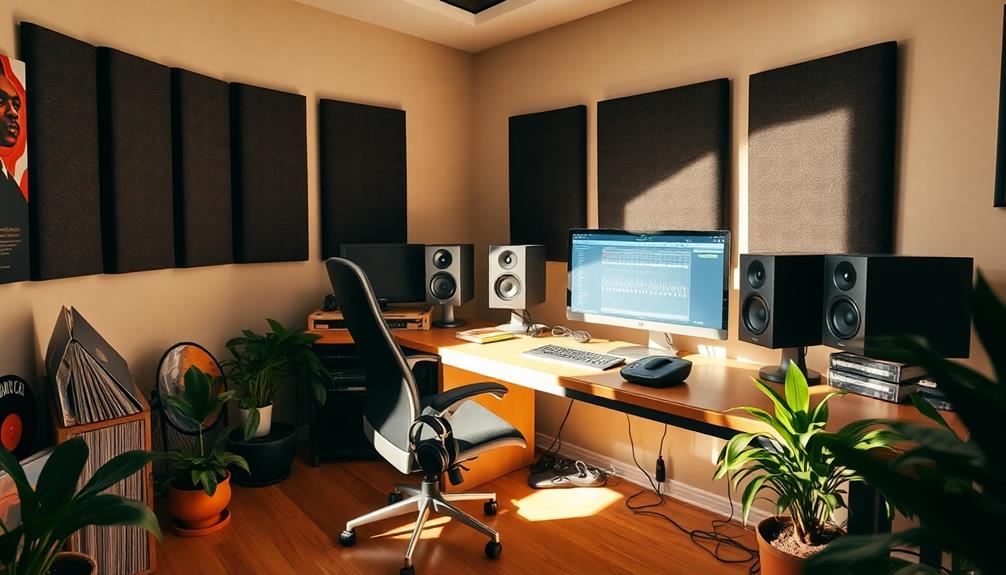
A well-considered listening environment can greatly impact the quality of your mix. To guarantee you're set up for success, focus on the following key aspects:
- Acoustic Treatment: Make sure your space is acoustically treated. This minimizes reflections and standing waves, which can distort your mix perception.
- Monitor Positioning: Use high-quality studio monitors positioned at ear level and arranged in an equilateral triangle. This setup provides an accurate sound representation, essential for critical listening.
- Playback Systems: Regularly check your mix across various playback systems, like headphones, car stereos, and portable speakers. This helps identify any inconsistencies in different listening environments.
- Volume Consistency: Maintain a consistent volume level during your mixing sessions. This practice prevents ear fatigue and allows you to maintain a balanced perspective on your mix's dynamics.
Additionally, don't forget to take breaks during mixing sessions. Giving your ears a rest lets you return with a refreshed perspective, enabling a more accurate evaluation of your mix.
Prioritizing these considerations will help you create a better final product.
Final Touches and Adjustments
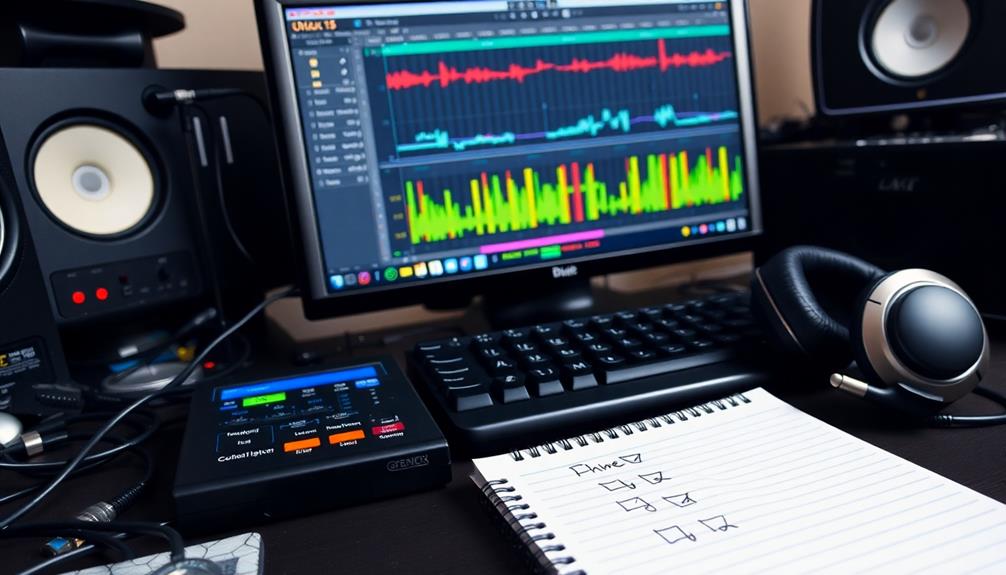
As you approach the final stages of your mix, guarantee you're paying attention to those essential last touches and adjustments that can elevate your track.
Start by inserting 1-2 bars of silence at the beginning and end of your mix. This step prevents cutting off the first note and allows reverb and delay tails to fade out properly, creating a smoother listening experience.
During this phase, continuously tweak levels, EQ, and effects, using automation for precise adjustments. Focus on your kick drum, as it's often the backbone of your mix. Adjust its level to make sure it sits perfectly within the overall sound.
Take breaks to return to the mix with fresh ears; this practice helps you evaluate your work more effectively. It's a good time to establish a clear definition of when your mix is "done." Setting a deadline can keep you focused and prevent endless revisions.
Document any changes you make to maintain a clear record of your decisions and track evolution. Remember, one track can undergo significant transformation with these final touches, so take the time to make sure every element shines.
Documentation and File Management

Effective documentation and file management play an essential role in the mixing process, guaranteeing you can navigate your project with ease. By implementing a structured approach, you can avoid confusion and streamline your workflow.
Here are some key strategies to enhance your organization:
- Backup your session: Store your session in two separate locations to prevent data loss. Save a new version specifically for mix preparation to guarantee a clean slate.
- Use consistent naming conventions: Give your tracks clear and concise names. This practice helps facilitate easy identification and navigation while mixing, making the process smoother.
- Organize audio files: Create subfolders categorized by track type (e.g., drums, guitars). This organization notably improves the mix engineer's workflow and overall session clarity.
- Export audio files properly: Retain the folder structure when exporting audio files. Guarantee the folder is named with the artist, song name, and tempo for better clarity during mixing.
Additionally, include a written document outlining any tempo changes and reference songs used during recording. This documentation provides context and aids in understanding the project, enhancing the mixing process.
Frequently Asked Questions
How to Organize Tracks for Mixing?
To organize tracks for mixing, categorize them logically, use consistent naming, group related tracks, color code for visibility, and create a rough mix. This'll streamline your workflow and enhance clarity during the mixing process.
How to Prepare a Track for Mixing?
To prepare a track for mixing, you should name each track clearly, categorize them logically, solo tracks to check for noise, consolidate audio files, and create a rough mix to guide your mixing process effectively.
How to Finish a Mix?
Think of your mix as a garden. You've nurtured it; now, prune the excess, adjust the sunlight, and listen to nature's whispers. With fresh ears, define "done" and let your masterpiece bloom beautifully.
Conclusion
As you wrap up your mixing journey, remember that a well-organized track is like a well-rehearsed band—everything flows harmoniously. Embrace the art of fine-tuning, and don't shy away from a little extra polish here and there. With your careful attention to detail, you're not just finalizing a mix; you're crafting an experience. So, take a step back, admire your handiwork, and let the music speak for itself. Your masterpiece is just a breath away!

