To make the most of your recording session, you need a solid preparation checklist. Start by ensuring your digital audio workstation is ready, and gather high-quality mics and headphones. Check your instruments for maintenance, and make sure everyone's on the same page about the song structure. Collaborate closely with your engineer to discuss sounds and goals beforehand. After the session, take time to reflect on what went well and what could improve for next time. This checklist sets you up for success, and there's plenty more to discover that can enhance your recording experience even further.
Key Takeaways
- Create a detailed checklist of essential equipment, including microphones, audio interfaces, and studio monitors to ensure a smooth recording session.
- Conduct routine maintenance on instruments, such as changing strings and adjusting intonation, for optimal performance during recording.
- Define the song's structure and tempo to improve communication and cohesion among musicians during the session.
- Collaborate with engineers by sharing reference tracks and pre-production demos to align on sound goals and arrangements.
- Reflect on the session immediately afterward to identify strengths and areas for improvement, documenting insights for future reference.

FIFINE USB Microphone, Metal Condenser Recording Microphone for MAC OS, Windows, Cardioid Laptop Mic for Recording Vocals, Voice Overs, Streaming, Meeting and YouTube Videos-K669B
- Easy Plug-and-Play Setup: Includes 5.9-foot USB cable for quick connection
- Sturdy Metal Construction: Durable design with stable tripod stand
- Adjustable Volume Control: Built-in knob for volume and sensitivity adjustment
As an affiliate, we earn on qualifying purchases.
As an affiliate, we earn on qualifying purchases.
Importance of Preparation
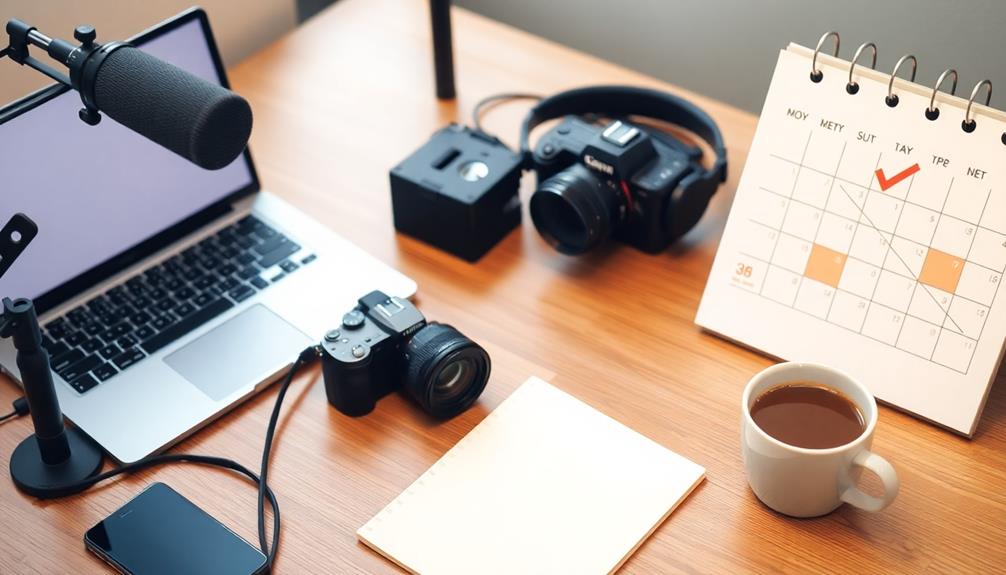
When you take the time to prepare before recording sessions, you set the stage for success. The importance of preparation can't be overstated; it minimizes potential issues that could disrupt your workflow. A well-structured session preparation checklist helps you identify what you need, reducing stress and maximizing productivity during your valuable studio time. Engaging in techniques such as goal setting can further enhance your focus and intention for the recording process.
Arriving well-rested and mentally prepared allows you to focus better, enhancing your creativity and leading to higher quality recordings. Engaging in pre-production activities, such as mapping song tempos and recording demos, guarantees everyone is aligned and ready to collaborate effectively. This shared understanding fosters a positive recording environment, making it easier for all team members to work together.
Preparation isn't just about logistics; it's about creating a space where creativity can flourish. When you recognize the need for thorough preparation, you empower yourself and your team to create outstanding music.
Essential Equipment Checklist
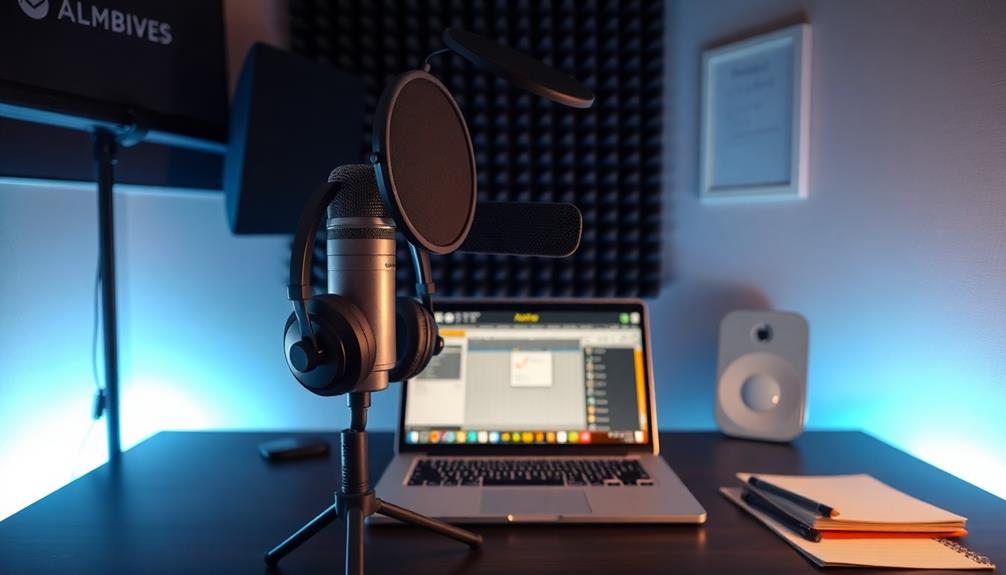
To get the most out of your recording session, you need to have the right gear ready.
Make certain your digital audio workstation is set up, along with high-quality microphones and headphones.
Don't forget to check your instrument cables and storage options to guarantee everything runs smoothly. Regularly evaluating your gear not only helps maintain optimal performance but also extends the lifespan of your equipment. If you’re working in a digital setup, exploring faster plugin load time tips can significantly enhance your workflow, allowing you to focus more on creativity than troubleshooting. Keeping your workspace organized and your tools well-maintained ensures you’re always ready for seamless sessions.
Necessary Recording Gear
Having the right recording gear is fundamental for any successful session. Start with a quality audio interface; it's critical for connecting your instruments and microphones to your computer while ensuring high-fidelity sound capture.
For live recordings or loud instruments, opt for dynamic microphones. They're durable and can handle high sound pressure levels without distorting your sound. Additionally, consider using a projector for visual cues and session notes, as high-resolution images can enhance your setup and keep you focused on your recording goals. This is especially true if you're using a top projector for gaming enthusiasts that can provide clear visuals during intense sessions.
Next, invest in studio monitors. They provide accurate sound reproduction, which is essential for precise mixing and mastering. Make sure to place them in a prime listening position to avoid any sound coloration that could mislead your mixing decisions.
A good set of headphones is also a must. Closed-back designs are recommended for monitoring during recording, as they prevent sound leakage into the microphone, helping you maintain control over your mix.
Lastly, don't overlook cables and stands. They're often the unsung heroes of your setup, necessary for maintaining organization and ensuring reliable connections between all your recording equipment.
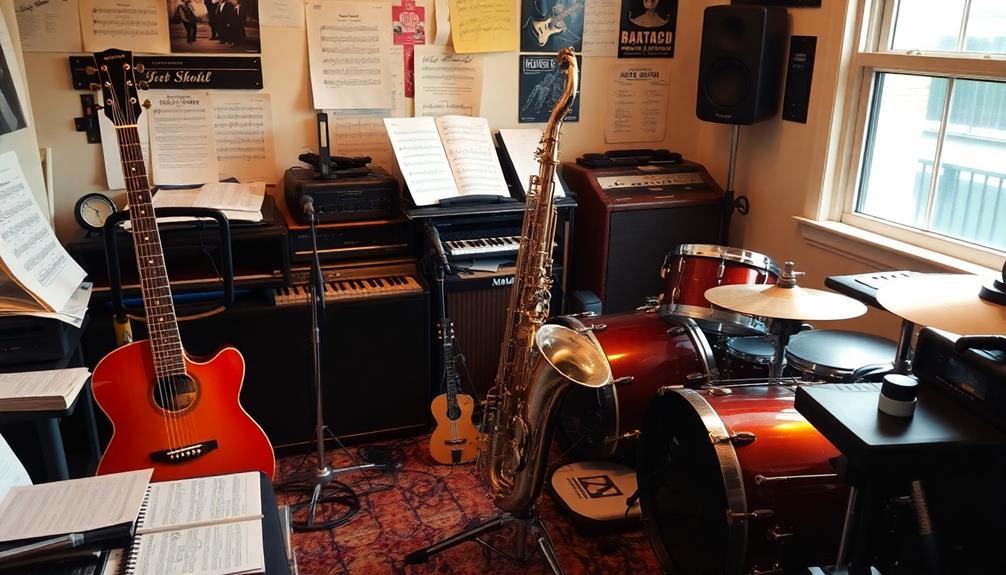
Instrument Maintenance Checklist
An effective instrument maintenance checklist is vital for guaranteeing your gear performs at its finest during recording sessions. First, make certain all instruments are in ideal condition by performing routine maintenance.
For guitars, change the strings and adjust the intonation the night before. This assures freshness and enhances playability during recording. Drummers should re-skin their drum kits the evening prior and acclimate them in the studio overnight to prevent any tuning issues.
Additionally, familiarizing yourself with music production software can enhance your recording experience by allowing for smoother integration of your instruments.
For bassists, make sure to check your instrument's intonation and use new strings. Stretch them before tracking to maintain sound quality and stability. It's essential to have your instruments ready to go, as the last-minute scramble can lead to unnecessary stress and delays.
Additionally, don't forget to bring spare accessories like strings, picks, and batteries for electronic instruments. This precaution helps you avoid disruptions during recording sessions, allowing you to focus on capturing the best sound possible.
Managing Song Structure

Establishing a solid song structure is vital for a successful recording session, guiding musicians through the creative process. When managing song structure, you'll want to define clear sections like intros, verses, choruses, and endings. This clarity helps maintain focus and guarantees everyone is on the same page during studio time.
Before heading to the studio, determine your song's tempo in beats per minute (BPM). This prevents time wastage and promotes a cohesive sound, especially when multiple musicians are involved.
Don't forget to map out any tempo changes and time signatures in advance; doing so provides clarity and helps everyone understand the song's flow and dynamics.
Practicing with a click track is another important step. It enhances timing accuracy, particularly in multi-musician sessions where synchronization is key to achieving a polished final product.
Additionally, clear notation of song section beginnings and shifts will aid in communication during recording. By guaranteeing all musicians are aligned with the intended structure, you set the stage for a smoother, more productive session.
Instrument Readiness
Before your session, make certain your instruments are ready to shine.
Check your drum kit for any necessary maintenance, prepare fresh strings for your guitar, and fine-tune your bass to guarantee everything sounds perfect.
A little preparation goes a long way in making certain your recording runs smoothly.
Drum Kit Maintenance Tips
Keeping your drum kit in top shape is imperative for achieving the best sound during recording sessions. To guarantee ideal sound quality, make sure you re-skin your drum heads the night before. Fresh heads provide better resonance and clarity, which any engineer will appreciate.
Acclimatizing your drum kit in the studio overnight helps prevent tuning issues that arise from temperature and humidity changes. It's a smart move to keep everything sounding consistent.
Don't forget to bring extra drumsticks and accessories like muting rings and Moon Gel, as these can help you tackle any unexpected sound issues that might crop up during recording.
Proper spacing between your drums and cymbals is essential for effective recording and ease of play. Adjust them to find a comfortable setup that enhances your performance.
Guitar String Preparation Steps
Your guitar's sound quality can make or break a recording session, just like a well-maintained drum kit. To guarantee you get the best tone, start by restringing your guitar with fresh, new strings the night before your session. New strings not only provide a vibrant sound but also offer better tuning stability. Choose the appropriate string gauge that suits your style; lighter gauges are easier to bend, while heavier gauges deliver a fuller tone.
Once you've installed the new strings, gently stretch them to prevent them from slipping out of tune during recording. This simple step can save you time and frustration.
Don't forget to check your guitar's intonation by verifying that the note at the 12th fret matches the open string pitch. This assures accurate tuning across the fretboard, which is essential for any recording.
Lastly, keep spare strings, picks, and essential tools like an allen key handy. This way, you're prepared for any issues that may pop up during the session.
Bassist Intonation and Tuning
When preparing for a recording session, verifying your bass guitar is properly tuned and intonated is vital for achieving a harmonious sound. Good intonation means every note you play is in tune across the fretboard, which is significant when you're jamming with other musicians.
To check your bass's intonation, play the 12th fret harmonic and compare it to the fretted note. Here's a quick guide:
| Condition | Action Needed |
|---|---|
| Fretted note is sharp | Adjust the saddle back |
| Fretted note is flat | Move the saddle forward |
| Intonation is good | You're ready to rock! |
Regularly servicing your bass, including checking and adjusting the bridge saddles, helps maintain ideal intonation and playability. Before recording, it's also a good idea to install new strings. They enhance tone and improve intonation stability. Don't forget to stretch the new strings after installation; this reduces tuning issues caused by the strings settling in while you play. Taking these steps guarantees your bass is in top shape, ready to deliver the sound you want during your session.
Collaborating With Engineers

Collaborating effectively with engineers can make all the difference in your recording sessions. To guarantee a seamless experience, follow these four essential steps:
- Share Reference Tracks Early: Send your reference tracks at least a week before the session. This gives engineers time to prepare and understand your desired sound direction.
- Communicate Clearly: Discuss each instrument and arrangement in detail. Clear communication helps the engineer capture the best possible sound during recording.
- Provide Pre-Production Demos: Alongside your reference tracks, include pre-production demos. This helps engineers grasp the overall vibe and identify specific sections that need emphasis or emulation.
- Establish Sound Goals Together: Set sound goals in a One-On-One Meeting. Collaboratively defining these objectives enhances the recording quality and increases satisfaction with the final product.
Don't forget to check in regularly during the recording process. These check-ins allow you to address any immediate concerns and make adjustments, guaranteeing a smoother workflow.
Post-Session Reflection

After wrapping up a recording session, taking time for post-session reflection can greatly enhance your future projects. This vital step allows you to identify strengths and areas for improvement. Reviewing recordings right after the session helps pinpoint technical challenges and artistic choices. It's an important thing to engage with your recording engineer, as their insights can provide valuable feedback.
Consider documenting your thoughts in the table below:
| What Went Well | Areas for Improvement | Next Steps |
|---|---|---|
| Strong vocal take | Adjust tempo map | Plan mixing session |
| Tight rhythm section | Improve mic placement | Discuss mastering options |
| Clear communication | Experiment with effects | Schedule follow-up session |
At the end of the day, having notes creates a reference for future sessions, promoting continuous improvement. Planning for mixing and mastering during your reflection phase guarantees you understand what's next, without the need for guesswork. Aim for clarity in your recordings, targeting the desired beats per minute and maintaining focus on your artistic vision.
Frequently Asked Questions
How Can I Engage Remote Attendees During the Session?
To engage remote attendees, actively involve them through polls, Q&A sessions, and breakout discussions. Encourage participation by asking questions, acknowledging their contributions, and using engaging visuals. Keep the energy up to maintain their interest.
What Should I Do if a Speaker Experiences Technical Difficulties?
If a speaker has technical difficulties, stay calm and reassure attendees. Quickly check connections, offer backup options like phone dial-in, and keep the audience engaged with interactive content while resolving the issue.
Are There Best Practices for Recording the Session?
To guarantee a smooth recording, check your equipment beforehand, use a quiet space, test audio levels, and have backups ready. Encourage speakers to speak clearly and at a steady pace for ideal results.
How Do I Handle Audience Questions in Real-Time?
Handling audience questions in real-time's essential for engagement. Start by inviting curiosity; ask if they've ever faced similar challenges. Acknowledge their input, clarify points, and encourage dialogue to foster a dynamic, interactive atmosphere.
What Follow-Up Actions Are Recommended After the Event?
After the event, you should review feedback, send thank-you notes, and analyze audience engagement. Utilize insights to improve future sessions, follow up on unanswered questions, and share valuable resources with your attendees.
Conclusion
In the world of music, preparation is like tuning an instrument before a performance; it sets the stage for brilliance. By following this session preparation checklist, you're not just ready, you're primed for success. With the right equipment, a clear song structure, and a collaborative spirit, you'll create magic in the studio. Don't forget to reflect afterward, as it's the key to continuous growth. Now, go make some unforgettable music!