
To set up for a professional mix, start by soundproofing your space and ensuring doors seal well to block external noise. Verify your monitors or headphones for accuracy, calibrate your equipment, and organize your workspace with essential tools within reach. Double-check your session setup, load project files correctly, and set proper levels. Pay attention to monitor placement and acoustic treatment for clarity. If you want to learn more about perfecting your pre-mix environment, keep going.
Key Takeaways
- Ensure the soundproof booth is properly sealed and acoustically treated to minimize external noise and reflections.
- Calibrate monitors or headphones using reference tracks or calibration tools for accurate sound reproduction.
- Organize your workspace by clearing clutter and keeping essential tools within easy reach.
- Verify project files, routing, and levels to prevent clipping and ensure proper gain staging.
- Confirm all equipment, including MIDI controllers and hardware, is correctly set up and functioning.
Are you ready to guarantee a smooth pre-mix process? Before diving into your mixing session, it’s essential to have a solid setup checklist in place. Starting with your environment, ensure your soundproof booth is properly prepared. A soundproof booth minimizes external noise and prevents sound leakage, creating an ideal environment for your mixing work. Check that the doors seal tightly and that there are no gaps or cracks that could compromise sound isolation. Inside, verify that your acoustic treatment is effective—foam panels or bass traps should be strategically placed to reduce reflections and echo. This setup guarantees you hear your mix accurately, without outside interference skewing your assessments.
Ensure your soundproof booth is sealed and acoustically treated for accurate, interference-free mixing.
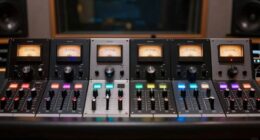
Next, focus on your equipment calibration. Proper calibration is vital to achieving a balanced and professional sound. Begin by checking your monitors or headphones—make sure they are functioning correctly and calibrated to deliver accurate frequency response. Use calibration tools or reference tracks to ensure your monitors are at the correct levels and in phase. Don’t forget to verify your audio interface settings, ensuring sample rate and bit depth are set correctly to match your project specifications. Consistent calibration across your equipment guarantees that your mix translates well across different playback systems. Additionally, consider the importance of soundproofing in preventing external noise from affecting your work. Proper room acoustics also help ensure your listening environment remains consistent throughout your sessions. Incorporating acoustic treatment can further enhance your setup by controlling reflections and reverberations. Ensuring your monitor placement is optimal can significantly improve your ability to make accurate mixing decisions. Paying attention to monitor calibration can also help maintain a consistent sound environment.
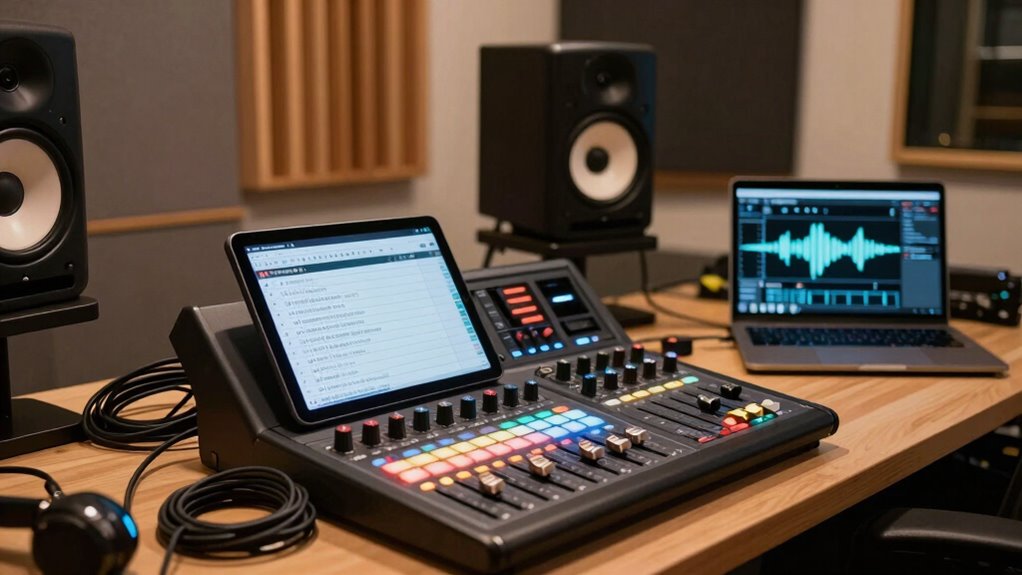
Organize your workspace meticulously. Clear your desk of unnecessary clutter, and have all your essential tools within reach—your DAW, plugins, reference tracks, and any hardware controllers. Confirm that your computer is running efficiently, with enough processing power and storage space to handle your project without crashes or lag. Update your software and plugins beforehand, so you avoid interruptions during your session. Set up your MIDI controllers and other hardware, ensuring they’re connected correctly and configured properly within your DAW. Proper workspace organization helps maintain focus and efficiency during your mixing process.
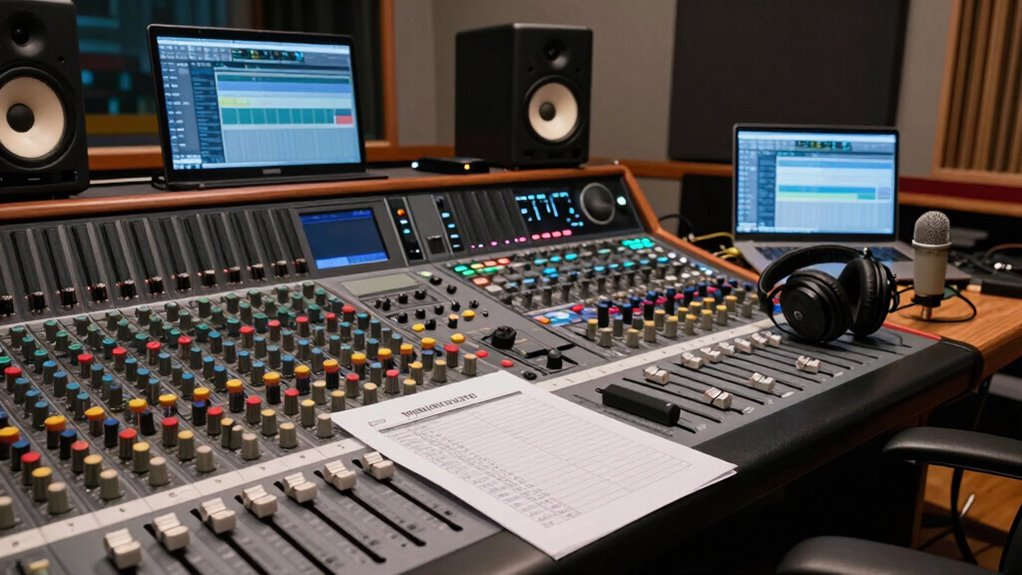
Finally, double-check your session setup. Load your project files and verify all tracks are correctly labeled and routed. Confirm that your levels are set appropriately—nothing is clipping, and your gain staging is consistent throughout. Create a backup of your session to prevent data loss. This preemptive step saves you time if anything unexpected happens during your mix. By following this checklist—preparing your soundproof booth, calibrating your equipment, organizing your workspace, and confirming your session setup—you set yourself up for a seamless pre-mix process, reducing stress and maximizing your creative flow.
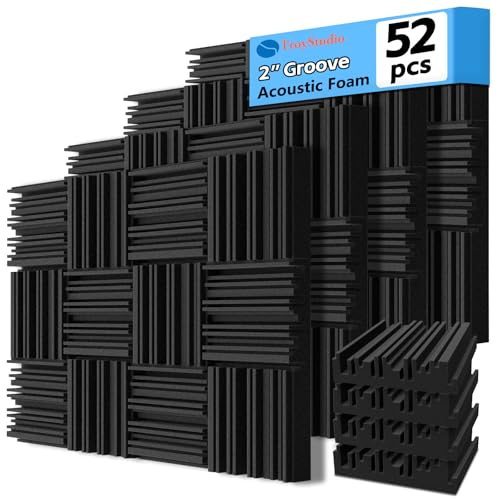
TroyStudio Thick Acoustic Foam Panels, 12 X 12 X 2 Inch 52 Pcs Broadband Sound Absorbing Foam, Dense Soundproof Padding Tile, Recording Studio Foam Absorber, Groove Decorative 3D Wall Ceiling Panel
- Size and Quantity: 12x12x2 inches, 52 panels
- Coverage Area: 52 square feet
- Material: High-density polyurethane foam
As an affiliate, we earn on qualifying purchases.
As an affiliate, we earn on qualifying purchases.
Frequently Asked Questions
How Often Should I Update My Pre-Mix Setup Checklist?
You should update your pre-mix setup checklist whenever you make changes to your equipment calibration or acoustic treatment. Regular updates guarantee your setup stays accurate and consistent, especially after installing new gear or modifying your studio environment. Ideally, review it at least quarterly or after significant adjustments. Keeping the checklist current helps you catch potential issues early, ensuring your mixes sound their best every time.
What Tools Are Essential for a Pre-Mix Setup?
Ever wondered what tools are essential for a pre-mix setup? You’ll need soundproofing essentials like quality door seals and bass traps, along with acoustic treatment panels to control reflections. A reliable audio interface, studio monitors, and a good set of headphones are crucial for accurate monitoring. Don’t forget calibration tools to guarantee everything’s aligned, creating an environment where your mixes translate perfectly. These tools set the foundation for professional results.
How Do I Customize the Checklist for Different Projects?
You customize your checklist by creating project-specific templates that suit each project’s unique needs. Start with a general template, then make genre-based adjustments to address distinct elements like instrumentation, effects, or mixing techniques. Review your project’s requirements early and tweak the checklist accordingly, ensuring all relevant steps are covered. This approach helps streamline your workflow and keeps your pre-mix setup tailored to each project’s style and scope.
What Are Common Mistakes to Avoid During Pre-Mix Setup?
In the age of dial-up internet, avoid common pre-mix setup mistakes like neglecting studio ergonomics and acoustic treatment. You might overlook proper speaker placement or forget to calibrate monitors, leading to inaccurate mixes. Always double-check your workspace to make certain of comfort and sound clarity. Ignoring these details can cause issues later, wasting time and resources. Stay attentive to your environment, and you’ll set a solid foundation for a successful mix.
How Can I Streamline the Pre-Mix Process for Efficiency?
To streamline your pre-mix process, focus on sound optimization and equipment calibration upfront. Take time to calibrate your gear properly, ensuring accurate sound reproduction. Use templates and preset configurations to save time on setup. Organize your session, label tracks clearly, and set predefined levels and effects. This approach minimizes adjustments during the mix, helping you work more efficiently and achieve consistent, high-quality results quickly.
Conclusion
By following this pre-mix setup checklist, you’re laying a solid foundation for your project, like a master architect designing a sturdy blueprint. It guarantees every element is in its rightful place, reducing surprises and boosting your confidence. Remember, preparation isn’t just a step—it’s the compass guiding your creative voyage. With this checklist in hand, you’re ready to navigate the mixing process smoothly, turning raw ideas into polished soundscapes that resonate long after the final note fades.