To route outboard gear through hardware inserts without feedback, you need to carefully set up your signal chain. Send the track’s output to your external gear via a dedicated output on your interface, then return the processed signal to a separate input. Make certain your DAW’s routing is clear, avoiding loops that could cause squealing. Always check levels and use proper gain staging. Keep things aligned properly, and you’ll prevent feedback and noise—continue exploring for detailed setup tips.
Key Takeaways
- Use dedicated insert points and proper output/input routing to prevent signal loops.
- Confirm external gear output is not fed back into its input to avoid feedback.
- Utilize DAW’s bus channels or routing matrix for clear signal flow management.
- Keep levels low during setup, gradually increasing to prevent loud feedback or distortion.
- Document connections and label cables to easily troubleshoot and ensure correct routing.
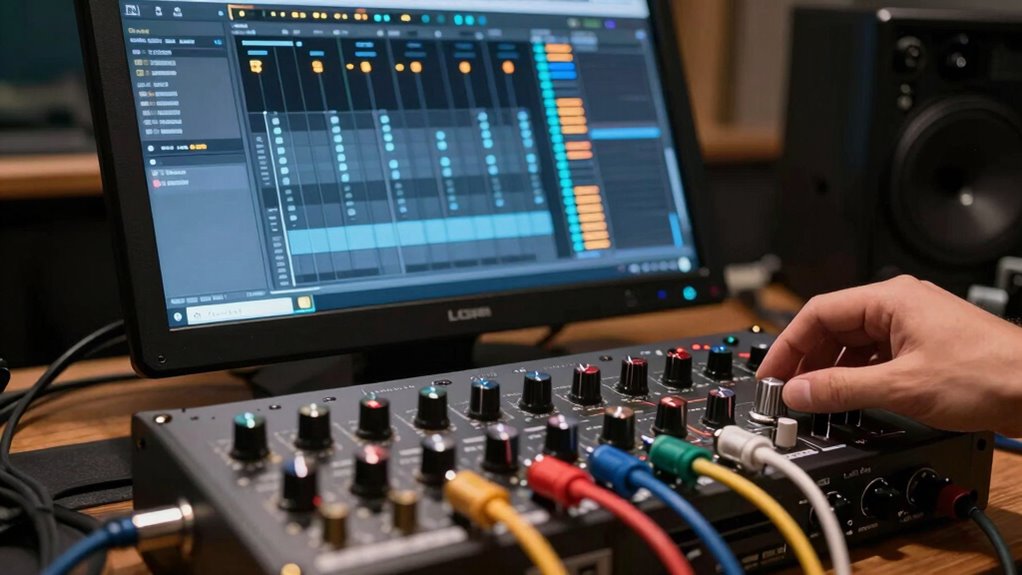
When working in a digital audio workstation (DAW), hardware inserts allow you to connect external gear directly into your signal chain, giving you more tactile control over your sound. This setup enables you to incorporate outboard gear like compressors, EQs, or effects pedals seamlessly into your workflow. However, smooth signal routing is essential to avoid issues like unwanted noise or feedback loops, which can derail your session. Properly managing your signal path ensures your external gear enhances your sound without introducing problems.
To implement hardware inserts effectively, you need to understand how to route signals correctly. Typically, your DAW provides dedicated insert points where you can send a track’s signal out to an external device and bring it back in after processing. This involves setting up an audio interface with multiple outputs and inputs, so you can send the signal out to your outboard gear and then return the processed signal into your DAW. When doing so, always verify that your output and input routing are correctly assigned to prevent any accidental signal bleed or feedback.
Use your DAW’s dedicated insert points and an audio interface to route signals properly for external gear.
Feedback prevention is critical when working with hardware inserts. If the signal loop isn’t carefully managed, it can cause a feedback loop, which results in a loud, unpleasant squeal. To avoid this, double-check your signal chain before engaging the hardware. Make sure you’re not sending the output of the external device back into the same input that’s already receiving the processed signal. Many DAWs allow you to create dedicated bus channels or use specific routing matrices to keep the signal flow clear, reducing the risk of feedback.
Another tip is to keep the signal levels in check. Excessively high levels can lead to distortion or feedback, especially when connecting hardware that isn’t calibrated for line-level input. Use your interface’s gain controls and monitor levels carefully. Start with low levels, gradually increase until you reach the desired sound, and always listen attentively for any signs of feedback or distortion. Incorporate safety measures such as muting or bypassing hardware during setup adjustments to avoid sudden loud noises. Additionally, understanding signal flow principles can greatly improve your routing accuracy and prevent common pitfalls.
Finally, documenting your signal routing setup can save you headaches later. Keep track of which outputs and inputs connect to your external gear, and label your cables accordingly. This way, troubleshooting becomes easier if you encounter issues down the line. When done correctly, hardware inserts will give you a tactile, dynamic way to shape your sound while maintaining clean signal routing and preventing feedback. This approach enhances your creative control and delivers professional-quality results in your mixes.
Frequently Asked Questions
Can Hardware Inserts Be Automated Within a DAW?
Yes, you can automate hardware inserts within a DAW. You simply enable automation control for the insert, allowing you to dynamically adjust parameters like plugin emulation settings or hardware routing. This way, you can creatively shape your sound over time, automating hardware effects or outboard gear without feedback issues. Just make sure your routing is correctly configured and automation lanes are enabled for seamless control.
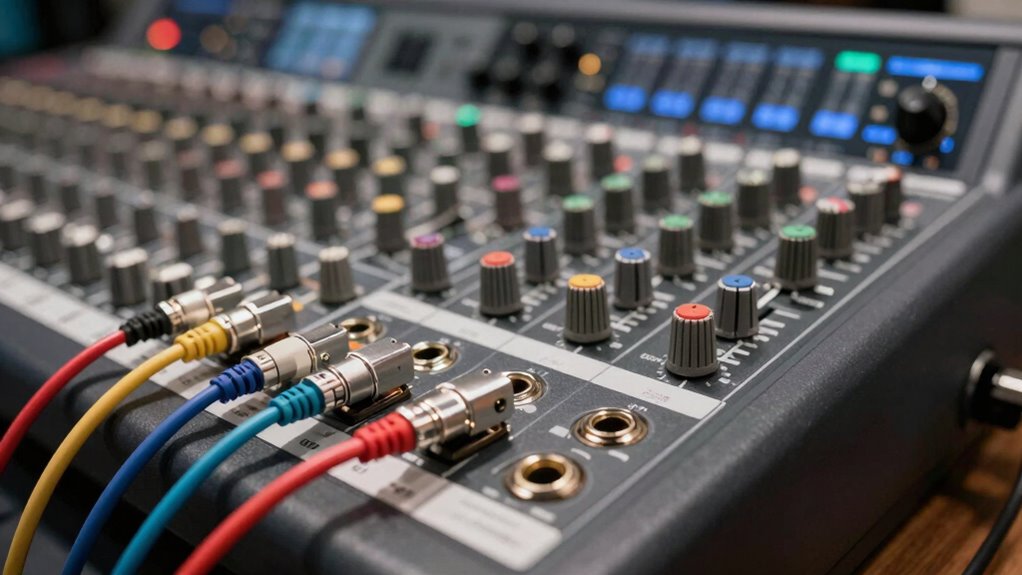
What Are the Best Cables for Hardware Inserts?
You need the absolute best cables for hardware inserts—nothing less than gold-plated, balanced TRS or XLR cables! These cable types guarantee top connection quality, preventing noise and avoiding that dreaded feedback loop. Investing in high-quality cables transforms your outboard gear into a seamless extension of your DAW, delivering crystal-clear audio every time. Don’t settle for cheap cables; your sound deserves the highest connection quality for professional results.
How Do I Troubleshoot Feedback Issues With Hardware Inserts?
To troubleshoot feedback issues with hardware inserts, start by checking your routing to avoid creating feedback loops. Make certain your cables are correctly connected, with no accidental loops forming. Use troubleshooting techniques like temporarily disconnecting outboard gear to identify problem sources. Adjust levels carefully, and verify that your DAW sends and receives signals properly. If feedback persists, reconfigure your signal chain to maintain isolation and prevent loop creation.
Are There Latency Concerns With Hardware Inserts?
Latency can be a concern with hardware inserts, but you can minimize it through latency optimization. By adjusting buffer sizes and prioritizing hardware synchronization, you guarantee real-time performance. Using low-latency drivers and optimizing your DAW’s settings helps reduce delay. Keep your outboard gear and interface synchronized, and monitor your system’s performance. This way, you achieve seamless integration without noticeable latency, maintaining your workflow’s efficiency and sound quality.
Can I Use Multiple Hardware Inserts Simultaneously?
Yes, you can use multiple hardware inserts simultaneously by setting up parallel routing or insert chaining. You’ll route your signals through multiple outboard gear, then blend the processed and dry signals to avoid feedback. This setup allows you to apply multiple effects without overloading your system or causing feedback loops. Just guarantee each insert is properly routed and gain-staged to maintain clarity and prevent unwanted noise.
Conclusion
Now that you know how to route outboard gear without creating feedback, are you ready to take your mixes to the next level? Remember, using hardware inserts wisely lets you blend analog warmth with digital precision seamlessly. Don’t settle for just one; experiment and find what inspires you most. After all, isn’t the true power of a DAW in how creatively you can integrate all your tools? Keep exploring and pushing your boundaries.