To mix like a legend, start by creating a customized mixing template that suits your style. This template should include dedicated tracks for each instrument and pre-defined effects chains to speed up your workflow. Incorporate multiple drum tracks for nuanced mic placements and separate tracks for lead and backing vocals. Make sure to customize your workspace for quick access to essential tools. Streamlining your setup reduces setup time and promotes consistency, which is key to achieving that pro-level sound. Stick around, and you'll discover even more tips and techniques to elevate your mixing game.
Key Takeaways
- Create dedicated tracks for each instrument, including multiple drum and vocal tracks, for enhanced clarity and control in your mix.
- Implement pre-defined effects chains for quick access to essential plugins, streamlining your mixing process and saving time.
- Customize your workspace by adjusting display settings and transport bar for improved visibility and efficiency during mixing sessions.
- Set up low latency mode and appropriate sample rates to ensure real-time performance and maintain sound quality throughout your project.
- Use smart features in your DAW for flexible routing options and effective layering, achieving a more dynamic and professional sound.

Template Mixing and Mastering: The Ultimate Guide to Achieving a Professional Sound
As an affiliate, we earn on qualifying purchases.
As an affiliate, we earn on qualifying purchases.
Importance of a Mixing Template

Why waste time on tedious setup when a mixing template can jumpstart your mixing process? By implementing a mixing template, you can dive straight into mixing without getting bogged down by routing and track configuration. This streamlined approach allows you to start using your creativity immediately, greatly reducing your mixing time.
A well-designed template includes ready-to-use effects chains and routing setups tailored for specific genres or instruments. This means you can easily accommodate various tracks like vocals, drums, bass, and guitars, ensuring all elements are at your fingertips when you need them.
Plus, customizable settings within the template let you adjust the workflow according to your preferences, enhancing both efficiency and creativity.
Another key benefit is the consistency that a mixing template promotes across different projects. You'll achieve a professional sound and maintain high quality no matter the session.
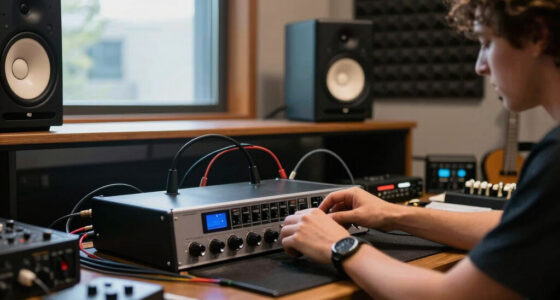
Essential Track Configurations
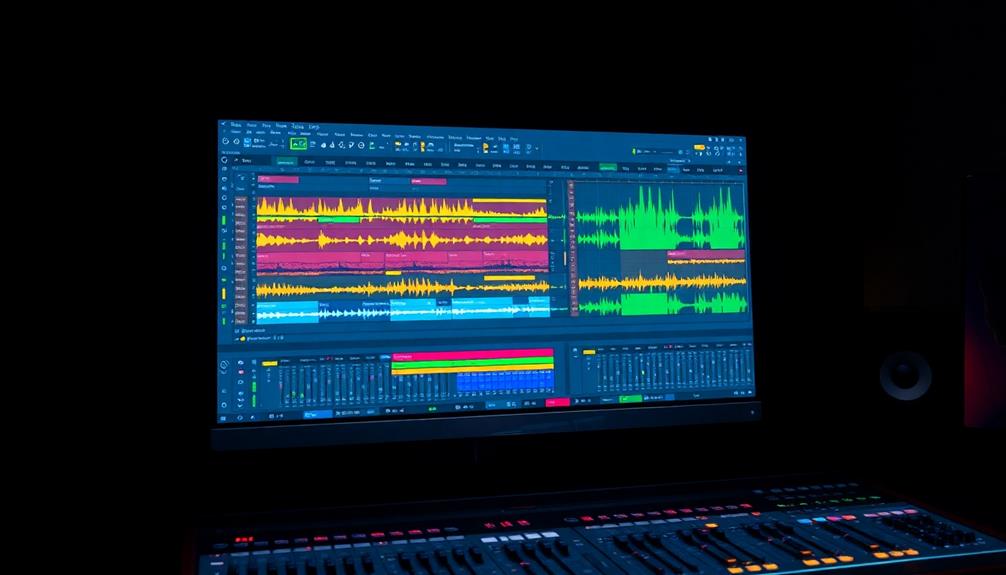
When crafting a professional mix, having essential track configurations in place is crucial for achieving a polished sound. Start by dedicating tracks for each instrument, like drums, bass, guitars, and vocals. This organization not only promotes a balanced mix but also allows for easy access during the mixing process.
For drums, consider incorporating multiple tracks for mic placements—like kick in, kick out, and additional overheads. This setup provides a richer, more nuanced drum sound, greatly enhancing your mix's quality.
Don't forget to include separate tracks for various vocal types—lead, backing, harmonies, and gang vocals. This arrangement facilitates effective layering and processing, leading to a more refined final product.
Utilizing pre-defined effects chains within your template can speed up your workflow, giving you instant access to commonly used plugins and settings tailored to your genre.
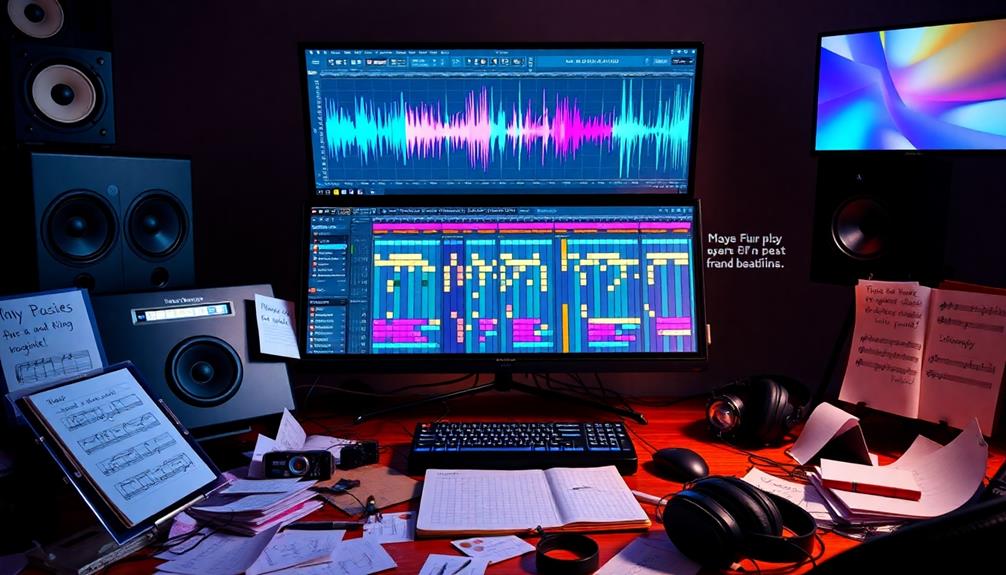
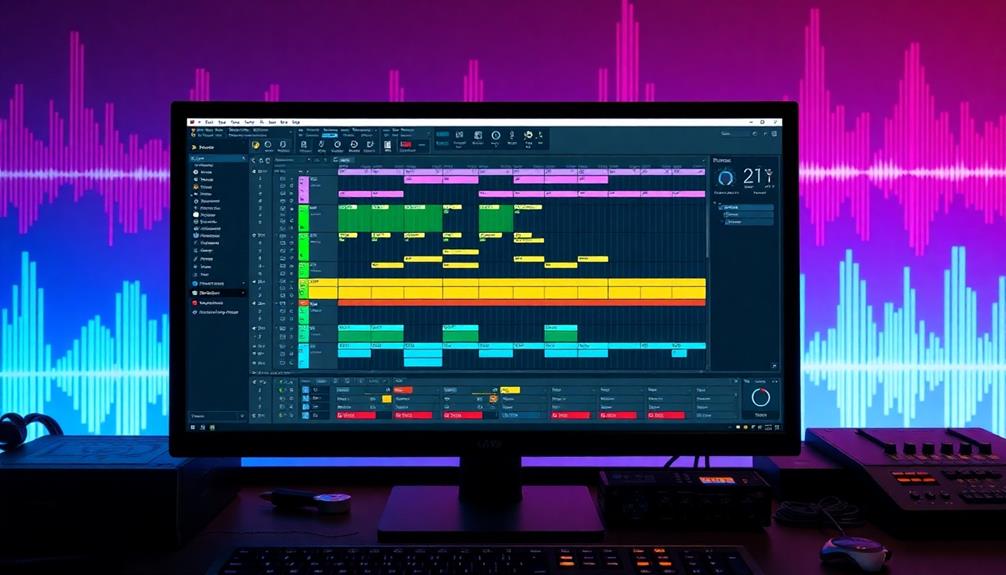
Customizing Your Workspace

Customizing your workspace can transform your mixing experience, making it more efficient and tailored to your needs. In Logic, you can right-click on the transport bar to access a popup menu with various display settings. This feature allows you to adjust your view to better fit your specific workflow. By setting the display to "Custom," you can show or hide vital elements like transport controls, timing, and markers, optimizing your workspace for peak performance.
Moreover, enabling low latency mode in the transport bar settings is essential during recording sessions, as it enhances real-time performance. Adjusting the sample rate within your project settings is another key aspect; while the standard is usually set to 48 kHz, feel free to modify it based on your project requirements.
Customizing the control and transport bar not only provides quick access to vital tools but also greatly enhances your overall workflow. By prioritizing the elements that matter most to you, you'll streamline the mixing process, making it easier to focus on crafting your perfect sound.
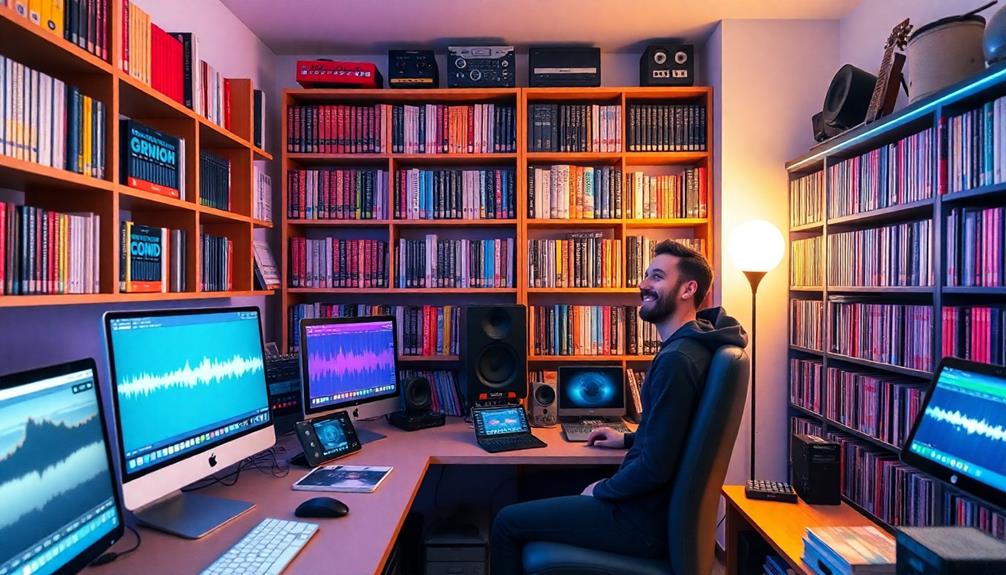
Streamlining Your Workflow
Streamlining your workflow can greatly enhance your mixing sessions, allowing you to focus on creativity rather than technical details. One effective way to achieve this is by utilizing a pre-configured mixing template. This lets you dive straight into your project without wasting time on setup, giving you instant session readiness. A well-designed template ensures that your go-to plugins, routing, and track organization are already in place, saving you valuable time and reducing decision fatigue. Many producers create session templates for all genres, enabling them to switch seamlessly between projects, whether they’re mixing a pop track, a cinematic score, or a hip-hop beat. By investing some effort upfront in customizing templates to suit your style, you’ll set the stage for smoother, more efficient mixing sessions every time.
You can even use Logic's customizable control and transport bar to tailor the display settings to your specific needs, which boosts visibility and accessibility. Setting up multiple tracks for drum mics, like kick in and kick out, provides flexibility in capturing diverse sounds and makes the mixing process more efficient.
Additionally, integrating pre-defined effects chains in your template can drastically cut down on mixing time by offering ready-to-go settings that require minimal adjustments.
Don't overlook Logic's smart features for sample rate adjustments; they guarantee peak performance and sound quality.
Enhancing Sound Design Techniques
To truly elevate your mixing game, enhancing your sound design techniques is essential. By incorporating strategic methods, you'll achieve a richer, more dynamic mix. Here are some tips to help you follow along:
- Utilize Multiple Mic Placements: For drum tracks, consider using kick in, kick out, and additional mics. This captures a fuller sound, improving your overall mix.
- Diversify Instrument Tracks: Use a mix of acoustic and electric guitars, bass, and strings. This enriches your sound palette and gives you more options during the mixing process.
- Pre-Configured Effects Chains: Streamline your processing by employing effects chains in your mixing template. This can greatly reduce your mixing time, letting you focus on sound design.
- Customize Your DAW Settings: Tailor your DAW's settings to fit your workflow. This enhances productivity and makes your sound design process more efficient.
Frequently Asked Questions
How to Create a Mixing Template?
To create a mixing template, start a new project in your DAW, customize your control bar, set tracks for instruments and vocals, pre-configure routing, and save it for quick access and consistency in future sessions.
How to Make a Template in Pro Tools?
To create a Pro Tools template, you'll start a new session, add tracks, customize settings, and save it. Think of it as setting up your personal time machine for efficient mixing in future projects!
Conclusion
By crafting your perfect mixing template, you're not just organizing tracks; you're painting a vibrant soundscape where every note dances in harmony. Imagine your workspace as a well-tuned orchestra, each instrument ready to swell and soar. With your streamlined workflow, you'll release creativity like a painter splashing colors on canvas, turning raw sounds into a masterpiece. So, immerse yourself, tweak those settings, and watch your tracks transform into pro-level productions that captivate and resonate.