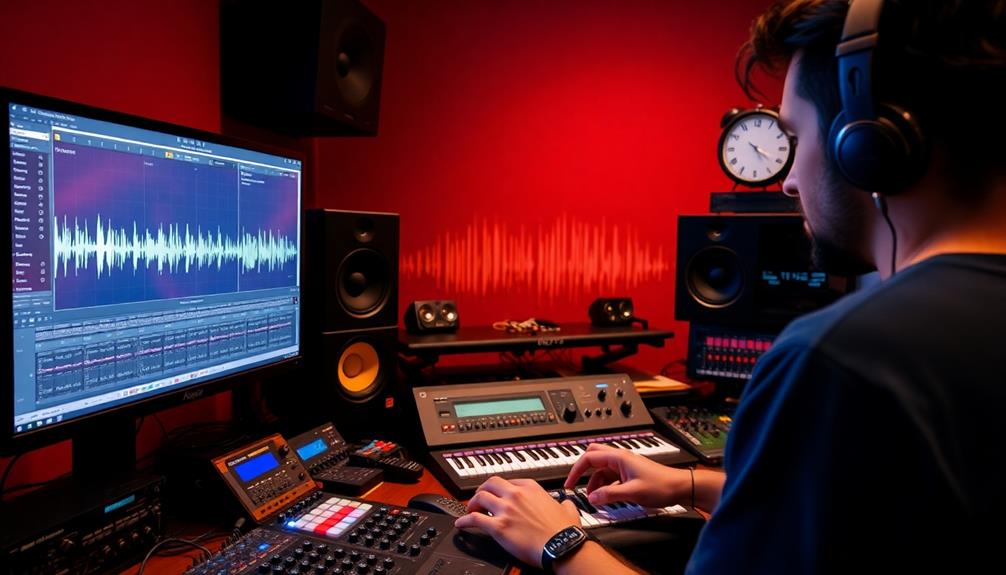
You can elevate your music production experience by optimizing Ableton Live for low latency. Start by adjusting your buffer size in the Audio Preferences—aim for 128 or 256 samples for a balance between performance and stability. Utilize ASIO drivers to minimize delay and regularly update your audio interface drivers. It's also essential to manage your sample rates and disable unnecessary plugins that can hog CPU resources. Implementing these steps will greatly reduce lag, giving you a smoother creative flow. There's plenty more to explore to guarantee your setup runs flawlessly!
Key Takeaways
- Adjust buffer size in Ableton Live's Preferences, targeting 128 or 256 samples for a balance between low latency and CPU performance.
- Utilize ASIO drivers on Windows to directly access audio hardware, significantly lowering latency during audio processing.
- Regularly assess and optimize sample rates, with 48 kHz being a standard choice to maintain performance without excessive CPU demands.
- Freeze and flatten tracks to manage device and plug-in latency, ensuring audio synchronization and reducing delay compensation issues.
- Keep your computer's specifications above Ableton Live's requirements and maintain at least 20% free disk space to prevent audio dropouts.
Understanding Audio Latency
When you're making music in Ableton Live, understanding audio latency is essential, as it directly impacts your performance. Latency refers to the delay between your input—like triggering a MIDI note—and hearing the audio output. This delay can be divided into input latency, which affects how quickly recorded sounds playback, and output latency, which impacts the time it takes to hear sounds from virtual instruments.
To manage latency effectively, you need to pay attention to buffer size. A higher buffer size can help prevent audio dropouts but will increase latency, while a lower buffer size can reduce latency at the risk of overloading your CPU.
Typically, musicians aim for latency below 10 milliseconds for a seamless experience, while latencies between 10 ms and 20 ms can still be manageable for live performances.
Regularly updating your audio drivers and optimizing your audio settings in Ableton Live can help mitigate latency issues. By understanding these factors, you can make informed adjustments that enhance your overall performance and keep your creative flow uninterrupted.
Reducing Audio Interface Latency
To reduce audio interface latency, you should start by adjusting your latency settings in Ableton Live's Preferences under Audio.
If you're on a Windows system, utilizing ASIO drivers can greatly enhance performance and lower latency.
Don't forget to regularly assess your system's performance to find the right balance between low latency and stable audio processing.
Adjust Latency Settings
Adjusting latency settings is essential for achieving ideal performance in Ableton Live, especially when you're aiming for low latency during recordings or live performances.
Start by accessing Live's Preferences and finding your way to the Audio tab. Here, you can modify your buffer sizes to find a balance between low latency and CPU performance. Lowering the buffer size will help reduce latency, but be mindful that it can also increase CPU load. Choose a size that aligns with your system's capabilities to prevent glitches.
If you're not recording externally, set the Audio Input Device to 'No device' to further lower latency during playback.
Regularly monitor and adjust your buffer size and sample rates, as higher sample rates can indeed reduce latency but may also strain your CPU resources.
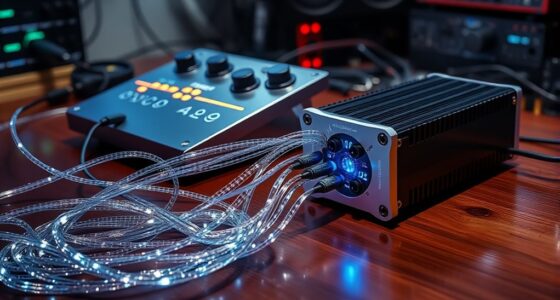
If you're using a dedicated audio interface, make certain it's optimized for your workflow to achieve the best results.
Utilize ASIO Drivers
Using ASIO drivers is a game-changer for reducing audio interface latency in Ableton Live.
These Audio Stream Input/Output drivers are specifically designed for Windows systems, allowing you to access your audio hardware directly. This bypasses the overhead of standard Windows audio drivers, resulting in considerably lower latency, often below 10 milliseconds—ideal for both production and live performances.
To optimize your setup, follow these steps:
- Install the Latest ASIO Drivers: Check your audio interface manufacturer's website for the latest ASIO drivers and updates.
- Select Your ASIO Driver in Ableton Live: Head to Preferences, then the Audio tab, and choose your ASIO driver from the dropdown menu.
- Adjust Buffer Size: Lower your buffer size for reduced latency, but be cautious not to set it too low, as it may cause audio dropouts.
- Optimize Performance Settings: Disable unnecessary background applications and services to guarantee your CPU is focused on audio processing.
Optimizing Buffer Size
When optimizing buffer size in Ableton Live, you need to strike a balance between low latency and CPU performance.
Smaller buffer sizes can reduce latency, but they might also lead to audio dropouts if your CPU struggles to keep up.
Experimenting with different settings helps you find the sweet spot for stable audio output while maintaining responsiveness.
Effects of Buffer Size
Buffer size plays an essential role in your audio production experience, directly affecting latency and system performance. Choosing the right buffer can be the difference between a smooth session and frustrating dropouts.
Here's how buffer size impacts your workflow:
- Latency: Smaller buffer sizes (32-128 samples) reduce latency, making your recordings feel more immediate.
- CPU Load: Lower buffer sizes increase CPU load, which could lead to audio dropouts if your system can't handle it.
- Performance Stability: Larger buffer sizes (512-2048 samples) stabilize performance but come at the cost of higher latency, making them less ideal for live recording.
- Optimal Settings: A buffer size of 128 or 256 samples strikes a balance between low latency and manageable CPU performance for most scenarios.
To find your ideal setting, start with a higher buffer size and gradually decrease it while testing for audio stability.
Regularly assess your CPU load and adjust as necessary to maintain audio quality without introducing unwanted latency. Monitoring these factors will help you optimize your experience in Ableton Live, ensuring that you can focus on your creativity rather than technical issues.
Balancing Latency and CPU
Finding the right balance between latency and CPU load is vital in optimizing your Ableton Live experience. Lowering the buffer size reduces latency, which is the delay between your input and the sound output. However, this comes at the cost of increased CPU power usage, so you need to strike a balance that maintains performance without causing audio dropouts. A buffer size of 128 or 256 samples often achieves low latency while keeping CPU usage in check.
Regularly monitor your CPU performance as you adjust buffer sizes. Smaller buffer sizes can lead to more strain on your system, resulting in crackling or dropouts, especially when using multiple MIDI instruments. If you encounter these issues, incrementally increasing the buffer size can help stabilize audio output.
Experimenting with various buffer sizes is important since the best setting varies based on your project's complexity and your computer's capabilities.
Take the time to test different configurations to find what works best for you. By effectively balancing latency and CPU load, you'll enjoy a smoother, more responsive Ableton Live experience without compromising audio quality.
Adjusting for Performance Stability
Optimizing your buffer size is key to achieving performance stability in Ableton Live. A proper buffer size can help you strike the right balance between low latency and stable audio output. Here's how to adjust your settings effectively:
- Start with a moderate buffer size: Begin with settings around 256 or 512 samples to guarantee a smooth experience.
- Monitor CPU usage: Keep an eye on your CPU load while experimenting with lower buffer sizes. This is vital, especially when using multiple MIDI instruments or demanding plugins.
- Gradually decrease the buffer size: Test audio output as you reduce the buffer size to find the sweet spot that minimizes latency without causing audio dropouts.
- Adjust based on project complexity: Regularly evaluate your buffer size depending on the demands of your project, as higher settings like 1024 or 2048 samples can stabilize performance but might introduce noticeable latency.
Managing Sample Rates
Managing sample rates effectively is vital for achieving low latency in your Ableton Live setup. Higher sample rates, like 96 kHz or 192 kHz, allow for more samples per second, which can greatly reduce latency during audio processing.
However, keep in mind that increasing the sample rate demands more CPU processing power and system resources. It's important to balance these factors to prevent performance issues such as audio dropouts.
Experiment with different sample rates to find the best setting for your specific workflow and hardware. Common ranges from 44.1 kHz to 96 kHz can offer varying benefits. A sample rate of 48 kHz is often a standard choice in many professional audio applications, providing a solid compromise between audio quality and resource usage.
While utilizing higher sample rates can enhance audio reproduction and clarity, always monitor your CPU load to avoid high latency and potential dropouts.
Ultimately, the goal is to maintain a stable and efficient setup, allowing you to focus on creativity without getting bogged down by technical issues. Choose wisely, and you'll enjoy smoother performance in your music production endeavors.
Device and Plug-in Latency
Device and plug-in latency can considerably impact your Ableton Live experience, making it essential to keep this in check for a seamless workflow.
Here are some strategies to manage latency effectively:
- Freeze and Flatten Tracks: For any tracks using latency-inducing devices, freeze and flatten them while ensuring that delay compensation is active. This maintains audio synchronization without compromising your project's integrity.
- Monitor Plugins: Regularly check for plugins that inherently introduce latency. Some may add significant delays during processing, affecting your overall performance and workflow.
- Close Unused Windows: Close Max for Live editor windows when they're not in use. Open interfaces can contribute to additional latency, slowing you down.
- Optimize Audio Interface Settings: Assess and optimize your audio interface settings and plugin configurations to achieve the lowest possible latency while maintaining audio quality.
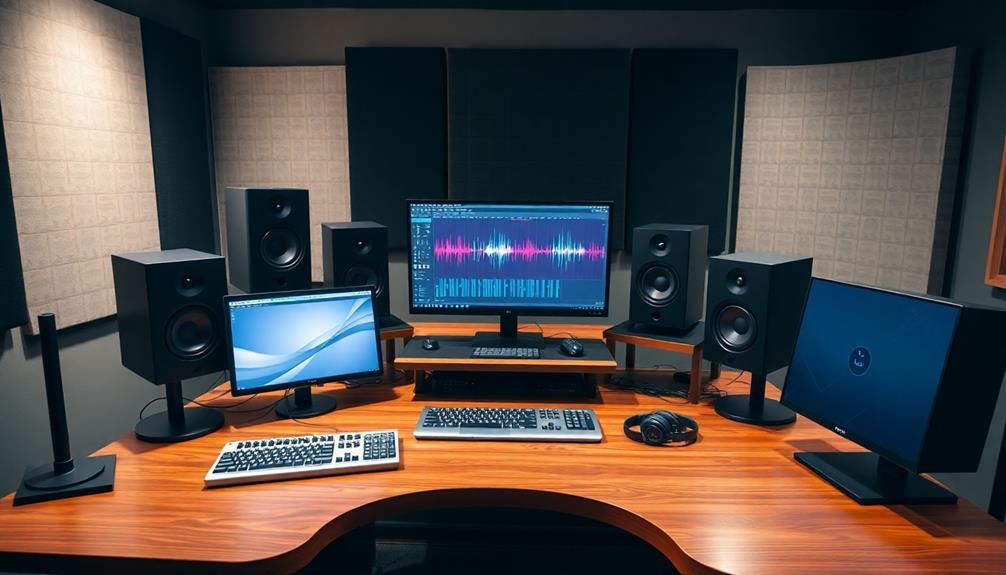
Recommended Audio Setup Practices
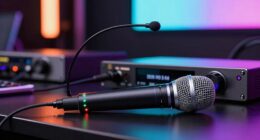
To achieve the best performance in Ableton Live, focusing on your audio setup is just as important as managing device and plug-in latency. Start by utilizing a dedicated audio interface with native drivers. This guarantees better audio quality and helps lower the latency during both performance and recording. Avoid Bluetooth or wireless audio streaming devices, as they often increase latency compared to cabled connections like USB, Firewire, or Thunderbolt.
Regularly check and update your audio interface drivers and software to maintain peak performance and compatibility with Ableton Live. Additionally, when you're not recording externally, set the Audio Input Device to 'No device'. This simple step minimizes latency and streamlines processing.
Here's a quick reference table for your audio setup:
| Practice | Benefit |
|---|---|
| Use a dedicated audio interface | Better quality, lower latency |
| Avoid Bluetooth devices | Reduced latency |
| Set Audio Input to 'No device' | Minimizes processing latency |
Consult Ableton's resources and community forums for further guidance on enhancing your audio setup and troubleshooting latency issues effectively.
Minimizing MIDI Latency

To minimize MIDI latency in Ableton Live, you'll want to focus on adjusting your hardware latency settings and optimizing your buffer size.
Setting your buffer size to 128 or 256 samples can strike a balance between low latency and CPU performance. This range is especially useful for tasks like live recording or real-time processing, where minimal delay is crucial. Finding the optimal buffer size for speed ensures a smooth workflow without overloading your computer’s processing capability. However, adjustments might still be necessary depending on the complexity of your project and the power of your hardware setup.
Additionally, fine-tuning these settings can lead to a more responsive workflow and an overall smoother experience.
Hardware Latency Adjustments
While optimizing your setup for low-latency performance in Ableton Live, adjusting hardware latency settings is essential for minimizing MIDI latency.
Start by accessing the Audio Preferences to fine-tune your hardware latency settings. Typically, settings around 128 or 256 samples strike a good balance for low latency performance.
Here are some key adjustments you can make:
- Use a Dedicated Audio Interface: This offers better drivers and considerably reduces MIDI latency compared to standard sound cards.
- Disable Monitor Function: When recording, turning off the Monitor function can lead to a more responsive experience by cutting down latency.
- Monitor CPU Load: As you lower buffer sizes, keep an eye on your CPU performance to avoid dropouts that can disrupt your workflow.
- Consult Hardware Documentation: Regularly review the specifics of your equipment to fine-tune settings and experiment with various values for the best configuration.
Buffer Size Optimization
Adjusting buffer size is essential for minimizing MIDI latency in your Ableton Live setup, as it directly impacts the responsiveness of your audio processing. To achieve the finest performance, consider starting with a buffer size of 128 or 256 samples. These settings strike a balance between low latency and CPU performance for most setups.
Keep in mind that smaller buffer sizes can lead to audio dropouts, so always monitor your CPU load when making adjustments. Here's a quick reference table to guide you through buffer size enhancement:
| Buffer Size (Samples) | Latency (ms) | Recommended Use |
|---|---|---|
| 32 | 0.75 | Ideal for live performance |
| 128 | 3.0 | Good for MIDI recording |
| 512 | 11.6 | Suitable for mixing |
| 2048 | 46.4 | Best for heavy processing |
Experiment with different buffer sizes and regularly monitor your performance. By adjusting settings incrementally, you'll find the best configuration for minimal latency in your music production with Ableton Live.
System Performance Optimization
A well-tuned computer is essential for optimizing Ableton Live's performance and minimizing latency issues. To achieve effective system performance optimization, follow these vital steps:
- Meet System Requirements: Confirm your computer meets or exceeds Ableton Live's recommended specifications for smooth operation.
- Update Plugins: Regularly update all plugins to enhance compatibility and eliminate inefficiencies caused by outdated software.
- Free Disk Space: Maintain at least 20% free disk space. This helps your system run efficiently and reduces the chances of audio dropouts during performances.
- Monitor CPU Usage: Keep a close eye on your CPU usage, especially when using multiple MIDI instruments. High usage can lead to performance drops and increased latency.
Additionally, consider reducing the buffer size for improved responsiveness.
If you're still facing issues, think about offloading processing tasks by using a dedicated computer for tracks and another for MIDI.
By following these tips, you can greatly enhance your setup, guaranteeing a smoother experience while creating and performing in Ableton Live.
Fixing Audio Crackling Issues
Audio crackling can disrupt your creative flow in Ableton Live, making it vital to address this issue promptly. Start by checking your buffer size; if it's set to 32 samples, incrementally increase it while monitoring CPU usage. You might find that a buffer size of up to 2048 samples stabilizes your audio output, allowing for smoother playback.
Additionally, just as regular cleaning is vital for peak performance of air purifiers, maintaining your audio setup can help prevent performance issues.
Another effective method is to freeze or flatten tracks. This converts MIDI to audio, reducing the processing load and alleviating crackling during playback. Also, keep an eye on background applications consuming CPU resources, as they can contribute to performance issues and crackling sounds.
Don't forget to verify your audio drivers are up to date. Outdated drivers can lead to compatibility problems, causing unwanted audio artifacts during your sessions.
Enhancing Live Performance Efficiency
Efficiency during live performances can make or break your set, so it's vital to optimize your workflow in Ableton Live. You can enhance your live performance efficiency by implementing a few key strategies that focus on latency monitoring and overall performance stability.
- Organize and Label Tracks: Clear track organization allows you to navigate swiftly and make quick adjustments, guaranteeing smooth shifts between songs in your live set.
- Utilize Reduced Latency Monitoring: This option gives you better responsiveness and immediate feedback, which is essential for maintaining the flow during your performance.
- Freeze Unused Tracks: By freezing tracks you're not actively using, you conserve CPU resources. This guarantees that your performance remains stable, even when multiple instruments and effects are in play.
- Implement Backup Strategies: Always record your performance set and explore alternative playback methods. This protects you against potential crashes that could disrupt your live show.
Frequently Asked Questions
How Do I Get Lowest Latency in Ableton?
To achieve the lowest latency in Ableton, lower your buffer size, use ASIO drivers, disable monitoring while recording, and freeze tracks with heavy plugins. Always monitor your CPU to prevent dropouts during sessions.
How Do I Optimize Ableton for Live Performance?
To optimize Ableton for live performance, organize your tracks, freeze unused ones, and use reduced latency monitoring. Leverage session view for smooth changes, and always back up your set to prevent unexpected crashes.
Why Is Ableton Live so Slow?
Ableton Live can feel slow due to high buffer sizes, CPU-intensive plugins, or running multiple MIDI instruments. Background applications and insufficient resources, like low disk space, also contribute to sluggish performance and audio dropouts.
Will a Better Audio Interface Reduce Latency?
Yes, a better audio interface will reduce latency. By using high-quality interfaces with native drivers and ASIO support, you'll experience real-time monitoring and improved sound quality, enhancing your overall recording and playback experience.
Conclusion
By optimizing your setup, you can achieve impressively low latency levels—often under 5 milliseconds! This can make a huge difference in your live performances and studio sessions. Remember, even small adjustments in buffer size and sample rates can lead to smoother playback and recording. Don't forget to regularly check your system performance and update your plugins. Say goodbye to lag, and release your creativity with a responsive Ableton Live experience!