
To perform live gain staging, start by placing microphones correctly—close enough for clarity but away from feedback sources like monitors. Set your channel gains low and gradually increase until you hear clear sound without distortion or squeals. Keep mics away from reflective surfaces, and consider directional mics for better focus. Make small adjustments during setup to find the most suitable balance. Continue exploring these steps to master a professional soundcheck and prevent feedback issues effectively.

Get audio and creator gear delivered free — and shop member deals
- Fast, free delivery on millions of items
- Access to Prime Big Deal Days deals on October 6–7
- Prime Video, Amazon Music and more included
Key Takeaways
- Start with low channel gains and gradually increase until the source is clear without distortion.
- Position microphones close to the source, avoiding proximity effect and feedback-prone areas.
- Monitor for feedback signs like squeals, then adjust microphone placement or gain accordingly.
- Keep microphones away from monitors and reflective surfaces to minimize noise and feedback risk.
- Fine-tune gain levels to establish a stable, clean baseline before adjusting EQ and other settings.
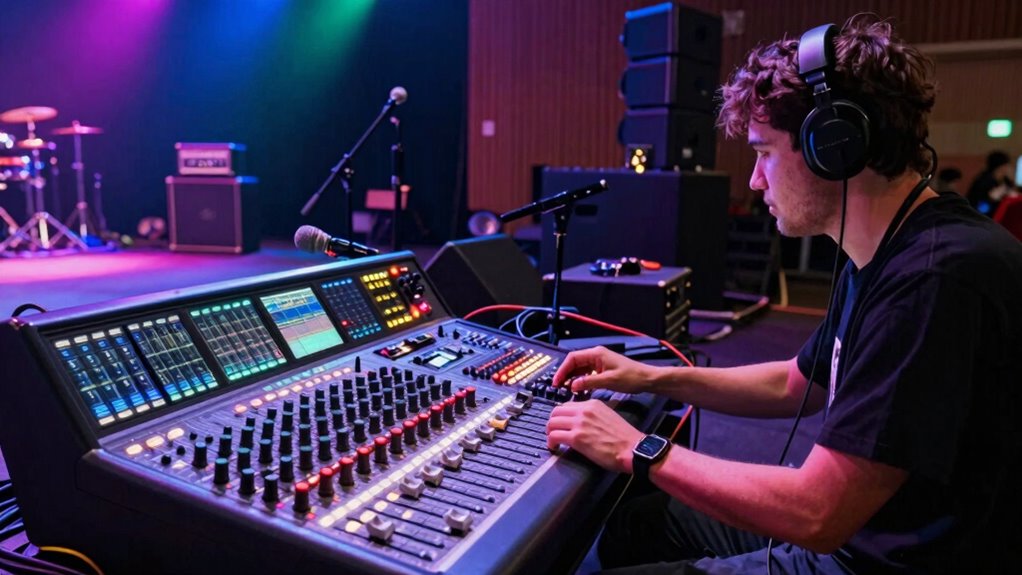
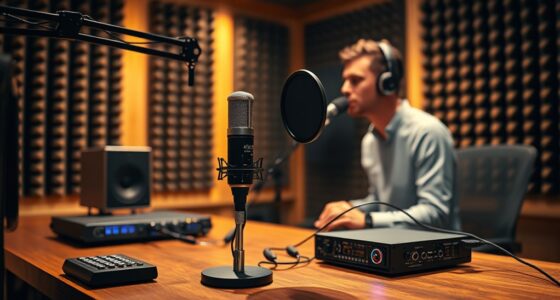
Live gain staging is a essential step in ensuring your live sound setup delivers clear, balanced audio without distortion. It begins with proper microphone placement, which is fundamental for capturing the best sound while minimizing issues like feedback. When positioning microphones, you want to place them close enough to the source to pick up the desired sound clearly, but not so close that they cause proximity effect or feedback. For vocals, keep the mic at a consistent distance—about 6 to 12 inches—aimed directly at the mouth, and avoid pointing it at monitors or reflective surfaces that can introduce unwanted noise or cause feedback. For instruments, position the mics where they naturally sound best, ensuring they’re not too close or too distant. The goal is to achieve a clean, focused sound that’s easy to control during the gain staging process.
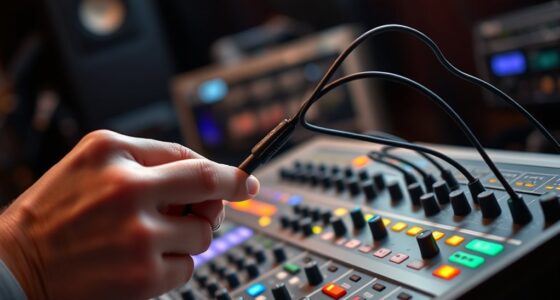
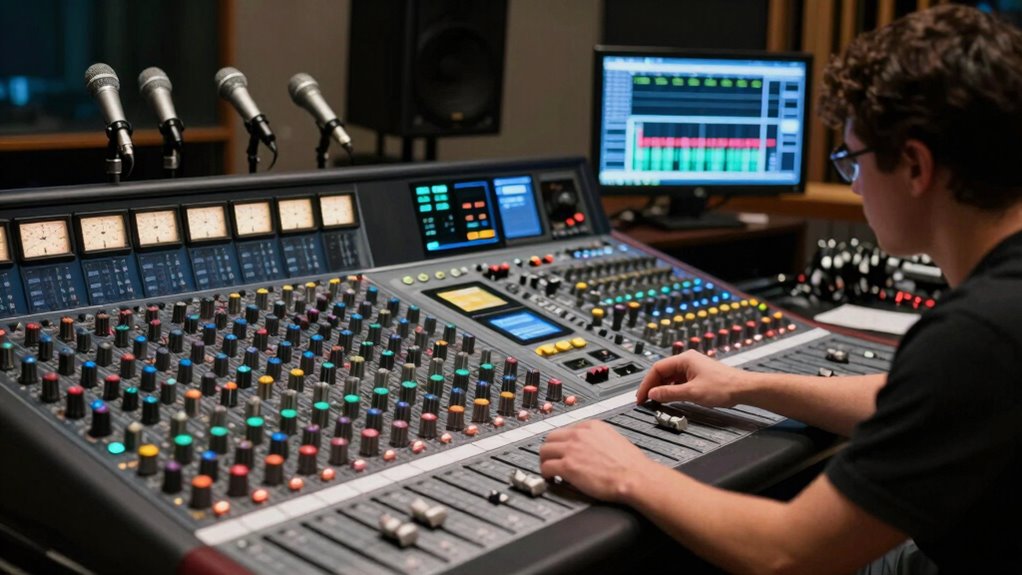
Once your microphones are properly placed, the next step is to set your initial gain levels. Start by setting your channel gains to a low setting, then gradually increase each until you begin to hear the source clearly without distortion. As you do this, pay close attention to the microphone placement, because improper positioning can cause feedback issues or an uneven sound. If you notice any squeals or howling, it’s a sign to adjust your microphone placement or reduce the gain slightly. Feedback prevention hinges on this careful positioning—keeping microphones away from monitors and other sound sources that could cause the sound to loop back into the mic. Use directional microphones when possible, as they help focus on the intended source and reject off-axis noise, making feedback less likely. Additionally, understanding the principles of gain structure can help you optimize your levels for the best sound quality.
As you continue, keep an ear out for any signs of distortion or feedback and make small adjustments to both gain and microphone placement as needed. Your goal is to find that sweet spot where the sound is loud enough without risking feedback or distortion. Once the gain levels are set, you can fine-tune the EQ and other settings to enhance clarity and balance across the mix. Remember, proper microphone placement is the foundation of feedback prevention and clean gain staging. By taking your time to position mics correctly and carefully setting your gain levels, you lay the groundwork for a smooth, professional live sound experience that’s both powerful and clear.
As an affiliate, we earn on qualifying purchases.
Frequently Asked Questions
How Often Should I Perform a Gain Stage Check During a Gig?
You should perform a gain stage check at least once during each gig, especially if there are changes in stage monitoring or performer dynamics. Regularly calibrate your volume levels to guarantee consistent sound quality and prevent distortion. Keep an eye on stage monitoring; if performers move or their levels shift, rechecking gain staging helps maintain clarity. Frequent checks ensure your sound stays balanced and professional throughout the performance.
What Equipment Is Essential for Effective Gain Staging?
For effective gain staging, you need a quality microphone, proper microphone placement, and reliable cables with good cable management. Use a mixer with clean gain controls and a trustworthy level meter to monitor signals. Proper microphone placement minimizes feedback and noise, while cable management keeps your setup organized and reduces interference. These essentials guarantee clear sound, easy adjustments, and smooth soundchecks throughout your gig.
How Do I Troubleshoot Feedback Issues Related to Gain Settings?
To troubleshoot feedback issues related to gain settings, start by reducing the gain slightly and listen for feedback suppression. Adjust the gain gradually, ensuring it’s not set too high, which often causes feedback. Use EQ to cut problematic frequencies, and reposition microphones or speakers if needed. Always double-check your gain adjustment to maintain clean sound and prevent feedback, making small tweaks until feedback stops while preserving sound quality.
Can Gain Staging Improve Overall Live Sound Quality Significantly?
Yes, gain staging can substantially improve your live sound quality. When you properly calibrate your audio, you guarantee ideal signal clarity and reduce noise. By setting your gain levels correctly, you prevent feedback and distortion, resulting in a cleaner, more balanced mix. Good audio calibration through proper gain staging makes your overall sound clearer and more professional, enhancing the listening experience for your audience.
What Are Common Mistakes to Avoid in Live Gain Staging?
Avoid incorrect gain settings and poor cable management, or you’ll jeopardize your sound quality. Don’t rush through gain staging—mistakes here can cause unexpected feedback or noise. Keep your levels balanced, check all cables for secure connections, and stay attentive to every adjustment. Overlooking these details might seem minor, but they can dramatically degrade your live sound. Stay vigilant, and you’ll guarantee a cleaner, more professional performance every time.
Conclusion
Mastering live gain staging guarantees your sound remains clear and balanced, even in unpredictable environments. While some might think it’s unnecessary or time-consuming, taking these steps actually saves you time during soundchecks and prevents unwanted noise or distortion. By paying attention to your gain structure, you’ll deliver a professional, polished performance that impresses your audience and keeps your sound consistent. Ultimately, investing in proper gain staging elevates your entire live mix, making every performance seamless.
Halloween Picks
halloween
As an affiliate, we earn on qualifying purchases.