
To stop CPU strain, start by monitoring your usage with Task Manager or Activity Monitor. Close unnecessary background applications to free up resources and adjust your DAW settings, like buffer size, to manage load without causing latency. Use simpler plugin presets and bypass unused modules to save power. Don't forget to deactivate or freeze unused tracks and effects. Consider lowering your sample rate to cut CPU usage considerably. By regularly auditing your projects and optimizing settings, you can enhance performance and keep creative flow intact. There's plenty more to explore for maximizing your system's efficiency!
Key Takeaways
- Use simpler modes or presets in plugins and disable oversampling to significantly reduce CPU usage.
- Bypass unused modules instead of disabling entire plugins to conserve CPU resources efficiently.
- Freeze or bounce resource-intensive tracks to convert them to audio, freeing up CPU power.
- Apply effects to a bus track rather than individual tracks to minimize overall CPU load during mixing.
- Regularly audit your plugin usage and deactivate or remove unnecessary plugins to maintain efficient CPU allocation.
Understanding CPU Usage

When you immerse yourself in music production, understanding CPU usage is vital to keeping your system running smoothly. CPU usage indicates how much processing power your applications draw, with idle usage typically between 1% and 20%. However, when engaging in intensive tasks, like using multiple plugins during playback, it can soar above 80%. This surge can lead to frustrating issues, such as crackling sounds or playback glitches.
To guarantee a seamless experience, regularly monitor your CPU usage using tools like Task Manager or Activity Monitor. You'll find that background applications can greatly impact your performance. Non-audio processes often consume valuable CPU resources, so it's important to identify and close any unnecessary apps running in the background.
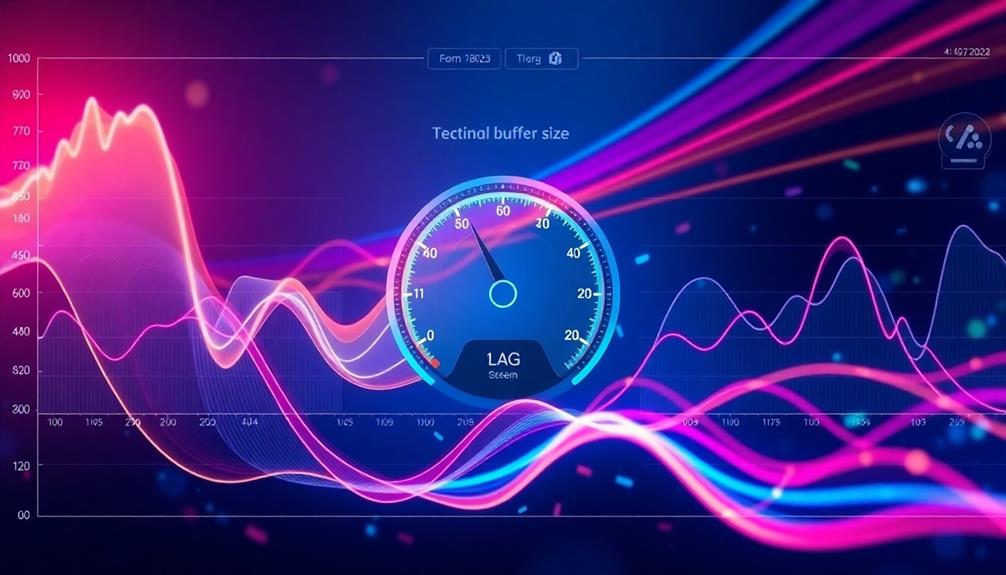
Efficiently managing your CPU usage involves tweaking settings like buffer sizes and sample rates. Increasing the buffer size can help reduce CPU load but may introduce latency, so finding the right balance for your specific tasks is essential.
Identifying CPU Strain in DAWs

Identifying CPU strain in your digital audio workstation (DAW) is essential for maintaining ideal performance during music production. When your CPU load spikes above 80%, you may experience slowdowns, particularly when using multiple instances of resource-heavy plugins like Kontakt.
To pinpoint the source of the strain, utilize monitoring tools such as Task Manager on Windows or Activity Monitor on Mac. These tools can help you see which applications or processes are consuming significant CPU resources.
You might notice that high CPU consumption issues often arise when you exceed three instances of one plug-in. This highlights the importance of effective resource management strategies.
Additionally, be aware that background applications, inefficient software, and outdated drivers can exacerbate CPU strain, leading to unexpected performance drops.
To alleviate some of this strain, consider adjusting your buffer size settings within the DAW. Larger buffer sizes can ease CPU load, although they may increase latency during live performances.
Monitoring CPU Performance

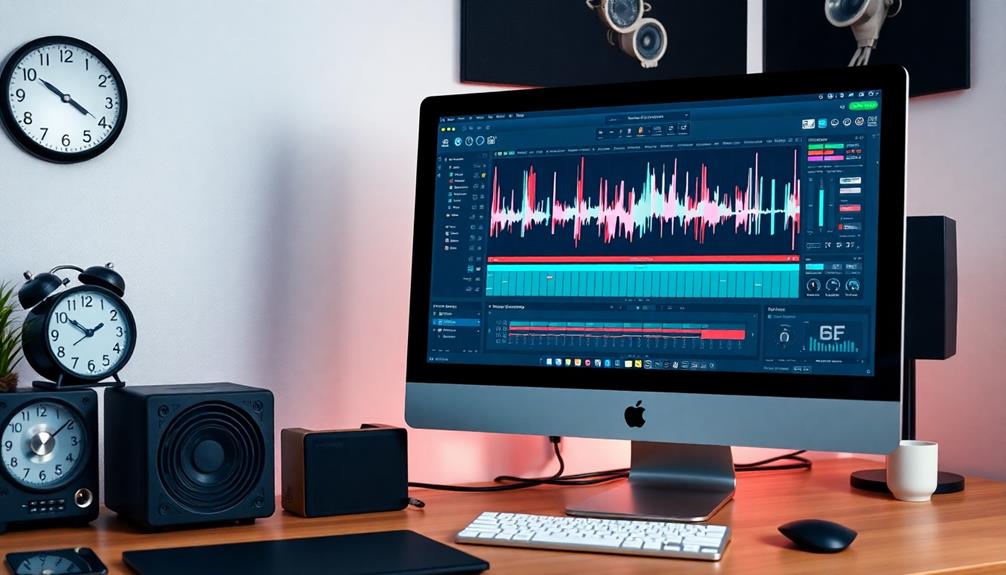
Monitoring CPU performance is essential for ensuring your DAW runs smoothly during music production. To effectively keep track of CPU usage, you can use the Activity Monitor on Mac or Task Manager on Windows. These tools let you view overall CPU usage and pinpoint resource-heavy applications that might be straining your system.
Within your DAW, take advantage of built-in features to monitor CPU load. For instance, the System Usage window in Pro Tools or the Performance tab in Logic Pro X provides clear insights into your CPU performance. Regularly checking CPU usage during sessions is vital; idle usage typically ranges from 1% to 20%, while intensive tasks can push usage above 80%.
When you notice high CPU usage, it can lead to system slowdowns and audio dropouts, which you definitely want to avoid. By identifying which tracks or plug-ins consume the most CPU resources, you can implement targeted strategies to use less CPU.
This proactive approach helps keep your production workflow efficient and enjoyable, letting you focus on your creativity without technical interruptions.
Optimizing DAW Settings

Optimizing your DAW settings can make a notable difference in managing CPU usage and enhancing overall performance. Start by adjusting the buffer size; increasing it allows more processing time, which helps manage CPU load but may introduce some latency.
Next, allocate more processors in your DAW settings. This enables your DAW to utilize additional CPU cores, greatly improving performance during resource-heavy tasks.
Don't overlook cache settings, either. Tweak them to find the right balance between playback efficiency and plug-in responsiveness, helping to reduce CPU strain during sessions.
It's also essential to regularly review and adjust your DAW settings based on your project's requirements. This practice guarantees efficient resource management and maintains peak CPU performance.
Lastly, consider enabling features like "Smart Disable" for plug-ins in your DAW. This feature automatically turns off inactive plug-ins, conserving valuable CPU resources during mixing.
Managing Plug-in Settings

Managing plug-in settings effectively can greatly lower your CPU usage during music production. By tweaking your plug-in configurations, you can reduce strain on your system while maintaining sound quality.
Here are some tips to optimize your plugin settings:
- Simpler Modes: Use simpler modes or presets in your plug-ins. Turn off features like oversampling that can noticeably increase CPU usage.
- Bypass Unused Modules: Instead of disabling the entire plug-in, use the bypass feature on modules you aren't currently using. This keeps your CPU resources free for other tasks.
- Deactivate Unneeded Plug-ins: If you have tracks that aren't in use, deactivate or remove their plug-ins. Even muted tracks can still consume CPU resources.
- Group Processing: Consider applying effects to a bus track rather than individual tracks. This can notably reduce the overall CPU load during mixing.
Resource Management Techniques

To maximize your CPU resources, start by closing any unused applications running in the background.
Next, deactivate plugins and tracks that you don't need; this simple step can free up valuable processing power.
Close Unused Applications
When you're deep into a music production session, closing unused applications can dramatically enhance your system's performance.
By freeing up significant CPU resources, you allow your digital audio workstation (DAW) to run more efficiently during those intensive moments.
Here are some quick tips to help you manage your resources effectively:
- Quit Background Apps: Make certain to quit any non-essential applications rather than just minimizing them. This guarantees all CPU power is focused on your music production tasks.
- Limit Browser Tabs: Browsers with multiple open tabs can consume substantial CPU power. Close any tabs you don't need to optimize your audio production environment.
- Use Application Switcher: On Mac, use Command + Tab, and on Windows, Alt + Tab, to quickly identify and close resource-heavy programs running in the background.
- Monitor CPU Usage: Regularly check your CPU usage through tools like Task Manager or Activity Monitor. This helps identify unnecessary applications that can be closed to regain valuable CPU resources.
Implement these strategies, and you'll notice a significant boost in your system's performance during your music production sessions!
Deactivate Unneeded Plugins
In the world of music production, every ounce of CPU power counts, especially during mixing sessions. One effective way to lighten the load on your system is to deactivate unneeded plugins. Even muted tracks remain active and continue to consume CPU resources, which can lead to unnecessary strain.
Regularly audit your project for unused tracks and effects. Remove or deactivate plugins that aren't essential, freeing up valuable CPU power. Most DAWs offer features that allow you to deactivate tracks without deleting them, so you can easily reactivate them later if needed.
Additionally, consider bypassing unused modules within multi-functional plugins instead of turning off the entire plugin. This tactic can save CPU resources while still keeping access to the features you need.
Make it a habit to monitor your CPU usage before and after deactivation. This will help you assess the effectiveness of your resource management strategies and guarantee peak performance.
Track and Plug-in Management
To boost your CPU performance, start by deactivating any unused tracks and plugins in your DAW.
You can also optimize your plugin settings and manage individual modules effectively, which helps conserve processing power. This ensures that your system runs smoothly, even when handling complex projects or resource-heavy tasks. Taking the time to organize plugins for faster sessions can streamline your workflow, reducing delays and boosting productivity. By fine-tuning how you manage and prioritize your tools, you can create an environment that supports efficiency and consistent performance.
Deactivate Unused Tracks
Deactivating unused tracks is a crucial step in enhancing your DAW's performance. Muted tracks may seem harmless, but they still consume CPU resources, much like how software quality assurance (SQA) guarantees maximum performance in software development.
To get the most out of your setup, take the time to deactivate unused tracks instead. Here are some tips to help you manage your tracks effectively:
- Audit Your Project: Regularly check for unused tracks and effects. Deactivating these can free up significant CPU power, similar to how quality assurance practices help maintain high software quality standards.
- Use DAW Features: Most DAWs let you deactivate tracks without deleting them. This way, you can easily reactivate them if needed.
- Monitor CPU Usage: Keep an eye on CPU usage before and after you deactivate tracks. This will help you gauge the effectiveness of your resource management efforts.
- Freeze or Bounce Tracks: For resource-intensive tracks, consider using the freeze or bounce features. This reduces CPU load while allowing you to make adjustments later.
Optimize Plug-in Settings
Optimizing plug-in settings can considerably enhance your DAW's performance and reduce CPU usage. Start by deactivating unneeded tracks and plug-ins, since muted tracks still consume processing power.
Regularly audit your project to identify unused effects and tracks. Utilize your DAW's features to deactivate them without deleting; this helps free up valuable CPU resources.
Another effective strategy is to use plug-in features that allow you to turn off individual modules instead of bypassing the entire plug-in. This can considerably reduce CPU load while maintaining the necessary sound elements in your project.
Additionally, consider applying group processing by routing multiple tracks to a group bus with shared effects. This approach uses less CPU than applying effects to each track individually.
Efficient Module Management
Managing your tracks and plug-ins efficiently can greatly impact your DAW's performance. By focusing on efficient module management, you can notably reduce CPU load and enhance your workflow. Here are some strategies to take into account:
- Audit Projects Regularly: Identify and deactivate unneeded tracks and plug-ins. Remember, muted tracks still consume resources, so deactivate them to free up CPU power without deletion.
- Utilize DAW Features: Take advantage of your DAW's ability to deactivate tracks while keeping their settings intact. This makes reactivation simple and efficient.
- Bypass Unused Modules: Some plug-ins let you turn off individual modules. This feature allows you to keep essential functions while reducing CPU load by bypassing what's unnecessary.
- Group Processing: Instead of applying effects to each track individually, take into account routing them to a group bus. This approach notably minimizes CPU strain and maintains processing efficiency.
Freezing and Bouncing Tracks
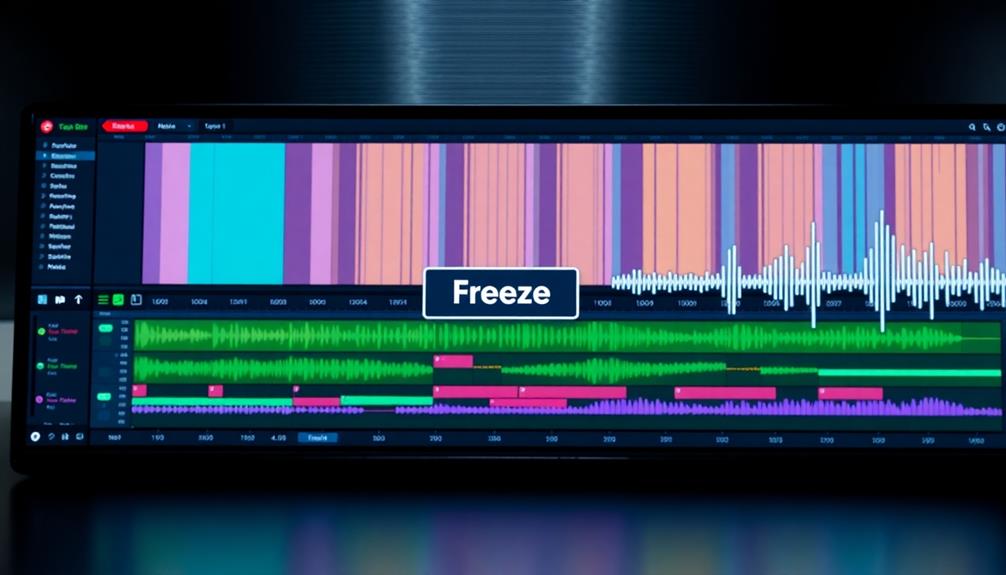
When you're working on a music project, freezing and bouncing tracks can be game-changers for reducing CPU usage. Freezing tracks converts them into audio, which greatly decreases the CPU load. By allowing playback without real-time processing demands, you can keep your workflow smooth.
To freeze a track, simply select the desired track, right-click, and choose the freeze option. This creates a temporary audio file that helps manage your resources effectively.
If you need to make adjustments later, unfreezing tracks is just as easy—right-click the frozen track and select the unfreeze option. This flexibility is a major advantage for your projects.
Bouncing tracks takes this a step further. It involves rendering tracks to a stereo audio file, which reduces the number of active tracks and conserves CPU resources during mixing and playback.
When you bounce, make sure to solo the tracks you want to render and use the bounce function in your DAW. This creates a new audio file, enabling you to edit further without putting extra strain on your CPU.
Embracing freezing and bouncing tracks can lead to a smoother, more efficient production process.
Sample Rate Strategies

When you lower the sample rate, like going from 96 kHz to 48 kHz, you can considerably cut down on CPU usage.
Most of the time, a sample rate of 44.1 kHz works just fine for music production, balancing quality and efficiency.
Just remember to align your DAW and audio interface settings to avoid any latency issues while enjoying smoother performance.
Lower Sample Rate Benefits
Lowering the sample rate in your digital audio workstation (DAW) can be a game changer for your workflow. By reducing the sample rate, you can considerably decrease CPU usage, making it easier to handle multiple tracks and plugins without straining your system.
Here are some key benefits of lowering the sample rate:
- Reduced CPU Load: Lowering the sample rate from 96 kHz to 44.1 kHz can cut CPU usage by up to 50%, allowing for smoother playback and mixing.
- Less RAM Usage: Lower sample rates require less RAM, which is essential when working on large projects with numerous audio tracks.
- Enhanced Efficiency: With less processing power needed, you can focus more on creativity rather than technical issues.
- Aligned Settings: Make sure your DAW and audio interface sample rates are aligned to prevent audio quality issues, ensuring ideal resource management.
Adjusting Sample Rate Settings
Adjusting your sample rate settings can have a significant impact on your DAW's performance. Lowering the sample rate of your session from 96 kHz to 48 kHz can drastically reduce CPU load, as higher sample rates demand more processing power for plug-ins and effects.
A standard sample rate of 44.1 kHz is often sufficient for most music production tasks, matching CD quality while minimizing unnecessary resource consumption.
Most DAWs allow you to save a session copy with a lower sample rate, which not only decreases CPU usage but also saves RAM during playback and mixing. Be cautious with higher sample rates, like 192 kHz; they may not yield noticeable audio quality improvements but can substantially increase CPU demands.
Additionally, consider increasing the buffer size when working with lower sample rates. This adjustment helps manage CPU load more effectively, ensuring smoother playback and less strain on your system.
Regularly check that your audio interface and DAW are set to the same sample rate to avoid any performance issues or playback discrepancies. By strategically adjusting your sample rate settings, you can enhance your DAW's efficiency and streamline your production process.
Impact on CPU Efficiency
Reducing the sample rate in your sessions can greatly enhance CPU efficiency, making your workflow smoother and more manageable. Lowering the sample rate from 96 kHz to 48 kHz can markedly cut down on CPU usage, as higher sample rates demand more processing power for plugins and effects.
Here are some strategies to optimize your sessions:
- Convert Session Sample Rates: Most DAWs let you save a copy of your session at a lower sample rate, like 44.1 kHz, which is suitable for most music production tasks.
- Match Audio Interface and DAW Settings: Confirm both sample rates align to avoid the extra CPU strain from real-time conversions during playback.
- Monitor RAM Usage: Reducing the sample rate also decreases RAM requirements, relieving your CPU from demanding tasks.
- Test Different Rates: Experiment with various sample rates to find the best balance between audio quality and CPU efficiency for your specific projects.
System Performance Enhancements

Your system's performance can considerably impact how smoothly plugins operate during music production. To achieve significant system performance enhancements, start by regularly updating your system software and drivers. This guarantees that you're compatible with the latest, resource-intensive plugins.
Next, set your computer to High-Performance Mode in power settings; this prioritizes CPU usage during your music production sessions, making it easier to handle high sample rates without hiccups.
It's also essential to clear cache and temporary files periodically. Doing this frees up system resources, allowing your DAW and plugins to run more efficiently.
Consider using an external hard drive to store your sample libraries. This not only reduces the load on your internal storage but also helps your CPU manage resources better during demanding sessions.
Frequently Asked Questions
How Do I Reduce CPU Strain?
To reduce CPU strain, increase your DAW's buffer size, freeze resource-heavy tracks, and deactivate unused plug-ins. Group effects on busses and consider lowering your session's sample rate for better performance without losing quality.
How Do I Reduce 100% CPU Usage?
To reduce 100% CPU usage, increase your soundcard's buffer size, disable unnecessary background apps, and monitor CPU performance. Freezing tracks can also help by minimizing real-time processing demands during your sessions.
How Do I Reduce CPU Usage in Logic Pro?
Imagine you've recorded an intricate track but notice heavy CPU usage. To reduce it, try freezing resource-intensive tracks. This way, you'll lighten your load and maintain performance while focusing on your creative process.
How Do I Make Pro Tools Use Less CPU?
To make Pro Tools use less CPU, increase your soundcard buffer size, freeze resource-heavy tracks, deactivate unnecessary plugins, and audit your session regularly. Adjust CPU allocation settings for ideal performance during playback and mixing.
Conclusion
By mastering these methods, you'll minimize CPU chaos and maximize musical mastery. With mindful monitoring and strategic settings, you can streamline your sessions, ensuring smooth sounds without the strain. Remember, every tweak takes you a step closer to a flawless finish. So don't hesitate to harness these handy hacks, and soon you'll be crafting enchanting compositions without the constant concern of CPU congestion. Keep creating, and let your creativity flow freely!