A patchbay makes your studio organized and efficient by simplifying cable management and offering quick, flexible signal routing. You connect your gear with short cables to reduce clutter and easily switch connections without unplugging devices. This setup minimizes interference and protects your gear from damage over time. Whether you have a small or large studio, a patchbay streamlines your workflow. Continue discovering how mastering patchbays can elevate your hybrid studio environment effortlessly.
Key Takeaways
- A patchbay centralizes and organizes studio connections, making setup and troubleshooting quicker and more efficient.
- Using short patch cables reduces clutter and minimizes cable wear, maintaining a tidy workspace.
- Patchbays enable flexible routing, allowing quick changes to signal paths without unplugging gear.
- They support various connection types (TRS, TS, XLR), simplifying studio organization and identification.
- Implementing a patchbay enhances workflow, keeps gear protected, and creates a professional, easy-to-navigate studio environment.
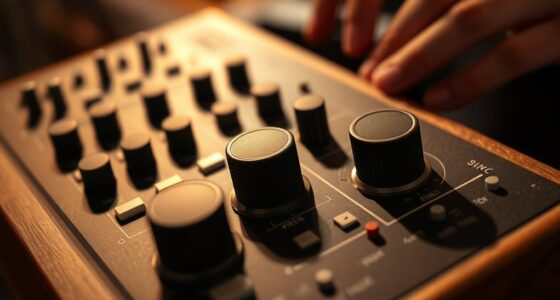
Ever wondered how to simplify your audio setup? A patchbay can be your best friend in achieving a clean, efficient, and flexible studio environment. It acts as a central hub for all your signal connections, making cable management and signal routing straightforward and organized. Instead of dealing with tangled cables behind your gear, you can connect everything neatly through the patchbay, which simplifies troubleshooting and adjustments. With proper patchbay setup, you can quickly switch between instruments, microphones, and outboard gear without crawling behind equipment cabinets.
A patchbay simplifies your studio setup, organizes connections, and makes signal routing quick and hassle-free.
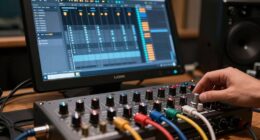
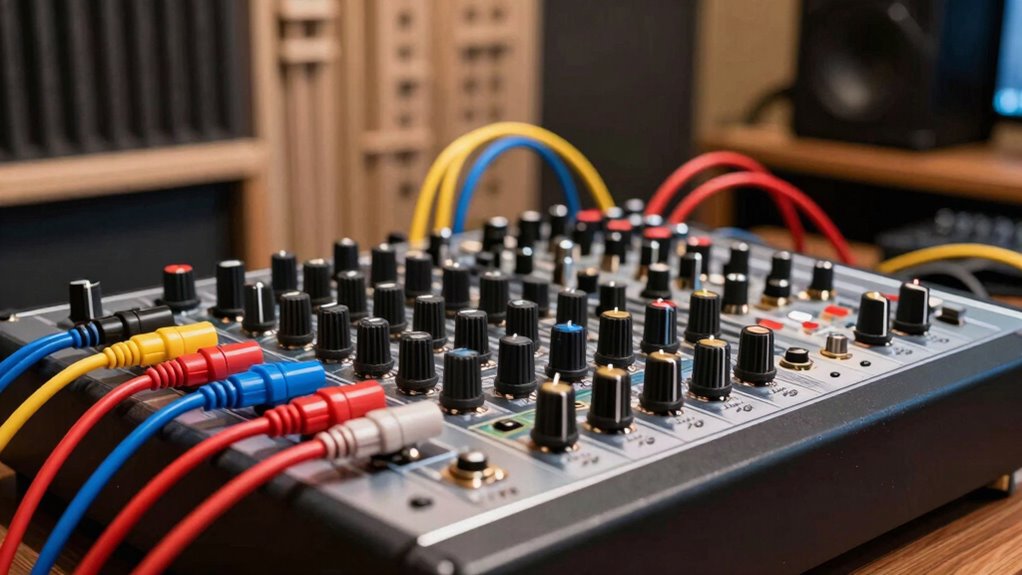
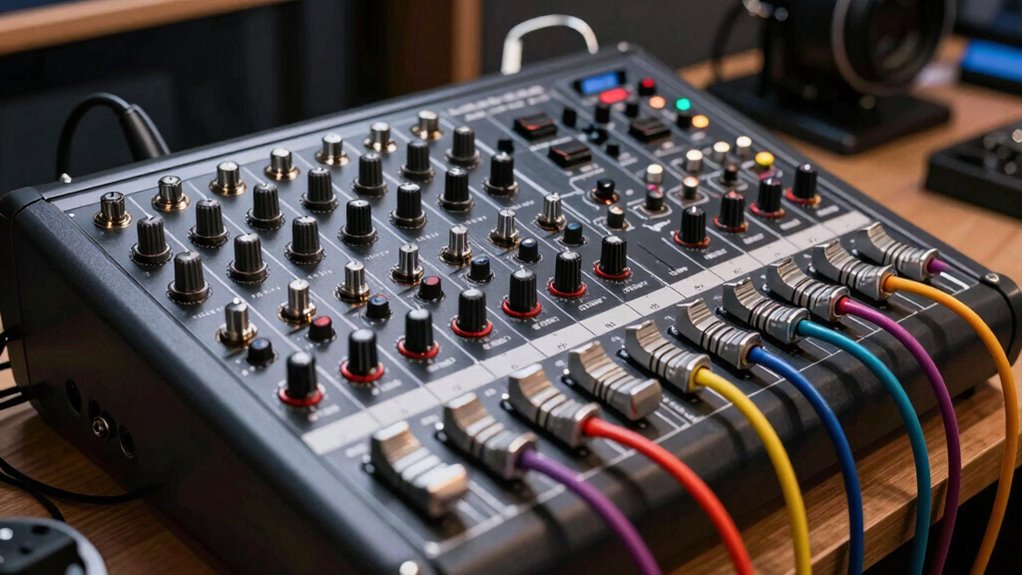
Cable management becomes much easier when you incorporate a patchbay into your workflow. Instead of running long, convoluted cables from one piece of gear to another, you run shorter cables from each device to the patchbay. This reduces clutter and minimizes the risk of accidental disconnections or damage. When you need to change the signal flow, you simply move a patch cable on the patchbay instead of unplugging and re-plugging cables at the device level. This method keeps your studio tidy, saves time, and makes it easier to maintain a consistent setup. Proper cable management also helps prevent interference and noise caused by poorly routed or overlapping cables, ensuring cleaner audio signals.
Signal routing becomes incredibly flexible with a patchbay, giving you quick control over your audio paths. You can route signals to different hardware processors, record different sources simultaneously, or experiment with various signal chains without physically disconnecting and reconnecting cables. For example, if you want to send a vocal channel to a compressor and then to an EQ, you can do this effortlessly through the patchbay. If you decide to change the signal flow later, just move a few patch cables. This flexibility enhances your workflow, allowing you to focus more on your creativity than on technical setup.
Additionally, patchbays support various types of connections, including TRS, TS, or XLR, depending on your gear and needs. They help you organize your studio’s connections logically, making it easier to identify and troubleshoot issues. Using a patchbay also prolongs the life of your gear’s inputs and outputs, since you minimize the wear and tear caused by frequent plugging and unplugging. Overall, integrating a patchbay into your studio setup streamlines cable management and signal routing, making your workspace more efficient, organized, and ready for creative work. It’s a smart investment that transforms a cluttered, confusing setup into a professional, easy-to-navigate system.
Frequently Asked Questions
How Do I Troubleshoot Common Patchbay Connection Issues?
When troubleshooting common patchbay connection issues, start by checking your cable routing to make certain all connections are secure and correctly assigned. Use troubleshooting techniques like swapping out cables to identify faulty ones, and verify that the patchbay’s switches and jacks function properly. Keep your wiring organized, and test each connection step-by-step. These steps help you quickly pinpoint problems and maintain a clean, efficient studio setup.
What Are the Best Practices for Labeling Patchbay Cables?
You might think labeling patchbay cables is tedious, but clear cable color coding and durable labels make it effortless. Use different colors for different signal types, and write labels that resist wear and tear. This way, you can quickly identify connections, save time troubleshooting, and keep your studio organized. Don’t skip this step—proper labeling streamlines your workflow and keeps your setup professional and reliable.
Can Patchbays Improve My Studio’s Signal Flow?
Yes, patchbays can improve your studio’s signal flow by organizing connections and reducing cable clutter. Depending on your studio layout and the patchbay types you choose, you can easily route signals, troubleshoot issues, and streamline your workflow. Using the right patchbay type for your setup allows you to optimize signal paths, making your studio more efficient and flexible, ultimately enhancing your recording and mixing processes.
How Do I Maintain and Clean My Patchbay?
To maintain and clean your patchbay, you should regularly check your cable organization to prevent tangling and damage. Use gentle cleaning techniques like compressed air to remove dust and a contact cleaner specifically designed for audio gear to keep connections clear. Always power down your equipment before cleaning, and handle cables carefully to avoid wear. Consistent maintenance ensures the best signal flow and prolongs your patchbay’s lifespan.
What Are the Differences Between Analog and Digital Patchbays?
Analog patchbays use physical connections, making cable organization straightforward and signal routing intuitive, ideal for hands-on control. Digital patchbays, however, handle signals electronically, offering more flexibility with cable management and fewer physical connections. They simplify complex routing and reduce noise. Your choice depends on whether you prefer tactile control with analog or the advanced flexibility and efficiency of digital patchbays for your studio setup.
Conclusion
Now, with your patchbay neatly wired, imagine the smooth flow of signals like a gentle river, guiding sound effortlessly through your studio. Every connection is a bridge, every patch a pathway to creativity. As you sit back, feel the clarity and control in your hands, knowing your setup runs clean and efficient. With this foundation, your studio becomes a vibrant canvas—ready to bring your sonic visions to life with seamless, effortless ease.