
To keep your tube microphone performing well, make certain your power supply is stable and matches the manufacturer’s specs to prevent unwanted noise. Regularly monitor and replace tubes when you spot signs of wear like discoloration or noise issues. Handle tubes carefully, store them in dust-free environments, and follow safety procedures during replacements. Proper maintenance and attention to detail help maintain warm sound quality and prolong your mic’s life—discover more tips to optimize your setup.
Key Takeaways
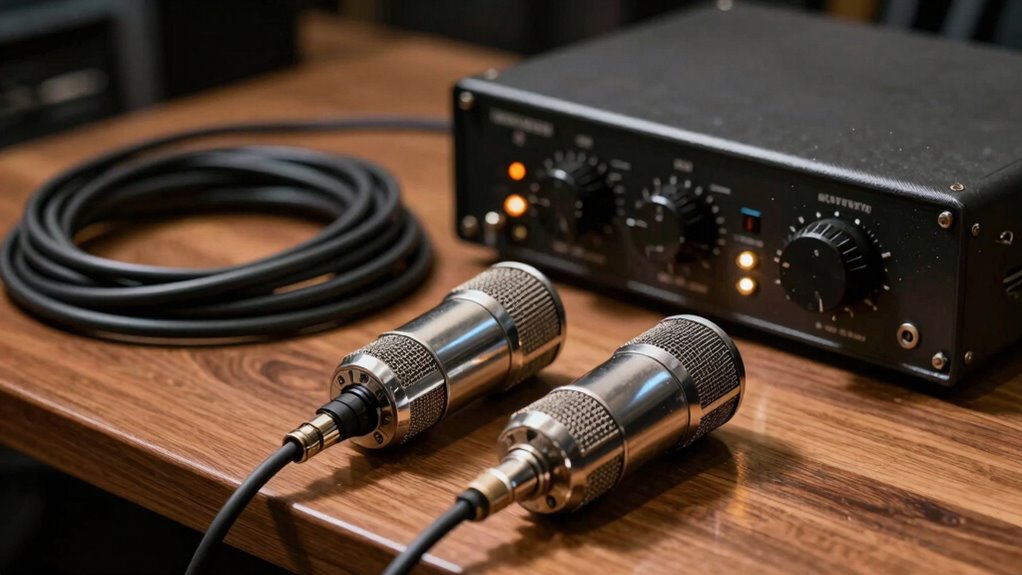
- Use a stable, high-quality power supply to ensure consistent voltage and reduce noise in tube microphones.
- Regularly inspect tubes for discoloration or white spots to prevent sound degradation and avoid failures.
- Always power off and cool down the microphone before handling or replacing tubes safely.
- Handle tubes carefully, avoiding oils and dirt, and store them in clean, dust-free environments for longevity.
- Routine maintenance, including visual checks and proper storage, prolongs microphone lifespan and maintains warm, full-bodied sound.
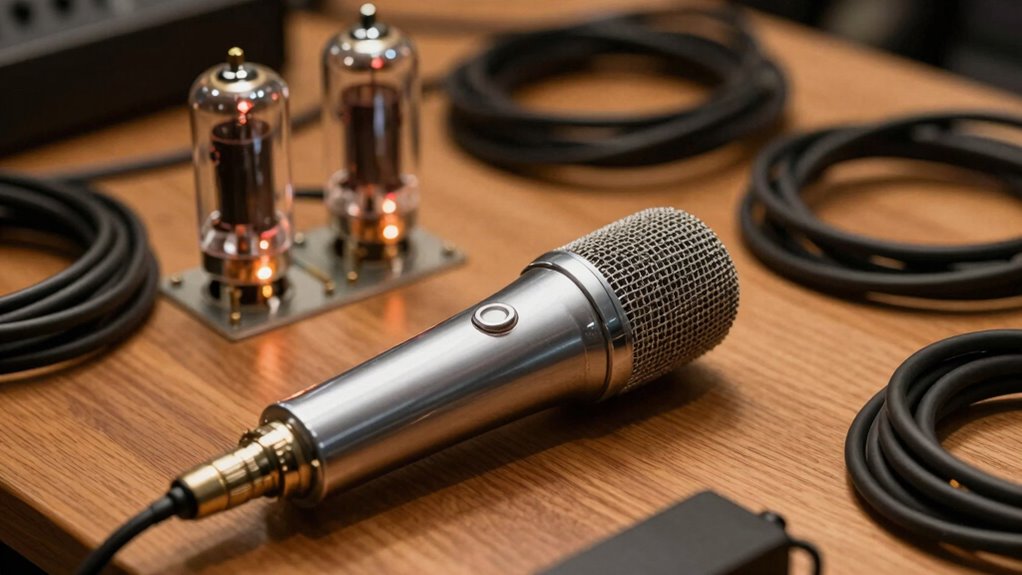
Tube microphones are renowned for their warm, rich sound quality that many audio professionals prefer. To keep your microphone performing at its best, understanding proper tube microphone maintenance is essential. Regular care ensures the microphone continues to deliver that signature warmth and prevents potential issues caused by component wear or failure. One of the most critical aspects of maintenance involves monitoring the tubes themselves, as they are the heart of the microphone’s sound. Over time, tubes can degrade, leading to a loss of clarity, increased noise, or even complete failure. Recognizing signs of tube deterioration early can save you from costly repairs and downtime.
When it comes to tube replacement procedures, safety should be your top priority. Before you begin, always unplug the microphone and allow it to cool down, as vacuum tubes can remain hot for several minutes after use. Once cooled, carefully remove the microphone’s cover, following the manufacturer’s instructions, to access the tubes. Inspect the tubes visually; look for any signs of discoloration, white spots, or a cloudy appearance, which can indicate they’re nearing the end of their lifespan. If replacement is necessary, make sure to use the exact type and model recommended by the manufacturer to maintain peak performance.
Replacing tubes is a straightforward process if you follow the correct steps. Carefully pull out the old tube by gripping it firmly but gently, avoiding excessive force that could damage the socket. When inserting the new tube, align it properly with the socket and press it in firmly until it seats securely. After replacement, it’s advisable to power on the microphone and let it run for a few hours to allow the new tube to warm up and stabilize. This process can help extend the tube’s lifespan and ensure consistent sound quality. Additionally, using proper storage conditions can significantly prolong the tubes’ life and maintain optimal performance.
To minimize noise and preserve your microphone’s clarity, keep it in a clean, dust-free environment and handle the tubes with care, avoiding contact with oils from your fingers, which can cause hot spots and damage. Regularly check your microphone for any signs of unusual noise, distortion, or decreased sensitivity, as these could indicate a need for tube maintenance. Proper tube microphone care not only prolongs the life of your investment but also guarantees you capture that warm, full-bodied sound every time you record or perform. Staying attentive to maintenance routines and replacement procedures ensures your tube microphone continues to deliver professional-grade audio for years to come.
Frequently Asked Questions
How Do I Choose the Right Power Supply for My Tube Microphone?
To choose the right power supply for your tube microphone, guarantee it’s compatible with your model’s specifications. Check the power supply compatibility, focusing on correct connectors and voltage regulation to prevent damage. Opt for a supply that maintains stable voltage and minimal noise, which enhances sound quality. Always follow the manufacturer’s recommendations, and consider investing in a quality power supply to ensure reliability and longevity for your tube microphone.
What Are Common Causes of Noise in Tube Microphones?
Did you know that electrical interference causes over 60% of noise issues in tube microphones? Noise often results from poor microphone placement, especially near sources like computers and fluorescent lights. Additionally, inadequate shielding or grounding can amplify electrical interference. To reduce noise, position your microphone away from electronic devices, ensure proper grounding, and use shielded cables, which help minimize unwanted hum and hiss, keeping your recordings clear and professional.
How Often Should I Service or Replace Tube Microphone Components?
You should service or replace your tube microphone components based on your maintenance schedule and the component lifespan. Generally, check the tubes every 1-2 years, especially if you notice noise or performance issues. Regularly inspecting and replacing worn parts ensures peak sound quality and prevents unexpected failures. By staying proactive with maintenance, you extend your microphone’s lifespan and maintain consistent recording quality.
Can I Use a Tube Microphone With Any Audio Interface?
You can’t just plug any tube microphone into any audio interface because of compatibility considerations and interface requirements. Make certain your interface has the right connections, like XLR, and provides phantom power if needed. Check if your microphone requires a specific preamp or power supply. It’s best to verify your microphone’s specifications and your interface’s inputs to guarantee seamless operation and peak sound quality.
What Safety Precautions Are Necessary When Handling Tube Microphones?
When handling tube microphones, you need to prioritize safety by avoiding electrostatic hazards and ensuring proper grounding. Always unplug the microphone before servicing or moving it, and handle the tube carefully to prevent static build-up. Make sure the microphone is properly grounded to prevent electrical shocks. Keep your workspace dry and free of static-prone materials. If you notice any damage or unusual noise, consult a professional before use to stay safe.
Conclusion
Just like a vintage radio, your tube microphone needs proper care and power to deliver warm, rich sound. Keep an eye on noise levels and guarantee your power supplies are stable, so your recordings stay pure and timeless. Treat it well, and it’ll reward you with vocals and instruments that resonate like a classic melody. Remember, with the right care, your tube microphone remains a treasure trove of vintage charm—ready to bring your sound to life.