
EQ curves include bell, shelf, and tilt filters, each serving a unique purpose. Bell filters target specific frequencies, boosting or cutting narrow ranges for precise adjustments. Shelf filters affect broad areas, either boosting or cutting high or low frequencies for quick tonal changes. Tilt filters create a gradual shift across the spectrum, making sound brighter or warmer smoothly. Continue exploring these concepts to understand how each filter shapes your sound more effectively.
Key Takeaways
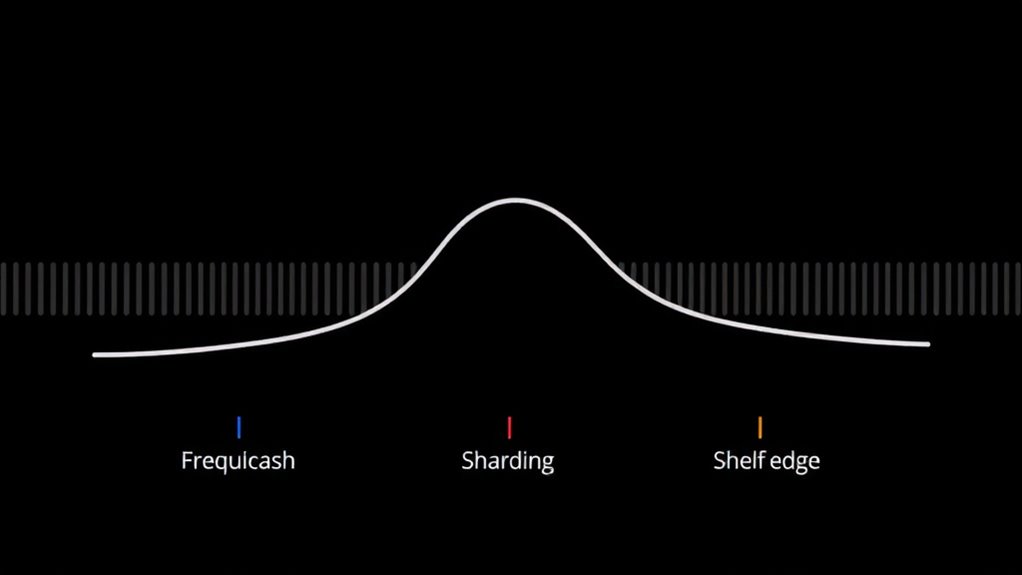
- EQ curves visually depict how bell, shelf, and tilt filters modify frequency response and tonal balance.
- Bell filters target specific frequencies for precise boosting or cutting, shaping individual elements.
- Shelf filters adjust broad high or low frequency ranges, providing quick overall tonal changes.
- Tilt filters create a smooth, gradual shift across the spectrum, balancing warmth and brightness.
- Understanding filter types helps in achieving accurate and musical equalization adjustments.

An EQ curve is a visual representation of how an equalizer adjusts different frequencies in your audio signal. It shows how various adjustments affect the frequency response, giving you a clear picture of the tonal balance. When you tweak an EQ, you’re fundamentally shaping the sound by emphasizing or attenuating specific parts of the spectrum. Understanding the different filter types is key to knowing how these adjustments work. The most common filter types you’ll encounter are bell, shelf, and tilt filters, each serving a unique purpose in shaping your audio.
An EQ curve visually shows how adjustments shape your audio’s tonal balance.
Bell filters, often called peaking filters, are versatile tools that target specific frequencies. They are shaped like a bell curve, allowing you to boost or cut a narrow or wide range of frequencies around a center point. For example, if your vocals sound dull, you might use a bell filter to boost the presence range around 3-5 kHz, making them clearer and more intelligible. Conversely, if there’s a harshness or unwanted resonance at a certain frequency, a bell filter can attenuate just that area without affecting the rest of the sound. These filters give you precise control over the frequency response, making them essential for fine-tuning individual elements.
Shelf filters, on the other hand, are designed to adjust the energy level of entire frequency ranges, either high or low. A high shelf filter boosts or cuts all frequencies above a certain cutoff point, which is useful for adding brightness or reducing excessive high-end sizzle. Low shelf filters work similarly but affect the bass frequencies, allowing you to tighten up the low end or add warmth. Shelf filters are great for broad adjustments that shape the overall tone without the need for pinpoint precision. They’re especially useful in situations where you want to quickly alter the tonal balance without creating unwanted dips or peaks in the spectrum.
Tilt filters offer a more balanced approach by creating a gradual shift in the entire frequency response. Think of tilt as turning a dime to tilt the overall sound one way or another. Instead of boosting or cutting specific frequencies, tilt filters favor the low or high end uniformly, maintaining the relative balance between frequencies. If your mix sounds a little dull, a tilt filter can add brightness without drastically changing individual elements. Conversely, if it’s too bright, a tilt can warm things up smoothly. Additionally, monitoring and adjusting audio output plays a crucial role in ensuring your EQ settings translate well across different listening environments.
Frequently Asked Questions
How Do I Choose the Right EQ Curve for My Mix?
To choose the right EQ curve for your mix, focus on frequency balancing and tonal shaping. Use a bell curve for precise adjustments on specific problem frequencies, like harshness or muddiness. Shelving curves help boost or cut high or low ends broadly, ideal for overall tonal shaping. Tilt EQs subtly shift the balance between lows and highs, perfect for quick tonal adjustments without altering the overall frequency spectrum too much.
What Are Common Mistakes When Applying EQ Curves?
A common mistake is not listening for phase cancellation, which can muddy your mix or cause elements to disappear. You also might overlook frequency masking, where similar sounds compete, dulling clarity. Avoid overusing EQ curves or boosting too much, as this can create unnatural sounds. Always A/B your changes and check how they affect the overall phase and masking issues, ensuring your mix remains balanced and transparent.
How Do EQ Curves Affect the Overall Soundstage?
EQ curves shape your spectral balance, which influences how clear and natural your sound feels, and they also impact stereo imaging. When you boost or cut certain frequencies, you can enhance the perception of space and separation between instruments, creating a more immersive soundstage. Be mindful of over-boosting, as it can muddy stereo imaging, but subtle adjustments help you craft a balanced, spacious listening experience.
Can EQ Curves Replace Proper Mic Placement?
You can’t substitute proper mic placement with EQ curves. For example, if a vocalist’s proximity causes harshness, phase correction and targeted EQ can help, but they won’t fix issues like frequency masking or timing problems caused by poor mic positioning. Proper placement ensures a clean, natural sound, reducing reliance on EQ to compensate. Relying solely on EQ risks introducing phase issues and losing the natural character of your recording.
How Do Different Genres Influence EQ Curve Selection?
Different genres influence your EQ curve choices by shaping the genre-specific tonal balance and matching listener preferences. For example, rock may benefit from boosting midrange for punch, while classical favors a flat, natural sound. You tailor your EQ to enhance the genre’s typical sound, ensuring it resonates with your audience’s expectations. By understanding these nuances, you create a mix that feels authentic and engaging, aligning with the intended style and listener preferences.
Conclusion
Understanding EQ curves like bell, shelf, and tilt helps you shape your sound precisely. You might think, “But I’m not a professional audio engineer.” However, mastering these curves doesn’t require complex skills—just a bit of practice. With time, you’ll effortlessly enhance your mixes, making your music sound clearer and more balanced. Don’t let the technical jargon hold you back; start experimenting, and you’ll quickly see how these tools elevate your audio game.