
To deliver a great mix, start with proper gain staging—set input levels so they’re strong but don’t clip—this maintains clarity and preserves dynamics. Use noise reduction techniques like high-pass filters and plugins early to eliminate unwanted sounds. Keeping levels balanced minimizes noise amplification and distortion, resulting in a cleaner, professional sound. Attending to these details sets a solid foundation for mastering, and if you take the next step, you’ll master the final polish with confidence.
Key Takeaways
- Start with proper gain staging to ensure balanced levels and prevent clipping throughout the mix.
- Use high-pass filters and noise reduction plugins early to minimize unwanted background noise.
- Maintain consistent and appropriate input levels to preserve dynamic range and sound clarity.
- Address noise issues promptly to avoid compounding problems during mastering.
- Achieve a clean, balanced mix as a solid foundation for professional mastering results.

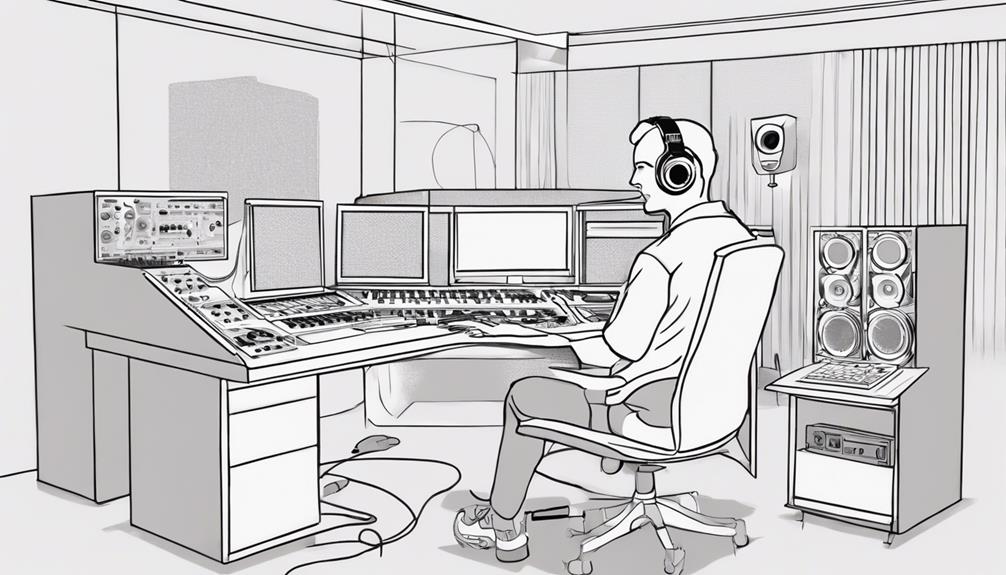
Are you ready to elevate your exam game? When it comes to delivering a great mix, mastering your prep is vital. It all begins with understanding how to set your levels properly, and that’s where gain staging comes into play. Gain staging is the process of managing the volume levels at each stage of your mix to ensure clarity and balance. If you skip this step, you risk your mix sounding cluttered or distorted, making it hard for your listeners to focus on the important elements. Start by setting your input levels so that they’re strong but don’t clip. This careful calibration allows you to maximize the dynamic range and preserve the integrity of each sound. Once your gain staging is solid, you can move forward with confidence, knowing that your mix is foundationally balanced.
Noise reduction is another vital aspect of delivering a polished, professional sound. During the mixing process, unwanted noise—like hums, hiss, or background sounds—can creep in and muddy the overall clarity. You’ll want to use noise reduction techniques to clean up your recordings without sacrificing detail or warmth. This might involve using high-pass filters to remove low-frequency rumble or employing dedicated noise reduction plugins that analyze and suppress unwanted sounds. By actively controlling noise, you ensure your mix sounds cleaner and more transparent, helping your key elements stand out. Don’t be tempted to ignore noise issues early on; addressing them at the right stage will save you time later and result in a more professional final product.
As you work through your mix, keep in mind that gain staging and noise reduction are interconnected. Proper gain staging not only prevents distortion but also minimizes the chance of amplifying noise. Conversely, noise reduction techniques work best when your levels are well-managed from the start. It’s a balancing act—ensuring each track is at the right level while reducing any extraneous sounds. This discipline allows you to create a mix that’s both dynamic and clear, giving your project a polished, finished quality. Remember, the key to mastering your prep is attention to detail; small adjustments early on have a big impact on the final result. When you approach your mix with these principles in mind, you’ll find it easier to craft a compelling, professional sound that truly stands out.
Frequently Asked Questions
How Do I Choose the Right Mastering Engineer or Service?
When choosing a mastering engineer or service, consider their experience with album sequencing and how well they understand loudness standards. Look at their portfolio to guarantee their style matches your vision. Read reviews and ask for references to confirm their professionalism. Make sure they communicate clearly and offer revisions if needed. Picking someone who respects your sound and understands industry norms will help deliver a polished, cohesive final product.
What Equipment or Plugins Are Essential for Mastering?
Think of your mastering setup as a finely-tuned orchestra. Essential equipment includes high-quality monitors and a good audio interface. Key plugins like EQ for frequency balancing, compression for dynamic control, and limiters for loudness optimization are must-haves. These tools help you craft a polished, professional sound, ensuring your track shines with clarity, depth, and the perfect loudness, just like a symphony reaching its crescendo.
How Long Does the Mastering Process Typically Take?
The mastering process usually takes between 1 to 3 hours, depending on track length and genre considerations. Shorter tracks like singles often need less time, while longer compositions or complex genres may require more attention. You should allocate enough time to carefully balance EQ, compression, and loudness, ensuring your track sounds polished and professional. Rushing can compromise quality, so plan accordingly based on your specific track and genre.
Can I Master My Own Tracks Effectively at Home?
Is DIY mastering at home studio setup a lost cause? Not necessarily. You can master your own tracks effectively at home if you invest in good equipment, learn the fundamentals, and stay patient. While it’s tempting to think you need professional gear, many home studios produce stellar results with the right knowledge and tools. Just remember, mastering is both an art and a science—practice makes perfect, and ears are your best asset.
What Are Common Mistakes to Avoid During Mastering?
You should avoid the loudness wars by not over-compressing or over-limiting your track, which can squash dynamics and cause listener fatigue. Also, be careful with stereo imaging; don’t overdo it, as it can make your mix sound unnatural or unstable. Remember, subtlety and balance are key. Keep your ears open, take breaks, and compare your track to reference tracks to make certain you’re not making common mastering mistakes.
Conclusion
Now that you’ve learned how to prepare your mix for mastering, remember it’s all about attention to detail and making informed decisions. Are you ready to trust your ears and techniques to bring out the best in your track? By following these steps, you’ll set yourself up for a polished, professional sound. Don’t rush the process—mastering is the final touch that can elevate your music to the next level. Are you prepared to master your mix?