

Using a DAW template can transform your music production experience, helping you release your best beats effortlessly. It streamlines your workflow, cutting down setup time and giving you quick access to essential tools. By pre-organizing tracks and establishing a clear structure, you'll enhance clarity and maintain consistency across projects. Grouping drums and utilizing EQ adjustments can elevate your sound. Plus, with simple mastering techniques, you can achieve a professional quality that stands out. Discover how you can implement these strategies effectively and keep the creative juices flowing while you perfect your sound.
Key Takeaways
- Create a pre-configured DAW template to streamline your music production process and reduce setup time for essential tools and effects.
- Organize tracks and buses in your template to enhance consistency and clarity across different projects, improving overall sound quality.
- Incorporate essential elements such as grouped drum sounds and designated effect routing to facilitate efficient mixing and processing.
- Utilize transient processors and EQ adjustments within your template to sharpen drum sounds and maintain clarity in your mixes.
- Regularly review and tweak your mix post-production to ensure coherence and boost listener engagement for your final tracks.
Benefits of Using a DAW Template

Using a DAW template can greatly streamline your music production process. By providing a pre-configured setup, it allows you to access essential tools and effects more quickly, markedly cutting down your session setup time. Additionally, DAW templates help ensure consistency across your projects, enabling you to maintain a professional workflow with ease. For FL Studio users, incorporating proper FL Studio performance optimization techniques into your templates can prevent lag and crashes, ensuring smoother sessions. By reducing the need to repeatedly configure settings, you can focus more on creativity and less on technicalities.
When you incorporate a template, you also enhance consistency across projects. Organized tracks, buses, and routing guarantee a cohesive sound throughout multiple sessions, helping you maintain your artistic vision. Moreover, just as the role of color accuracy impacts the overall quality of home cinema projectors, a well-designed DAW template can considerably improve the precision of your sound production.
Additionally, a well-designed template often includes standard mixing and mastering effects, giving you a solid foundation that promotes better sound quality right from the start. This means you can jump straight into creativity without getting bogged down by technical setup.
You'll find that you're focusing on musical ideas rather than wrestling with logistics.
Furthermore, utilizing a clean template keeps your mixes clear and manageable. It reduces clutter, guaranteeing that all elements are easily accessible during the production process.
This clarity not only enhances your workflow but also boosts your productivity, allowing you to create more music in less time. By embracing a DAW template, you're setting yourself up for success in your music production journey.
Setting Up Your Template
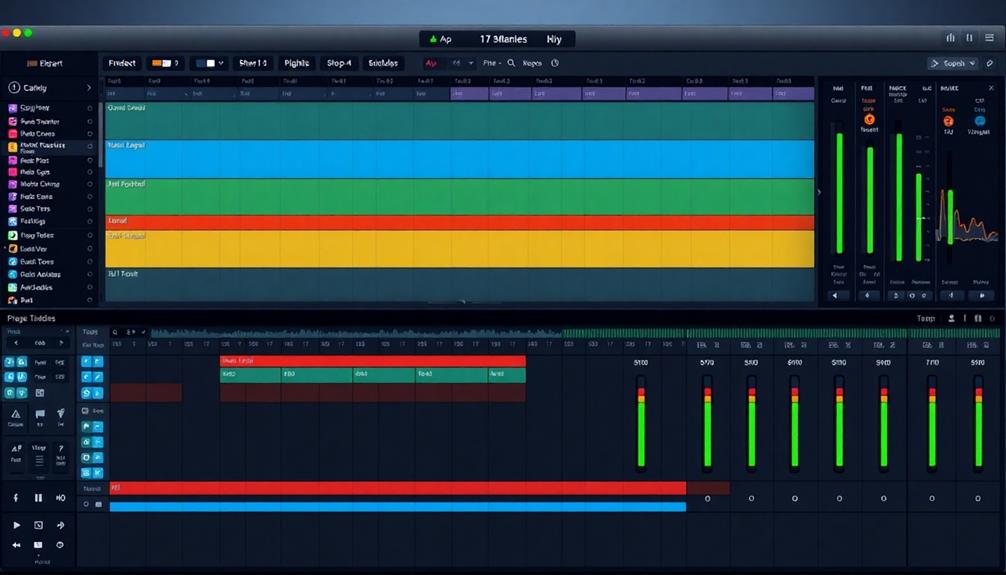
When it comes to setting up your template, starting with a clean slate can make all the difference. Begin by creating a new template in your DAW, incorporating essential tracks for drums, melodies, and effects. This initial setup will streamline your workflow and keep you focused.
Group your drum sounds into a bus for collective processing. This approach makes it easier to adjust EQ settings and guarantees a cohesive mix, saving you time later. For your 808s, utilize mono settings within the template. This enhances clarity in low-end frequencies, helping you build a solid foundation for your beats.
Implement basic tools like faders and gain controls in your template. These elements will facilitate learning and improve your mixing skills without the need for complex plugins.
Finally, designate empty inserts for effect routing. This allows for efficient application of ambiance and dynamic processing as you develop your tracks.
With these steps, you're setting the stage for a smoother production process, enabling you to access your best beats with ease. So, take the time to craft your template thoughtfully—it's an investment in your music-making journey.
Mixing Techniques for Clarity

Achieving clarity in your mix is essential for making your tracks stand out. Here are some effective mixing techniques to guarantee every element shines:
| Technique | Description |
|---|---|
| Moderate 808 Velocities | Use moderate velocities to maintain clarity and prevent distortion. Crank them to 100 to enhance low-end punch. |
| Group Drums into a Bus | Grouping drums allows for collective processing. This enables EQ adjustments that enhance clarity and presence across the entire drum mix. |
| Employ Transient Processors | Use transient processors to sharpen drum sounds. Balance decay and attack settings for improved bounce and responsiveness. |
| EQ High Frequencies | Make EQ adjustments to boost high frequencies in drum sounds, guaranteeing they cut through the mix without muddiness. |
| Check Stereo Field Placement | Always check the stereo field placement of each element to guarantee all sounds complement each other and contribute to overall clarity. |
Enhancing Your Drum Sounds

To enhance your drum sounds effectively, start by focusing on the balance between punch and clarity. Group your drum sounds into a bus; this allows for collective processing, making precise EQ adjustments that enhance clarity and presence.
Next, consider using transient processors to sharpen those sounds. By balancing decay and attack settings, you can create the perfect bounce that makes your drums pop.
For powerful low-end punch, crank the velocity of your 808s to 100. This gives them an assertive presence while selectively adjusting the velocity of your other drums guarantees they blend well together.
Adding effects like Valhalla Room for reverb can provide spatial depth, but remember to cut low frequencies to keep your mix clean and avoid muddiness.
Regular EQ adjustments are essential for maintaining a clear mix. Boosting high frequencies in your drum sounds can greatly improve their definition, ultimately elevating your overall sound quality.
With these techniques, you'll find that your drum sounds not only stand out but also sit well within the mix, creating a more professional and polished track.
Mastering for Professional Quality
When you're mastering your track, keeping things simple can lead to professional results.
Start with essential compression settings and make sure to adjust your EQ for that final polish.
Simple Mastering Techniques
Mastering your track doesn't have to be an intimidating task; with a few straightforward techniques, you can elevate your music to a professional level.
Start by incorporating a Soft Clipper at the bottom of your effect chain. This helps control your sound while preventing unwanted distortion.
Here are some simple mastering techniques you can use:
- Balance Dynamics: Aim for a compression ratio of -4 multiplied by 3, targeting around -12 dB to guarantee your mix maintains its dynamics.
- Post Gain Adjustments: Make sure to adjust the gain after applying effects to achieve your desired loudness without losing clarity.
- EQ Tweaks: Focus on boosting frequencies that enhance clarity and crispness in your mix for that polished final sound.
- Regular Mix Reviews: Continuously listen to your mix, guaranteeing all elements complement each other and contribute to a cohesive sound.
- Stay Simple: Avoid overcomplicating the process; stick to these basic techniques for an effective mastering session.
Essential Compression Settings
Achieving professional quality in your music is largely about how you handle compression during the mastering process. To get ideal results, start with a compression ratio of 4:1. This keeps your dynamic range intact while controlling peaks effectively. Aim for a target of -12 dB during compression for that balanced sound that retains clarity and punch.
Here's a quick reference table to help you with essential compression settings:
| Setting | Recommended Value | Purpose |
|---|---|---|
| Compression Ratio | 4:1 | Controls peaks while preserving dynamics |
| Target Level | -12 dB | Achieves balance without losing clarity |
| Post-Gain Adjust | Adjust as needed | Guarantees overall loudness without distortion |
After applying compression, always make post-gain adjustments to meet your desired loudness level. Don't forget to use a soft clipper at the end of your effect chain to prevent clipping, guaranteeing your final mix sounds warm and professional. Remember, these essential compression settings will set you on the right path to mastering your tracks like a pro!
Final EQ Adjustments
While final EQ adjustments play a crucial role in mastering, it's important to focus on frequencies that enhance clarity and crispness, especially in vocals and snare drums. Typically, you'll want to boost around 2 kHz to 5 kHz to make these elements shine.
Remember to apply slight overall EQ changes to polish your mix, guaranteeing each instrument has its own space.
Here are some tips to keep in mind during your final EQ adjustments:
- Use a soft clipper at the bottom of your effect chain to prevent distortion while maintaining loudness.
- Target a peak level of around negative 12 dB for a balanced sound.
- Conduct post-gain adjustments after compression to achieve your desired loudness and dynamic range.
- Regularly review mix coherence and stereo field placement to guarantee harmony among all elements.
- Don't rush the process; take time to listen critically and make necessary tweaks.
Final Touches and Review

The final touches and review phase is essential for crafting a polished mix that truly stands out. Start by reviewing all elements of your mix to guarantee coherence. Pay close attention to sound placement in the stereo field, as this can greatly enhance clarity and impact. Make necessary adjustments to guarantee every component complements each other, contributing to a professional sound.
Additionally, experimenting with different genres can maximize loop effectiveness and inspire fresh ideas for your mix, as you explore creative possibilities with loops.
Utilizing templates and neutralized setups helps streamline the finalization process, allowing you to make quicker adjustments and refinements. Don't hesitate to experiment with your mix—layering additional effects can help refine and develop your unique sound. This phase is all about fine-tuning.
Conduct a thorough final review to guarantee the overall sound is balanced and meets your desired quality. This is the time to make slight EQ adjustments as needed for that final polish. Trust your ears, and consider taking breaks to return with fresh perspective.
With these final touches, you'll elevate your track, guaranteeing it resonates with listeners and showcases your creative vision. Embrace this phase, and watch your music transform into something truly exceptional.
Frequently Asked Questions
What Are DAW Templates?
DAW templates are dynamic, pre-designed project files that simplify your setup. You'll find tracks, effects, and settings ready, letting you plunge into creativity, while cutting down on cumbersome configurations and enhancing your overall sound quality.
What Are Templates in Music?
Templates in music are pre-configured setups that streamline your creative process. They help you maintain consistency across projects, allowing you to focus on creativity instead of technical details, ultimately speeding up your production sessions.
Conclusion
In the end, you might think that having a DAW template is just a shortcut, but really, it's your secret weapon. By streamlining your workflow, you're not just saving time—you're unleashing your creativity. So, while others struggle with the chaos of starting from scratch, you'll be crafting your best beats like a pro. Embrace the irony: sometimes, the simplest hacks lead to the most profound results in music production. Now go on, make some magic!