
To find your perfect buffer size, start by understanding that it directly impacts your audio workflow's speed and latency. For recording, you should aim for lower settings, like 128-256 samples, to minimize lag. When mixing, consider higher settings, around 512-1024 samples, to handle complex processes without overloading your system. Keep an eye on CPU usage and adjust as needed based on your tasks. Regularly optimizing these settings can greatly enhance your experience. Interested in how to implement these adjustments for better performance? There's more to uncover!
Key Takeaways
- Choose low buffer sizes (32-64 samples) for recording to minimize latency and enhance responsiveness.
- Opt for medium settings (128-256 samples) during recording tasks to balance speed and processing needs.
- Use higher buffer sizes (512-1024 samples) for mixing and mastering to efficiently handle extensive processing without overload.
- Regularly adjust buffer settings based on your specific tasks to optimize performance and minimize lag.
- Monitor CPU load and freeze heavy tracks to maintain smooth playback during demanding sessions.

AudioControl ACR-1 Dash Remote Level Control with 20-ft Cable for The EPICENTER and Select AudioControl Amplifiers, Line Output Converters, Processors & Legacy Products
𝗖𝗼𝗺𝗽𝗮𝘁𝗶𝗯𝗹𝗲 𝘄𝗶𝘁𝗵 𝗧𝗵𝗲 𝗘𝗣𝗜𝗖𝗘𝗡𝗧𝗘𝗥 𝗖𝗼𝗻𝗰𝗲𝗿𝘁 𝗦𝗲𝗿𝗶𝗲𝘀: Use as a replacement remote for your digital bass restoration processor. Works…
As an affiliate, we earn on qualifying purchases.
As an affiliate, we earn on qualifying purchases.
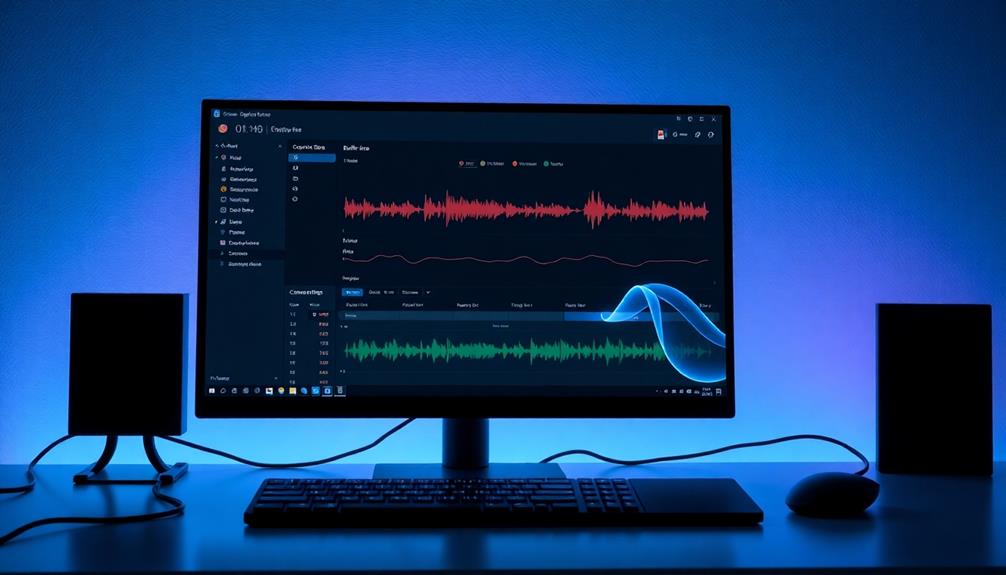
Understanding Buffer Size

Buffer size refers to the amount of data your computer processes at once, which greatly impacts how well your DAW handles input and output. When you're recording in your DAW, low buffer size settings are vital because they reduce latency, allowing for a more responsive experience. If you set a low buffer size, you'll notice quicker response times, which is perfect for real-time tasks.
However, keep in mind that lower buffer sizes demand more from your computer processing power. If your system can't keep up, you might experience glitches or dropouts.
On the other hand, using a high buffer size is more resource-efficient during mixing and mastering, but it can introduce high latency, making it less suitable for recording.
To strike the right balance, regularly adjust buffer size based on your tasks and the demands of your project. Finding the perfect buffer size settings allows you to maintain ideal workflow, ensuring you avoid system overload errors while getting the best performance out of your DAW.

Focusrite Scarlett Solo 3rd Gen USB Audio Interface for Guitarists, Vocalists, Podcasters or Producers to record and playback studio quality sound
Pro performance with great pre-amps – Achieve a brighter recording thanks to the high performing mic pre-amps of…
As an affiliate, we earn on qualifying purchases.
As an affiliate, we earn on qualifying purchases.
Sample Rate and Buffer Size

When enhancing your DAW's performance, understanding the relationship between sample rate and buffer size is important. The sample rate defines how many audio samples are captured per second, with common rates like 44.1kHz and 48kHz. These rates affect your audio's frequency response and overall quality.
When you choose a buffer size, remember it directly influences latency; smaller buffer sizes at higher sample rates yield lower latency, which means quicker audio processing. For instance, a buffer size of 128 samples at a 48kHz sample rate results in about 2.67 milliseconds of latency. Increasing the buffer size to 256 samples doubles that latency.
Low buffer sizes are perfect for recording since they guarantee an immediate response, while higher buffer sizes are better suited for mixing, helping to prevent CPU overload, especially when working with multiple tracks.
If you decide to double the sample rate, say from 48kHz to 96kHz, you increase the upper frequency limit captured, allowing for detailed audio reproduction. However, you'll need to carefully manage buffer size to balance latency and processing power, making sure your audio interface performs effectively.
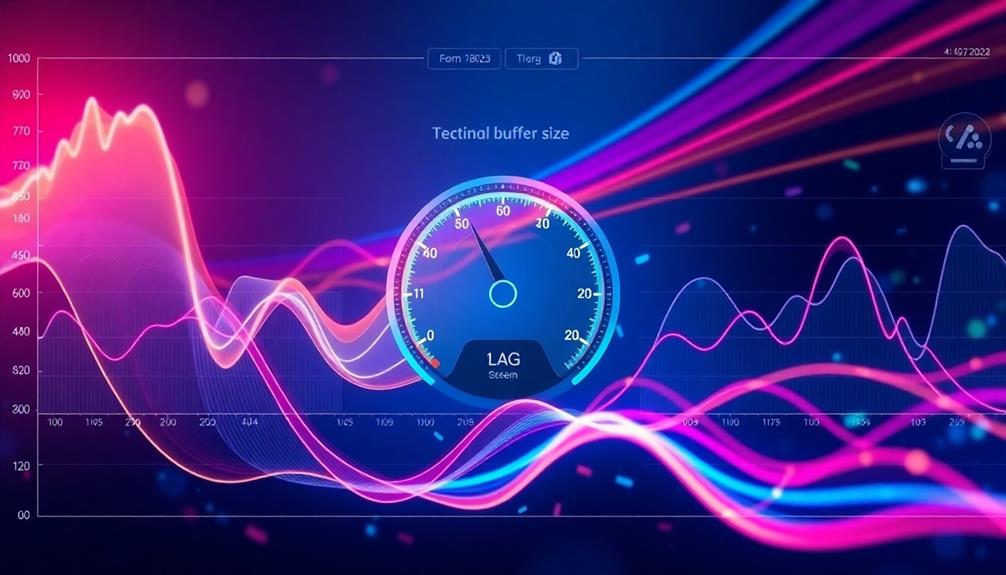
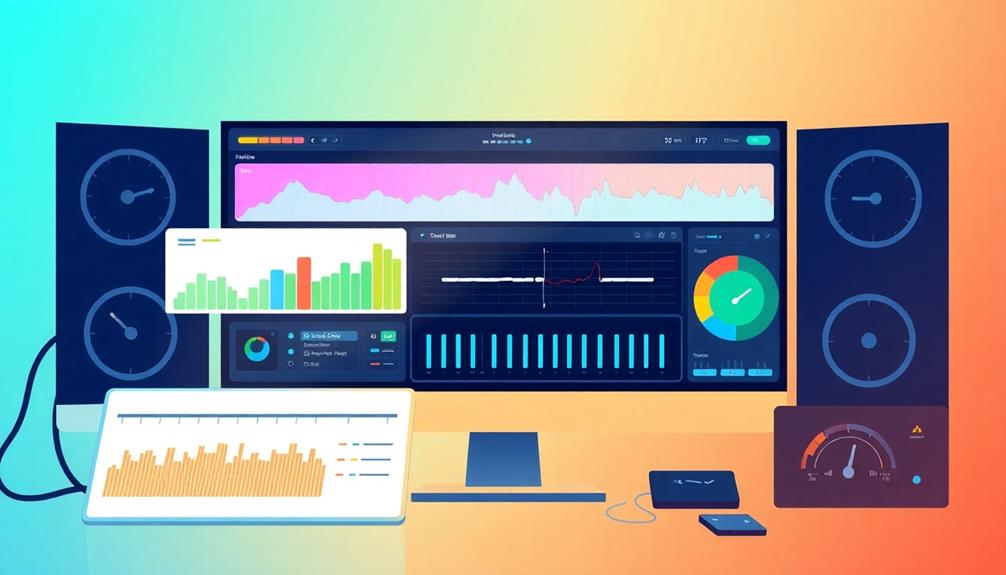
DAW buffer size adjustment tool
As an affiliate, we earn on qualifying purchases.
As an affiliate, we earn on qualifying purchases.
Adjusting Buffer Size Effectively
Adjusting the buffer size effectively is essential for achieving ideal performance in your DAW. The right buffer size can dramatically impact latency, allowing you to enjoy seamless recording and mixing. Here's a quick reference to help you decide which sample sizes to use based on your tasks:
| Task | Recommended Buffer Size | Purpose |
|---|---|---|
| MIDI Recording | 32 – 64 samples | Immediate note response |
| Recording | 128 – 256 samples | Minimize latency |
| Mixing/Mastering | 512 – 1024 samples | Extensive processing |
| High Track Count | Adjust as needed | Prevent performance strain |
As you work on different projects, you'll need to adjust the buffer size based on your computer's performance and the demands of your session. Access the buffer size settings through your DAW's preferences menu, as each platform may vary. Remember, finding the perfect balance helps you minimize lag while maximizing your creative workflow. Regularly check and adjust your buffer size for the best results!
Focusrite Scarlett Solo 3rd Gen USB Audio Interface for Guitarists, Vocalists, Podcasters or Producers to record and playback studio quality sound
Pro performance with great pre-amps – Achieve a brighter recording thanks to the high performing mic pre-amps of…
As an affiliate, we earn on qualifying purchases.
As an affiliate, we earn on qualifying purchases.
Impact of Buffer Size on Tasks
The impact of buffer size on your music production tasks is significant, influencing everything from recording to mixing. Choosing the right buffer size can enhance your workflow and improve the quality of your projects. Here's what you need to know:
- Lower buffer sizes (32 or 64 samples) are best for recording tasks, minimizing latency and ensuring immediate response during performances.
- Higher buffer sizes (256 to 1024 samples) are preferable during mixing and mastering, allowing for extensive processing without latency concerns.
- For MIDI recording, lower settings like 32 or 64 samples enhance real-time performance, reducing the delay between input and playback.
- Regularly adjusting buffer size is essential, as high latency can disrupt vocal recordings and negatively impact overall quality.
As you work on different tasks, keep in mind that each requires varying amounts of time and processing capability.
Tips for Optimizing DAW Performance
Optimizing your Digital Audio Workstation (DAW) performance is key to a smooth music production experience. Start by adjusting your buffer size based on your current task. For recording, set it to 128 or 256 samples to minimize latency and guarantee real-time performance. When mixing or mastering, increase it to 512 or 1024 samples to handle extensive processing without interruptions.
Here's a quick reference table to help you:
| Task | Recommended Buffer Size | Expected Latency |
|---|---|---|
| Recording | 128-256 samples | Low |
| Mixing | 512-1024 samples | Moderate |
| Live Performance | 128-256 samples | Low |
Monitor your CPU load throughout your sessions. If necessary, freeze tracks with heavy plug-ins to reduce strain and maintain smooth playback. Utilize direct monitoring when recording to bypass computer processing, which greatly diminishes latency for instruments and vocals. Finally, regularly update your DAW and plug-ins, and close unnecessary applications to optimize overall system performance and prevent overload errors during high-demand sessions. Monitor your CPU load throughout your sessions. If necessary, freeze tracks with heavy plug-ins to reduce strain and maintain smooth playback. Utilize direct monitoring when recording to bypass computer processing, which greatly diminishes latency for instruments and vocals. Finally, regularly update your DAW and plug-ins, and close unnecessary applications to optimize overall system performance and prevent overload errors during high-demand sessions. Additionally, disable unnecessary background apps that might consume valuable CPU and RAM resources without your knowledge. This small step can significantly enhance system stability, ensuring your creative workflow remains uninterrupted. Prioritizing system efficiency will allow you to focus on capturing your best performances and mixing with precision.
Frequently Asked Questions
What Should My Buffer Size Be Set To?
Set your buffer size based on your task. For recording vocals, try 128 or 256 samples. When mixing, go for 512 to 1024 samples. Adjust as needed depending on your project's complexity and demands.
Is 256 Buffer Size Good?
Yes, a 256 buffer size is good for recording. It balances low latency with processing power, making it suitable for real-time monitoring. Just keep an eye on your system's performance during more complex tasks.
What Should My Buffer Size Be in Logic Pro?
When you're working in Logic Pro, your buffer size can greatly impact performance. For recording, stick to 128-256 samples, but for mixing, don't hesitate to increase it to 512 or 1024 samples. Adjust accordingly!
What Buffer Size Should I Use Focusrite?
For your Focusrite interface, start with a buffer size of 128 samples for recording vocals. If you're mixing or mastering, consider increasing it to 256 or 512 samples to accommodate more processing without lag.
Conclusion
In your quest for the perfect buffer size, remember that fine-tuning it can transform your music-making experience from a frustrating slog into a smooth, melodic journey. By understanding the relationship between sample rate and buffer size, you can keep lag at bay and let your creativity flow effortlessly. So, adjust wisely and watch your DAW bloom like a flower in spring, bringing your artistic vision to life without missing a beat!