Creating your own impulse responses lets you craft unique, realistic textures for sound design projects. By selecting ideal spaces or objects and recording carefully with the right equipment, you can capture authentic acoustic characteristics. Then, you can edit and manipulate these IRs to shape your desired soundscape, blending them seamlessly into your work. Exploring advanced techniques and integration tips will help you maximize your custom IRs’ potential—continue exploring to open more creative possibilities.
Key Takeaways
- Record high-quality impulse responses in unique environments or on specific objects to craft custom reverbs and textures.
- Use appropriate microphones and techniques to capture clear, detailed IRs that reflect your desired sound environment.
- Edit and process your IRs with noise reduction, EQ, and dynamic control for tailored sound design.
- Experiment with blending, reversing, or time-stretching your IRs to create innovative effects and atmospheres.
- Integrate your self-made IRs into projects by matching tone and space, enhancing uniqueness and realism in your soundscapes.

Logitech Creators Blue Yeti USB Microphone for PC, Mac, Gaming, Recording, Streaming, Podcasting, Studio and Computer Condenser Mic with Blue VO!CE effects, 4 Pickup Patterns, Plug and Play – Blackout
- Custom three-capsule array: Broadcast-quality sound for various uses
- Blue VO!CE software: Enhanced effects and HD audio samples
- Four pickup patterns: Versatile recording options for vocals and instruments
As an affiliate, we earn on qualifying purchases.
As an affiliate, we earn on qualifying purchases.
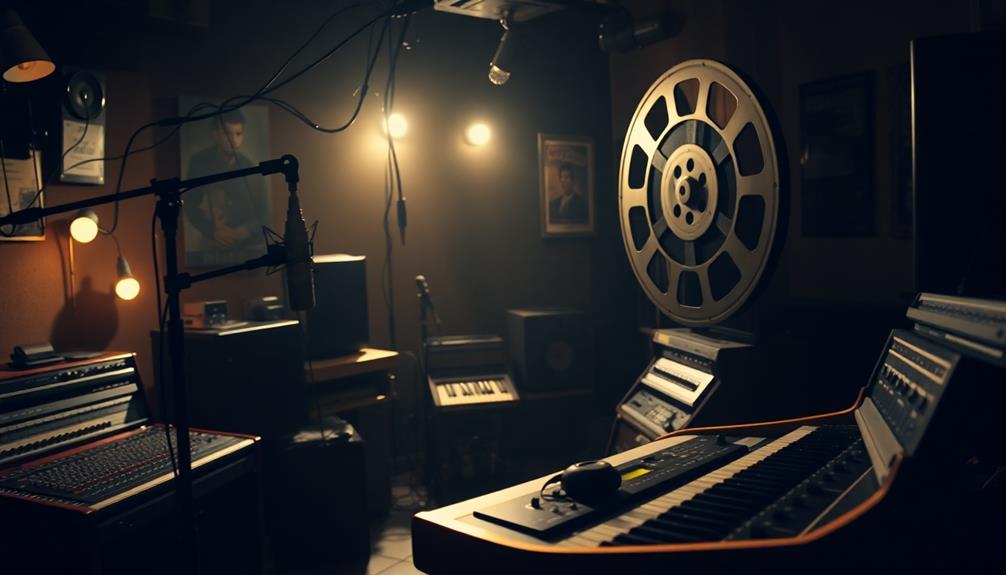
Understanding Impulse Responses and Their Role in Sound Design
Impulse responses are essential tools in sound design because they capture how a space or a piece of equipment responds to a brief, sharp sound. By analyzing an impulse response, you can understand the acoustic properties of a room or device, including how sound reflection occurs within the environment. These reflections influence the character of the sound, adding depth or creating specific effects. When you record an impulse response, you’re fundamentally capturing the way sound waves bounce and decay, revealing the unique qualities of that space or equipment. This makes impulse responses invaluable for recreating realistic acoustics or crafting innovative soundscapes. The quality of the recorded impulse response can be affected by factors such as sound reflection, microphone placement, and environmental noise. In essence, they provide a snapshot of how sound behaves, enabling precise manipulation in your sound design projects.
Selecting the Right Space or Object for Recording
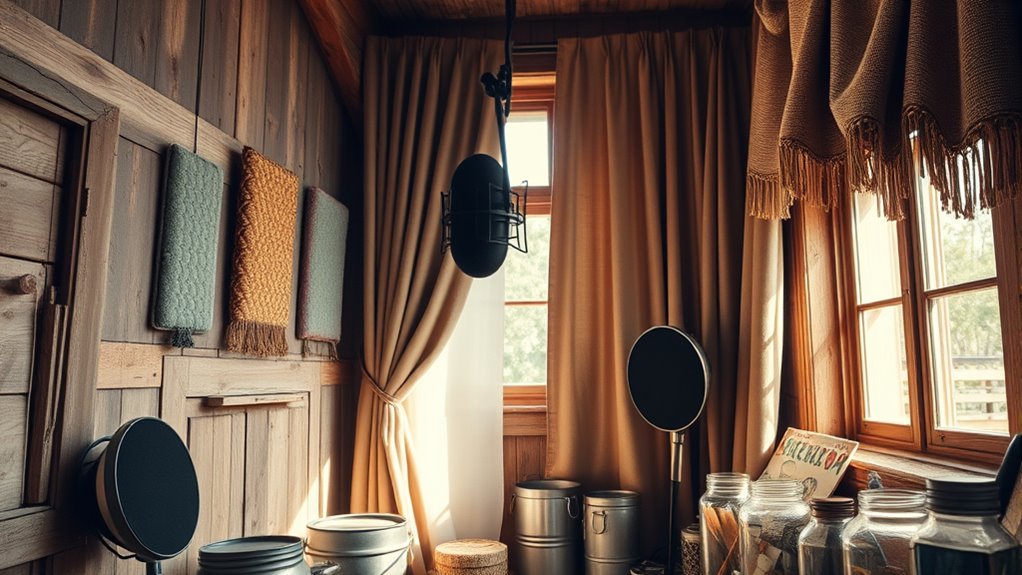
Choosing the right space or object for recording is essential because it directly affects the quality and character of your impulse response. Room acoustics play a vital role; a space with reflective surfaces creates lively, resonant responses, while a more absorptive environment produces cleaner, more controlled sounds. Consider the size and shape of the room, as these influence how sound waves bounce and decay. When selecting objects, focus on those with distinct resonance qualities—percussive instruments, metallic surfaces, or even household items can add unique tonal characteristics. The resonance of an object determines its sustained vibrations, which will shape your impulse response. Additionally, understanding the room layout and how different surfaces interact can help you optimize your recording environment. By carefully choosing spaces and objects with desirable acoustic properties, you set a solid foundation for capturing compelling, usable impulse responses.
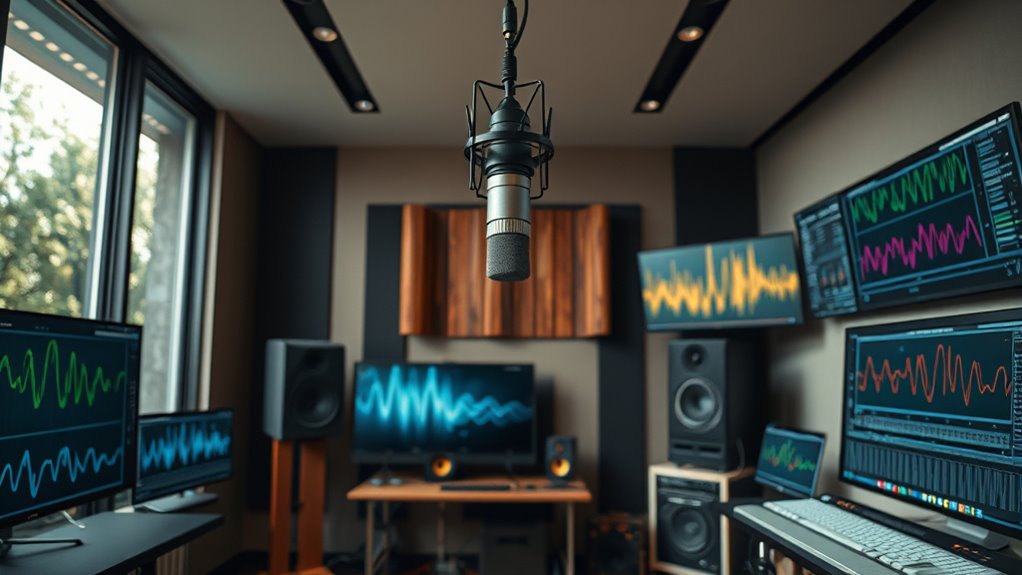
Equipment Needed to Capture High-Quality Impulse Responses
To get the best impulse responses, choosing the right microphone is essential—you’ll want one that captures accurate, detailed sound. Setting up in an ideal recording environment also makes a big difference, reducing unwanted noise and reflections. By understanding these equipment essentials, you’ll guarantee your recordings are clean and precise. Additionally, using proper shielding can help prevent electromagnetic interference that might compromise audio quality.
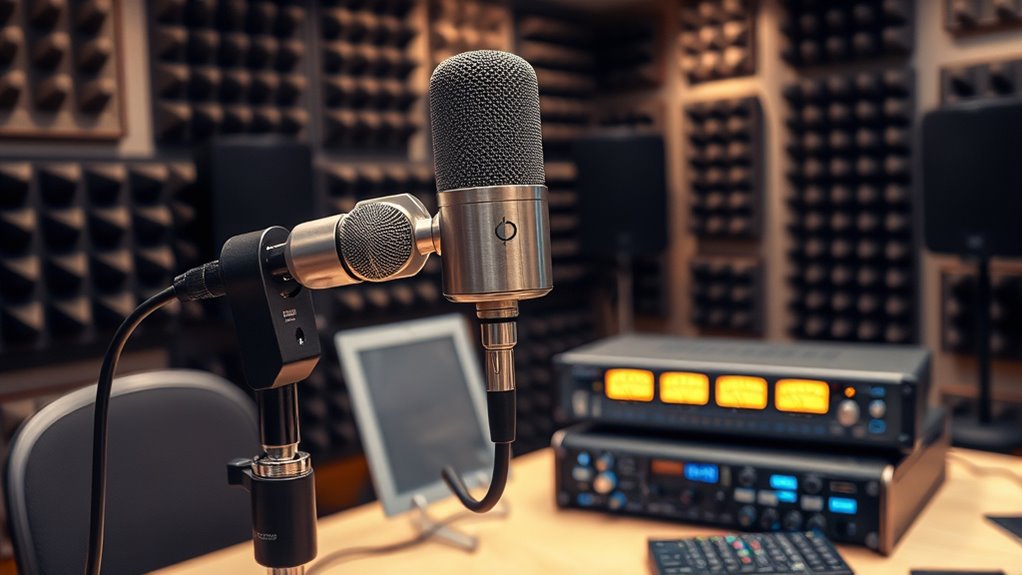
Microphone Selection Tips
Selecting the right microphones is essential for capturing high-quality impulse responses, as they directly influence the accuracy and detail of the recorded sound. Different microphone types, such as condenser, dynamic, or ribbon mics, each have unique characteristics suited for specific recording techniques. Condenser microphones, with their sensitivity and flat frequency response, are ideal for capturing detailed impulses. Dynamic mics can handle loud sounds and are useful in noisy environments. Ribbon mics offer smooth, natural sound but require careful handling. When choosing, consider the environment and the sound source. Use close-miking techniques to capture direct sound details, or experiment with distant miking for room characteristics. Selecting appropriate microphone types and applying proper recording techniques ensures your impulse responses are clear, precise, and true to the original sound. Additionally, understanding sound capture techniques can help optimize your recordings for the best results.
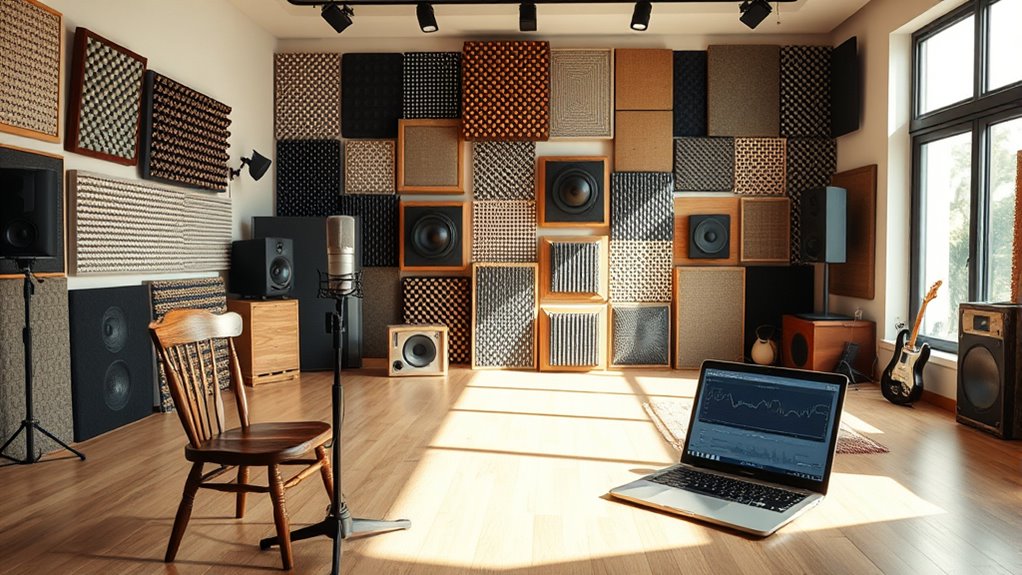
Optimal Recording Environment
Capturing high-quality impulse responses requires a well-controlled recording environment equipped with the right gear. Your room acoustics play a vital role; a space with minimal reflective surfaces and balanced sound absorption ensures clarity. Avoid excessive echo or reverb, which can muddy your recordings. Proper microphone placement is essential—position your mic to capture the desired sound source directly, experimenting with distance and angle to find the best spot. Using a sturdy stand and high-quality cables helps maintain signal integrity. Consider treating your space with diffusers or absorbers to refine acoustics further. A quiet environment free of external noise is indispensable, so schedule recordings during low-traffic times. These steps ensure your impulse responses are crisp, detailed, and true to the original sound. Additionally, understanding room acoustics can help you optimize your environment for even better recordings.
Step-by-Step Guide to Recording Your Own Impulse Responses
Recording your own impulse responses allows you to capture the unique acoustics of a space, giving you more control over your sound design. Start by setting up your microphone to best capture room acoustics; experiment with microphone placement to find the spot that highlights the space’s character. Use a loud, short noise, like a clap or balloon pop, to generate the impulse. Record multiple takes to ensure clarity and detail. Remember, the goal is to capture the space’s true sound. Here’s an emotional overview:
| Feelings to Evoke | Key Actions |
|---|---|
| Excitement | Explore different spots |
| Curiosity | Test various microphone angles |
| Satisfaction | Capture clean impulses |
| Connection | Experience your space anew |
Additionally, ensuring your headphones are properly calibrated can help you better hear the nuances in your recordings, leading to more accurate sound design.
Editing and Processing Your Recorded Impulse Responses
Once you’ve recorded your impulse responses, it’s essential to clean up the audio by reducing noise and unwanted sounds. Next, you’ll want to use equalization to shape the tone and clarity of your IRs, ensuring they fit your project. Finally, applying dynamic range compression can help control volume levels and make your responses more consistent. Incorporating automation in audio processing can further refine your response adjustments and improve overall sound quality.
Cleaning and Noise Reduction
When working with impulse responses, cleaning and noise reduction are essential steps to guarantee high-quality sound design. Background noise and ambient sound can easily be captured during recording, which may interfere with the clarity and accuracy of your impulse response. To refine your recordings, start by using noise reduction tools to remove constant background noise without affecting the main signal. Carefully identify and reduce any ambient sound that might muddy the response. Use spectral editing to isolate unwanted noise and apply gentle filtering to preserve the natural characteristics of your impulse response. This process ensures your IR remains clear, detailed, and free of distracting artifacts, providing a solid foundation for seamless integration into your sound design projects. Additionally, detect passive voice to improve the clarity and impact of your writing.
Equalization Techniques
How can you shape the tonal balance of your impulse responses to better fit your project? Equalization is vital for refining your recordings. Start by analyzing how room acoustics influence your impulse response; unwanted resonances or boomy frequencies may require targeted cuts. Adjusting microphone placement during recording can also help minimize problematic frequencies from the start. When editing, consider:
- Cutting or boosting specific frequency bands to enhance clarity
- Using high-pass filters to reduce low-frequency muddiness
- Applying shelving EQ to balance bass and treble
- Employing narrow-band cuts to eliminate resonant peaks
These techniques allow you to tailor the tonal profile, ensuring your impulse responses complement your sound design goals. Proper EQing enhances realism and fit within your mix, especially when considering room acoustics and microphone placement. Additionally, understanding sound healing science can inspire innovative ways to incorporate frequencies that promote healing and well-being into your sound design.
Dynamic Range Compression
Have you considered how dynamic range compression can enhance your impulse responses? By applying compression techniques, you can control the dynamic range, making quieter sounds more audible and preventing loud peaks from distortion. This process evens out the response, revealing subtle details that might otherwise be lost. When compressing, adjust the threshold so that only the loudest portions are affected, and use ratio settings carefully to avoid squashing the sound. You might also experiment with attack and release times to preserve natural transients or create a more controlled effect. Properly applied, compression improves clarity and cohesion in your impulse responses, making them more versatile for sound design. With thoughtful use, you’ll bring out the full potential of your recordings.
Loading and Applying Custom IRs in Your Sound Design Workflow
Loading and applying custom impulse responses (IRs) is a straightforward way to tailor your sound design and create unique effects. Start by analyzing the IR’s impulse response analysis to understand its acoustic environment, helping you choose the right one for your project. Once loaded into your plugin or DAW, you can apply the IR to any audio source for realistic reverb or spatial effects. Consider these tips:
- Match the IR’s acoustic environment to your desired space
- Use multiple IRs for layered, complex textures
- Adjust gain and dry/wet mix to balance clarity
- Experiment with reverse or time-stretched IRs for unique effects
- Top 10 anime films offer inspiration for creative soundscapes and mood setting.
Creative Techniques for Manipulating Impulse Responses

To access unique soundscapes, you can creatively manipulate impulse responses beyond basic loading and application. One technique is ambience layering, where you blend multiple IRs to craft complex, evolving environments. By combining different spaces or adding subtle reverbs, you create rich textures that transform your sound. Frequency modulation is another powerful tool; applying modulation to the IR can alter its tonal qualities, producing shimmering or shifting effects. Experiment with subtle vibrato or more intense frequency shifts to evoke movement or surreal atmospheres. These approaches allow you to push the boundaries of traditional IR use, giving you more control over the character and mood of your sound design. With these techniques, you turn simple recordings into dynamic, immersive sonic landscapes.
Tips for Integrating Self-Created IRS Into Your Projects

When incorporating self-created impulse responses into your projects, the key is to guarantee they seamlessly blend with your existing soundscape. Focus on impulse customization to match the tone and character of your mix. Assure spatial accuracy by aligning the IR’s perspective with your desired environment, whether it’s a small room or vast hall. To improve integration, consider these tips:
- Adjust levels and EQ to match your project’s frequency response
- Use panning and reverb settings to enhance spatial consistency
- Test IRs in different contexts to assess realism
- Tweak impulse length to avoid unnatural reverberation tails
Frequently Asked Questions
Can I Use Impulse Responses From Outdoor Environments for Indoor Sound Design?
Yes, you can use outdoor impulse responses for indoor sound design, but it’s important to take into account environmental authenticity and acoustic adaptation. Outdoor IRs can add unique qualities, but they may not perfectly match indoor acoustics. To achieve a realistic and immersive sound, you might need to process or blend them with indoor IRs. This way, you guarantee your sound design feels authentic while adapting to the specific acoustic environment you’re working with.
How Do I Ensure Consistency When Recording Multiple Impulse Responses?
You want consistency when recording multiple impulse responses, so you focus on microphone calibration and room acoustics. You guarantee your microphones are properly calibrated before each recording, avoiding variations. You also maintain the same room conditions—like positioning, ambient noise, and sound absorption—to keep room acoustics consistent. By controlling these factors, you create reliable impulse responses, preserving the integrity and uniformity of your sound design across different recordings.
Are There Specific Microphone Placements Recommended for Capturing Different Spaces?
When capturing impulse responses, you should consider microphone positioning and room acoustics carefully. Place your microphone where the sound source reflects naturally, avoiding direct line-of-sight to walls or objects that could distort the sound. Experiment with different placements to find the most representative sound. Pay attention to room acoustics, as they influence the captured response; choose spaces with balanced reflections for clearer, more consistent impulse responses.
What Are Common Mistakes to Avoid When Creating Your Own IRS?
When creating your own impulse responses, avoid common mistakes like skipping impulse response calibration, which guarantees your sound environment accuracy. Don’t record in a noisy space, as background noise distorts the IR. Also, neglecting proper microphone placement can lead to inaccurate captures. Always test your IRs thoroughly before use, and aim for consistent recording conditions to maintain the integrity of your sound environment accuracy.
How Can I Creatively Layer Multiple Impulse Responses for Unique Effects?
To create unique effects, you should experiment with layering techniques by combining multiple impulse responses creatively. Try overlapping different IRs to produce complex textures, or process them with effects like EQ, distortion, or reverb beforehand. Don’t be afraid to blend unconventional sounds for unexpected results. Focus on balancing the layers and applying creative processing to craft distinctive soundscapes that stand out, pushing your creative boundaries with each new combination.
Conclusion
By creating your own impulse responses, you open up a world of unique sound possibilities. With a little effort, you can craft what’s truly your own, giving your projects a personal touch that stands out. Remember, practice makes perfect, and the more you experiment, the more your skills will grow. Don’t be afraid to think outside the box—sometimes, the most unexpected sounds can become your greatest creative assets.