
To make your arrangements look smarter, focus on visual cues like contrast and texture for precise layer removal. Use selection tools that respond to color differences, such as the Magic Wand or Lasso, and zoom in to analyze textures for better accuracy. Enhancing edge sharpness with filters and smoothing helps create clean, seamless results. Mastering these techniques lets you remove unwanted layers quickly, making your designs appear more professional. Keep exploring to disclose even more effective tricks.
Key Takeaways
- Use high contrast and texture cues to quickly and accurately isolate layers for cleaner arrangements.
- Temporarily increase contrast or apply filters to enhance edge definition during layer removal.
- Combine selection tools with visual cues for precise, mess-free layer isolation.
- Zoom in to analyze textures and refine edges for seamless layer integration.
- Feather or smooth edges post-removal to create polished, professional-looking compositions.
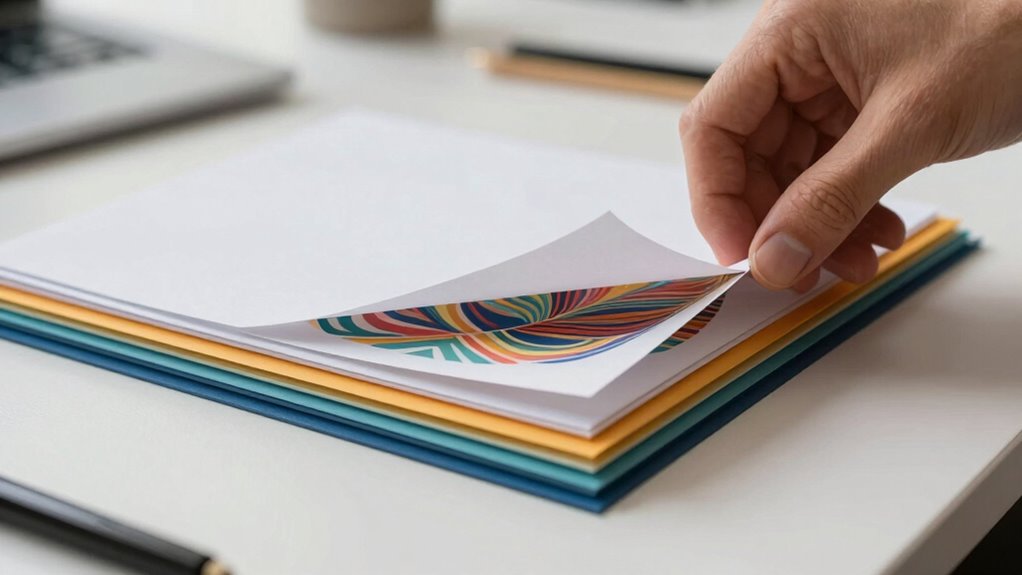
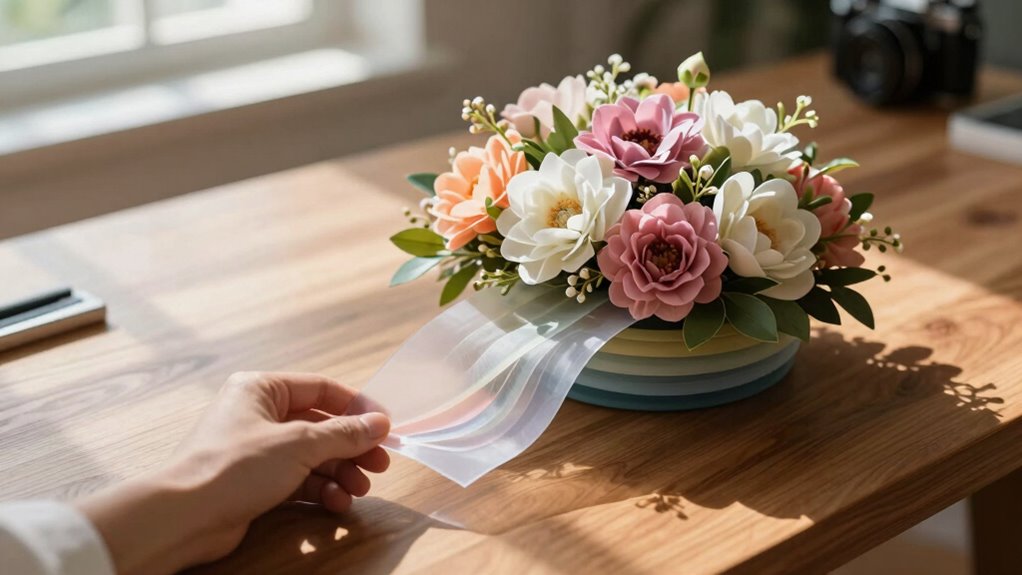
Have you ever needed to remove a specific layer from your design or photo quickly and cleanly? It’s a common challenge, especially when you’re trying to refine your composition or experiment with different arrangements. The good news is, mastering a simple layer removal trick can make your work look smarter and more professional, without wasting time on complicated edits. One key to doing this seamlessly lies in understanding how to leverage color contrast and texture variation within your layers.
Master quick, clean layer removal by leveraging color contrast and texture variation for a professional finish.
When you’re working with multiple layers, recognizing areas of high color contrast makes it easier to isolate and delete unwanted sections. For example, if a layer contains elements with stark color differences—say, a bright red against a dark background—you can use selection tools that respond well to color contrast, like the Magic Wand in Photoshop. This allows you to select and remove the entire layer or specific parts of it with just a few clicks. Meanwhile, subtle textures can be trickier, but they’re equally important. Texture variation helps you identify distinct layers; rough textures, smooth gradients, or patterned surfaces act as visual cues that you can exploit to select and remove layers efficiently.
The trick is to combine these visual cues to your advantage. Before deleting a layer, zoom in and analyze the texture variation to see where it differs most from adjacent layers. If the layer has a unique texture or color contrast, you can use targeted selection tools—like the Lasso or Quick Selection—to isolate just that layer without disturbing the rest of your composition. This precision prevents the need for messy erasing or complex masking later on, saving you time and keeping your workspace clean. Additionally, understanding the importance of visual cues such as contrast and texture variation allows you to develop more intuitive editing skills, making your workflow more efficient. Practicing these techniques also trains your eye to better recognize layer boundaries, which is essential for seamless editing. Recognizing these cues can also help in layer masking, providing even more control over your edits.
Adjusting the visual contrast temporarily can further enhance the clarity of the layer’s edges, aiding in more precise removal. For example, increasing contrast or applying a filter can make the layer’s edges more defined, which simplifies its removal. Once you’ve made your selection, you can refine it further by feathering or smoothing the edges to ensure a seamless removal. This process not only looks cleaner but also preserves the integrity of surrounding layers.

Extract Backgrounds Photoshop Elements: Magic Wand Tool (Photoshop Elements Made Easy Book 153)
As an affiliate, we earn on qualifying purchases.
As an affiliate, we earn on qualifying purchases.
Frequently Asked Questions
Does Layer Removal Work With All Types of Floral Arrangements?
Layer removal works well with most flower arrangements, but its effectiveness depends on your design techniques and the style you’re aiming for. For example, in a lush, full bouquet, removing some layers can add depth and highlight focal flowers. However, in minimalist or symmetrical arrangements, it might disrupt the balance. So, experiment and adapt the layer removal trick based on your specific flower arrangement to achieve the desired visual impact.
Can Layer Removal Be Used With Artificial Flowers?
Yes, layer removal can be used with artificial flowers. It’s a useful floral arrangement tip for maintaining artificial flower arrangements, helping to keep them looking fresh and well-organized. By removing excess layers or petals, you can improve the overall appearance and make your display more realistic. This technique simplifies artificial flower maintenance, ensuring your arrangements stay attractive longer and enhancing your floral design skills.
How Often Should I Reapply the Layer Removal Trick?
You should reapply the layer removal trick every few months to maintain flower preservation and extend your arrangement’s longevity. Regularly doing this keeps your flowers looking fresh and vibrant, preventing buildup or dullness. Keep an eye on your arrangement’s appearance; if it starts to look faded or dull, it’s time for another application. Consistent reapplication guarantees your flower display remains beautiful and well-preserved over time.
Are There Any Tools Needed for the Layer Removal Process?
Did you know that 85% of DIYers find the right tools make their projects easier? For the layer removal process, you’ll need basic tools like a palette knife or scraper, and possibly some masking tape. Always prioritize safety precautions—wear gloves and eye protection. These tools help you remove layers smoothly and prevent damage, making your arrangement look professional without extra hassle.
Will Layer Removal Damage Delicate Flower Petals?
Layer removal, if done carefully, won’t damage delicate flower petals. You need to handle petals gently to guarantee petal preservation and maintain floral longevity. Use your fingers or fine tools with light pressure to remove excess layers without tearing or bruising the petals. Taking your time and being gentle helps keep the flowers looking fresh and vibrant longer, enhancing your arrangement’s overall appearance and lifespan.
Conclusion
By removing a layer, you strip away complexity, revealing the core brilliance of your arrangement. It’s like peeling back an onion to find its sweet center or clearing fog to see a clear path ahead. This simple trick transforms confusion into clarity, making your arrangements feel smarter and more intentional. Sometimes, less truly is more—because in stripping away, you uncover the true depth and elegance beneath the surface, guiding you toward better, more confident decisions.