To achieve commercial loudness faster, select reference tracks that match your genre and style. Use spectral analysis and LUFS meters to compare loudness, dynamic range, and tonal balance accurately. Set up an optimized listening environment with proper acoustic treatment and calibrated speakers. Regularly compare your mix to the reference, adjusting EQ, compression, and levels. Consistent analysis helps guide your decisions efficiently. Keep refining your process—more insights await to streamline your workflow even further.
Key Takeaways
- Select genre-matched reference tracks early to guide tonal balance and loudness targets during mixing and mastering.
- Use spectral analysis and LUFS meters to compare your mix with references for quick loudness and dynamic range alignment.
- Implement consistent acoustic treatment and calibrated monitoring to ensure accurate listening and comparison sessions.
- Regularly perform A/B comparisons with reference tracks to monitor progress and maintain alignment with commercial loudness standards.
- Automate or streamline loudness adjustments, such as targeted compression and normalization, for faster achievement of industry-standard loudness levels.

Nobsound AK2515 Pro Audio Spectrum Analyzer with VFD Display, MIC Input & Advanced AGC – Precise Sound Level Meter for Musicians and Audio Enthusiasts
- High-Resolution VFD Display: 25×15 resolution with precise clock
- Wide Frequency Range: 20Hz to 20kHz spectrum analysis
- Multiple Connectivity Options: Supports AUX and MIC inputs
As an affiliate, we earn on qualifying purchases.
As an affiliate, we earn on qualifying purchases.
Understanding the Role of Reference Tracks in Loudness Optimization
Reference tracks serve as essential benchmarks in loudness optimization because they provide a clear standard for how your mix should sound relative to professional releases. They help you gauge your mix’s dynamic range, ensuring it maintains punch without becoming overly compressed. By comparing your track’s loudness to a reference, you can avoid pushing your levels too far, preserving the natural ebb and flow of the music. Additionally, reference tracks guide your stereo imaging, helping you achieve a balanced, wide soundstage that feels professional and polished. Listening critically to these tracks allows you to identify subtle differences in spatial placement and loudness, ensuring your mix translates well across different playback systems. Using reference tracks keeps your loudness consistent and aligned with industry standards, making the overall process more efficient. Moreover, understanding the 16PF traits of your target audience can help tailor your mix to better resonate with listeners’ preferences.
Selecting the Right Reference Tracks for Your Project
Choosing the right reference tracks starts with matching your project’s genre and style to guarantee consistency. Next, consider the frequency spectrum to see how the tracks balance lows, mids, and highs. Finally, analyze loudness trends to select references that align with your desired final sound. Additionally, paying attention to color accuracy ensures that the reference tracks accurately represent the intended tonal palette of your project.
Match Genre and Style
How do you guarantee your project resonates with the right audience? The key is matching genre and style with your reference tracks. Choose tracks that reflect the same genre and maintain style consistency throughout your project. This ensures you’re comparing your work against benchmarks that align with your intended sound. To visualize, consider this table:
| Genre | Style |
|---|---|
| Pop | Upbeat, catchy |
| Hip-Hop | Bass-heavy, rhythmic |
| Rock | Gritty, energetic |
| Electronic | Synth-driven |
| Indie | Lo-fi, intimate |
Matching genre and style helps you fine-tune your mix effectively, ensuring your project stays true to its identity and appeals to your target audience. Additionally, understanding the Personality Test traits can aid in aligning your creative choices with your personal or target audience preferences.
Consider Frequency Spectrum
Since the frequency spectrum plays a crucial role in shaping your project’s overall sound, it’s essential to choose reference tracks with a similar frequency balance. Look for tracks that match your desired tonal consistency, ensuring they highlight the same low, mid, and high-frequency characteristics. This alignment helps you gauge how your mix will translate across different playback systems and maintain a cohesive sound. By selecting references with comparable spectral content, you can more accurately identify areas needing adjustment, whether it’s boosting the bass or taming harsh highs. Focusing on frequency spectrum alignment ensures your mix maintains tonal consistency with professional tracks, making it easier to achieve a polished, commercial-ready sound faster. Additionally, understanding angel numbers can inspire a more intuitive approach to your mixing process, encouraging you to trust your ears and instincts throughout the workflow.
Analyze Loudness Trends
Have you ever listened to a reference track and felt it sounded just right, only to realize it’s because of its loudness level? Analyzing loudness trends helps you understand how the track’s loudness has evolved, revealing its dynamic range and consistency. Pay attention to how loudness normalization has been applied, ensuring the track maintains a balanced perception across different playback systems. By studying these trends, you can identify whether a track is overly compressed or preserves natural dynamics, guiding you in selecting the most suitable reference. Recognizing the relationship between loudness levels and dynamic range allows you to match your project’s loudness more accurately. This insight guarantees that your mix will sound professional and competitive without sacrificing its musical integrity. Additionally, monitoring loudness normalization settings can help you better understand how different platforms will render your final mix.
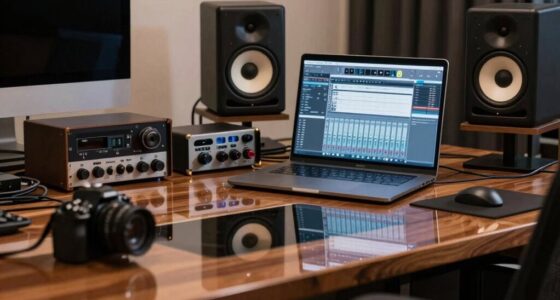
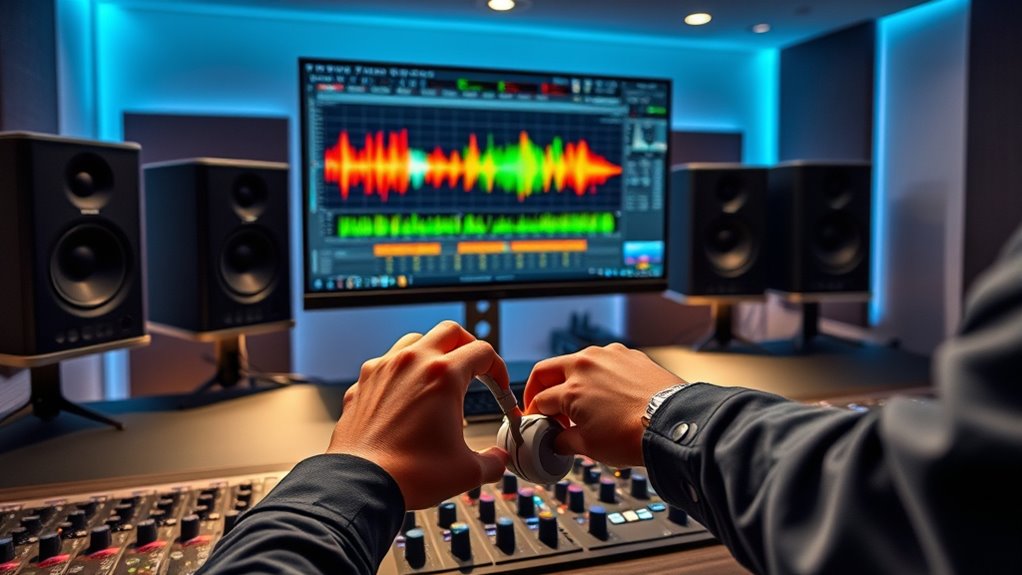
Setting Up Your Listening Environment for Accurate Comparisons
To get accurate comparisons, you need a listening environment that’s properly established. Acoustic treatment reduces unwanted reflections and guarantees your room doesn’t color your sound. Keeping your monitoring setup consistent helps you make reliable judgments across different sessions. Regularly inspecting and maintaining your equipment ensures optimal performance and consistent sound quality. Proper maintenance practices are essential for achieving accurate and dependable results.
Acoustic Treatment Importance
Creating an accurate listening environment requires paying close attention to acoustic treatment. Proper soundproofing and optimized room acoustics help guarantee your mixes translate well. Focus on these key points:
- Use bass traps to control low-frequency resonances.
- Add diffusers and absorbers to reduce reflective surfaces.
- Seal gaps and doors to prevent external noise intrusion.
- Position speakers correctly to enhance stereo imaging.
- Regularly monitor and adjust your room setup to maintain an optimal listening environment for accurate comparisons.
These steps enhance soundproofing and improve room acoustics, making your environment more neutral. A well-treated space minimizes unwanted echoes and frequency anomalies, giving you a clearer picture of your mix. Without proper acoustic treatment, you risk inaccurate comparisons and compromised mixing decisions. Investing time in acoustic treatment is essential for consistent, reliable reference tracks. It’s the foundation for achieving professional results faster and with greater confidence.
Consistent Monitoring Setup
Establishing a consistent monitoring setup is essential for making accurate mixing decisions, as it guarantees your ear develops a reliable reference point across different sessions. Proper speaker placement and optimized room acoustics are key. Position your speakers at ear level, equidistant from your listening position, and avoid reflective surfaces. Consistent placement ensures your mixes translate well. Use the following table to understand the importance of setup:
| Aspect | Ideal Setup | Impact on Accuracy |
|---|---|---|
| Speaker Placement | Equidistant and at ear height | Consistent sound field |
| Room Acoustics | Minimize reflections, add bass traps | Clearer, more reliable sound |
| Listening Position | Centered and at sweet spot | Better stereo imaging |
| Calibration | Regularly calibrate monitors | Accurate level and tone |
| Monitoring Volume | Keep consistent volume levels | Prevents ear fatigue |
This setup improves your ability to make precise, repeatable decisions. Additionally, headphone calibration can further enhance your monitoring accuracy, especially when mixing in environments where speaker placement is limited.
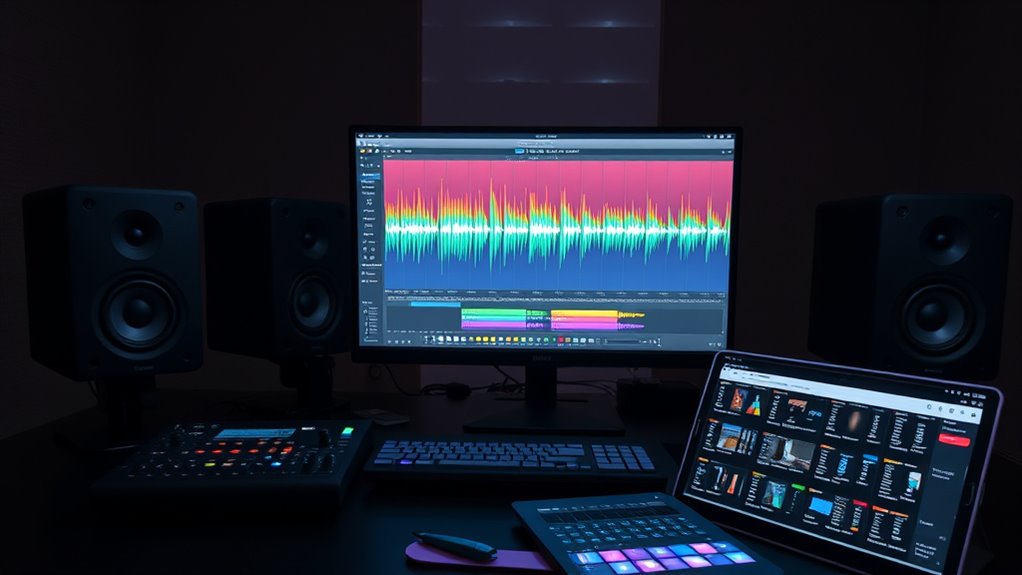
Analyzing Your Reference Track’s Loudness and Dynamics
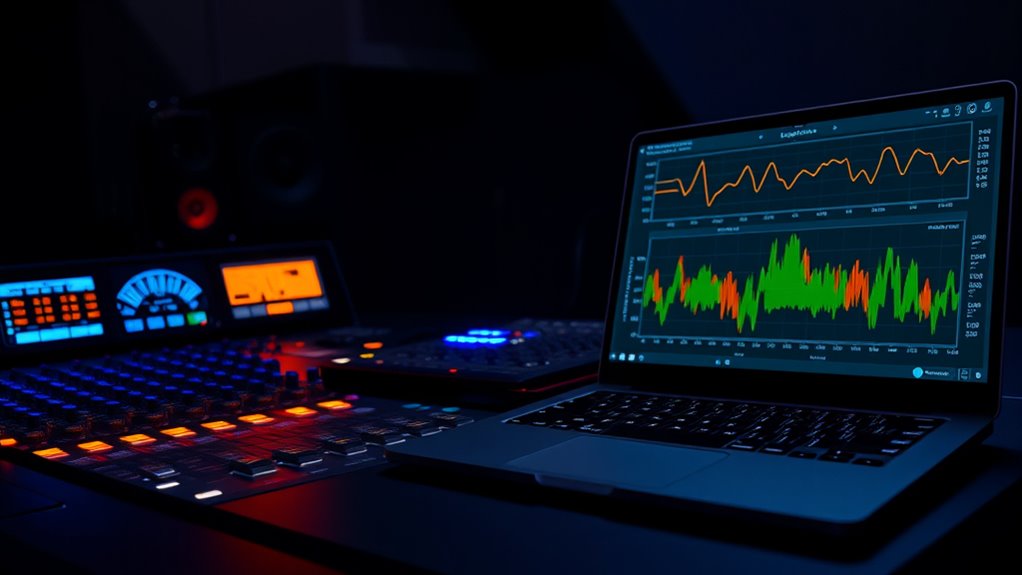
Understanding your reference track’s loudness and dynamics is essential because they set the benchmark for your mix. To analyze effectively, focus on these key aspects:
Analyzing your reference track’s loudness and dynamics helps set the perfect benchmark for your mix.
- Measure the loudness levels using LUFS meters to understand the average loudness and compare it with your target standards.
- Check the dynamic range, which indicates the difference between the quietest and loudest parts, ensuring it matches commercial releases.
- Observe how loudness normalization affects playback to see if your track maintains consistency across platforms.
- Analyze the dynamic range compression to prevent over-compression, maintaining natural dynamics.
- Pay attention to essential oils blending and scent harmony to ensure a balanced and pleasing aromatherapy experience.
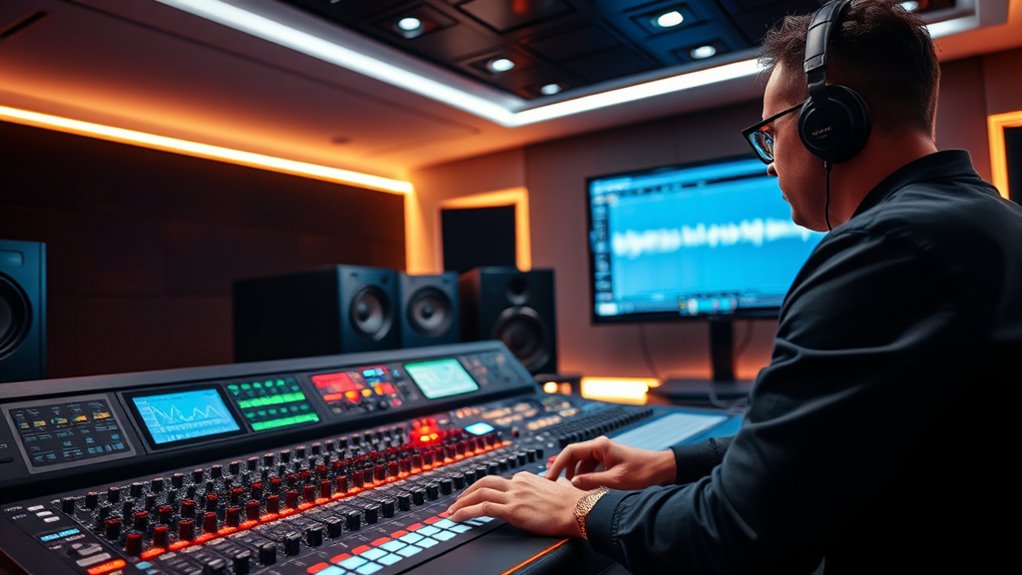
Incorporating Reference Tracks Into Your Mixing and Mastering Workflow
Incorporating reference tracks into your mixing and mastering workflow allows you to make more informed decisions and achieve a professional sound. Start by selecting tracks within the same genre to guarantee genre matching, which provides a relevant sonic benchmark. Use frequency analysis to compare your track’s spectral balance with the reference, identifying areas that need adjustment. Pay attention to how the reference’s EQ curve, tonal balance, and overall energy distribution align with your project. Regularly A/B your mix or master against the reference to gauge progress and consistency. This process helps you develop a clearer sense of target loudness, clarity, and punch. Additionally, staying informed about innovations in audio technology can further enhance your workflow and lead to superior results. By integrating these reference points systematically, you streamline your workflow and get closer to achieving commercial-quality results faster.
Fine-tuning Your Track to Match Commercial Loudness Standards
To guarantee your track competes with commercial releases, you need to fine-tune its loudness to meet industry standards. Focus on controlling the dynamic range and applying proper loudness normalization. Here’s how to do it:
Ensure your track meets industry loudness standards by controlling dynamics and applying proper normalization.
- Adjust your gain staging to ensure consistent levels without sacrificing dynamic range.
- Use metering tools to match your track’s integrated loudness to industry targets, typically -14 LUFS.
- Apply compression selectively to control peaks without crushing the dynamic range.
- Implement loudness normalization techniques during mastering to ensure your track plays at the correct perceived loudness across platforms.
Frequently Asked Questions
How Often Should I Update My Reference Tracks During a Project?
You should update your reference tracks based on your project’s progress and your listening environment. A good reference update cadence is every few sessions or when you make significant changes to your mix. This helps maintain loudness consistency and guarantees your mix stays aligned with your target sound. Regularly revisiting your references prevents drift and keeps your ears fresh, ultimately helping you achieve a professional, competitive loudness level efficiently.
Can Using Multiple Reference Tracks Cause Conflicting Loudness References?
Using multiple references can cause conflicting loudness, making it harder to judge your mix accurately. When your references have different loudness levels, you might overcompensate or under-apply processing, resulting in an inconsistent sound. To prevent this, pick one or two well-matched reference tracks and stick with them throughout your project. This approach ensures you maintain a clear, consistent loudness target and prevent conflicting loudness issues.
What Are Common Mistakes When Matching Loudness With Reference Tracks?
Imagine fighting a ghost in a haunted house, only to realize it’s just your loudness discrepancies and phase issues messing with your senses. When matching loudness, you often fall for common mistakes like ignoring phase issues, causing distortion, or relying solely on metering tools. This leads to inconsistent levels and conflicting loudness, making your track sound off. Always double-check phase alignment and listen critically to avoid these pitfalls.
How Do I Adjust My Monitoring for Different Reference Track Environments?
When adjusting your monitoring for different reference track environments, you should first check your monitoring calibration to guarantee accurate levels. Consider your room acoustics, as they impact how you perceive sound. Use proper acoustic treatment and calibration tools to minimize discrepancies. This way, you maintain consistent, reliable monitoring across various environments, helping you match loudness accurately with your reference tracks and achieve professional results more efficiently.
What Tools Are Best for Analyzing Loudness and Dynamics Accurately?
Think of your tools as a lighthouse guiding your mix to commercial loudness. Use loudness meters to gauge overall volume and make certain of consistency, like a steady beacon. Dynamic analyzers act as a radar, revealing peaks and troughs in your track’s energy. Together, they give you precise control, helping you shape your sound with confidence. These tools are essential for achieving professional loudness and dynamic balance efficiently.
Conclusion
By blending your best beats with balanced benchmarks, you’ll quickly conquer commercial loudness. Embrace efficient editing, attentive analysis, and consistent comparisons to confidently craft engaging, competitive tracks. With a focused workflow and fearless fine-tuning, you’ll flawlessly finish faster, feeling fulfilled and ready for the airwaves. Keep your ears open, your environment optimized, and your standards steady—success is just a step, a session, and a solid reference away!