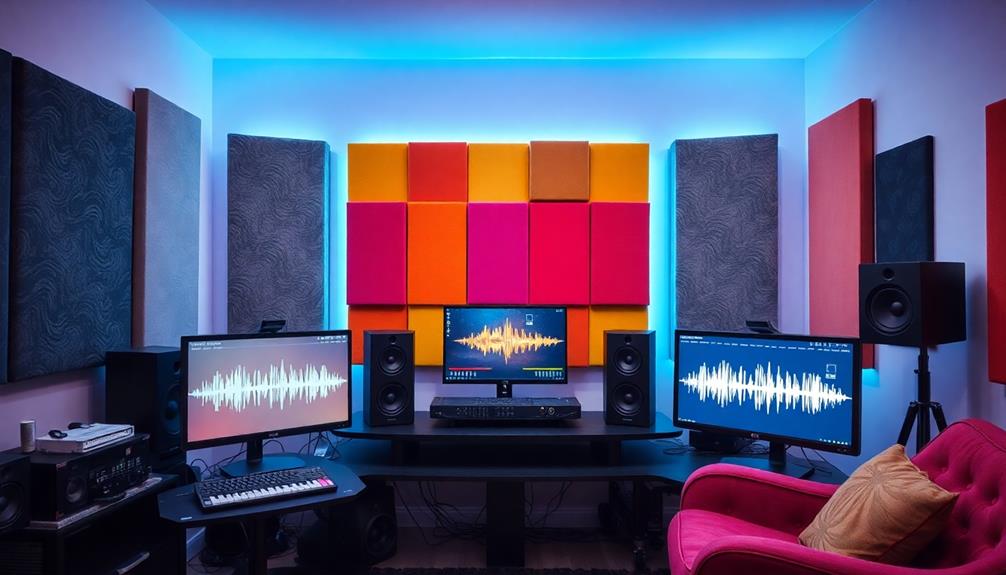
I've found that the right monitor settings can greatly enhance your DAW experience. Start with a minimum resolution of 1920×1080 for clarity, opting for a 24-inch screen or larger for better visibility. Position your monitor at eye level, about an arm's length away, to reduce strain. Don't overlook color accuracy—use calibrated IPS panels for the best results. A refresh rate of at least 60Hz is key for seamless interaction. Make sure you have plenty of connectivity options like HDMI and USB. With these settings, you'll truly optimize your sound experience, and there's more to explore on this topic!
Key Takeaways
- Choose a minimum 24-inch monitor with 1920×1080 resolution for optimal clarity in audio tracks and plugins.
- Use IPS panels for superior color accuracy and wider viewing angles, enhancing waveform and MIDI note management.
- Ensure at least a 60Hz refresh rate to reduce eye strain and improve visual feedback during long DAW sessions.
- Position the monitor at eye level and maintain an arm's length distance to promote ergonomic comfort and reduce fatigue.
- Opt for multiple connectivity options like HDMI and USB to streamline integration with audio devices and peripherals.
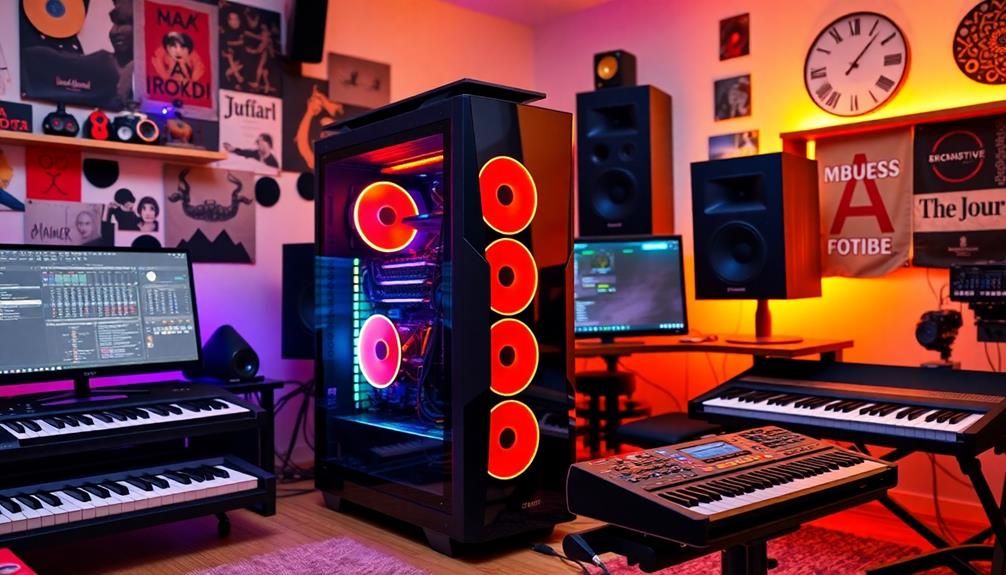
7 Inch Mini HDMI Monitor Display

When it comes to setting up a digital audio workstation (DAW), the 7-inch Mini HDMI Monitor Display stands out for its portability and versatility, making it an excellent choice for musicians and producers on the go. With its 1024×600 resolution and IPS panel, I enjoy a wide viewing angle that guarantees I can see my work clearly from various positions. The monitor's lightweight design (only 1.9 pounds) means I can easily transport it to gigs or studio sessions. Plus, the multiple connectivity options, including HDMI and USB, let me connect to different devices effortlessly. Although the built-in speakers aren't very loud, I usually rely on external audio solutions anyway. Overall, this monitor's compact size and functionality make it a valuable asset in my setup.
Best For: Musicians and producers seeking a portable and versatile monitor for their digital audio workstation setup. It delivers exceptional sound clarity and balanced audio, making it an ideal choice for critical listening and mixing. Designed with portability in mind, it ensures that you can achieve professional-quality results whether you’re in the studio or on the go. Without a doubt, it stands out as one of the best monitors for music production, offering both reliability and performance for creative professionals. Its compact design doesn’t compromise on performance, providing rich, detailed sound reproduction across all frequencies. Whether you’re layering tracks, fine-tuning mixes, or working on complex arrangements, this monitor ensures every nuance is accurately represented. For anyone in search of the best monitors for music production, this option seamlessly combines portability with studio-grade quality.
Pros:
- High portability with a lightweight design (1.9 pounds) for easy transport to gigs and studio sessions.
- Multiple connectivity options (HDMI, VGA, BNC, AV, USB) allow compatibility with various devices.
- Wide viewing angle and decent resolution (1024×600) provide clear visibility from different positions.
Cons:
- Built-in speakers may have low volume, requiring external audio solutions for better sound quality.
- Not optimal for multiple camera setups, making it less suitable for complex monitoring needs.
- Requires an external power source, which may limit its flexibility in certain setups.
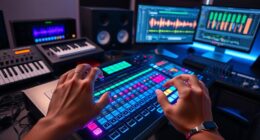
Factors to Consider When Choosing Monitor Settings for DAW Usage

When I'm setting up my monitor for DAW usage, I always consider resolution and clarity first. Color accuracy and size also play a big role, especially since I want to guarantee everything looks just right at my viewing distance. Plus, I can't forget about refresh rates and connectivity options to keep my workflow smooth and efficient.
Resolution and Clarity
Resolution and clarity are essential elements to evaluate for an ideal Digital Audio Workstation (DAW) experience. I always recommend opting for a monitor with at least 1920×1080 resolution (Full HD). This guarantees that audio tracks, plugins, and interface elements are clearly visible, making my workflow smoother. If I can, I go for higher resolution monitors, like 4K (3840×2160). They provide greater detail and allow me to display multiple tracks and windows simultaneously, enhancing my efficiency.
Clarity in monitor settings is critical for accurate audio editing. It helps me zoom into waveforms and visualize sound dynamics without experiencing pixelation, which can be a real headache. I prefer monitors with a 16:9 aspect ratio, as they accommodate the layout of most audio software well, giving me a better overview of my workspace. Additionally, I look for monitors with IPS panels, as they offer better color accuracy and wider viewing angles. This is particularly important in professional audio production, where precise visual feedback is necessary. By prioritizing resolution and clarity, I guarantee that my DAW experience is both effective and enjoyable.
Color Accuracy Importance
Getting color accuracy right is essential for a seamless DAW experience. In my work with Digital Audio Workstations, I've found that accurate color representation helps me manage visual elements like waveforms and MIDI notes effectively. When the colors are precise, I can detect subtle shifts in audio that might otherwise go unnoticed.
Using a monitor with a wider color gamut, such as sRGB or Adobe RGB, has made a significant difference in my ability to mix and edit tracks. A calibrated monitor guarantees that the colors I see are consistent across various devices, which is crucial for trusting that my visual representations will look the same on different screens.
I've learned that poor color accuracy can lead to misinterpretations of visual cues, potentially throwing off my audio mix. By prioritizing accurate color settings, I can enhance my workflow efficiency, making it easier to differentiate between various tracks and elements in my projects. In the end, investing time in getting the right color accuracy pays off, allowing for a more intuitive and productive mixing environment.
Size and Viewing Distance
Choosing the right monitor size and viewing distance is vital for an effective DAW setup. I've found that a minimum monitor size of 24 inches works best when I'm seated at a typical desk, ideally around 20 to 30 inches away. If you're looking to boost productivity, consider going for a larger monitor—27 inches or more. This size allows me to keep multiple tracks and plugins visible without excessive scrolling, which can really streamline my workflow.
Resolution also plays an important role; I recommend going for at least 1080p. A higher resolution greatly improves clarity, making it easier to read small text and detailed waveforms during mixing and editing. When it comes to viewing distance, remember that a 27-inch monitor should be viewed from about 2 to 3 feet away for best comfort and detail recognition.
Lastly, I can't stress enough the benefits of using an IPS panel. It offers wider viewing angles and better color accuracy, which is essential for both critical listening and visual tasks in a DAW environment. Keep these factors in mind to enhance your sound experience effectively!
Refresh Rate Considerations
When it comes to setting up a monitor for DAW usage, the refresh rate is a key factor that can greatly impact your experience. I've found that a refresh rate of at least 60Hz is vital for comfortable viewing during long sessions. It noticeably reduces eye strain and allows me to focus on the fine details in the audio timeline. Higher refresh rates, like 120Hz or more, can be particularly beneficial as they enhance the responsiveness of visual feedback when I'm using plugins or virtual instruments, leading to a smoother workflow.
However, it's essential to verify that your DAW and the graphics card can support the monitor's refresh rate. Otherwise, you might encounter lag or input delays that could disrupt your music production process. While the refresh rate is important, I also consider resolution and color accuracy to meet the visual demands of audio editing and mixing tasks. Balancing these factors helps create an ideal setup. Ultimately, choosing the right refresh rate is about enhancing your overall experience and performance in the studio.
Connectivity Options Available
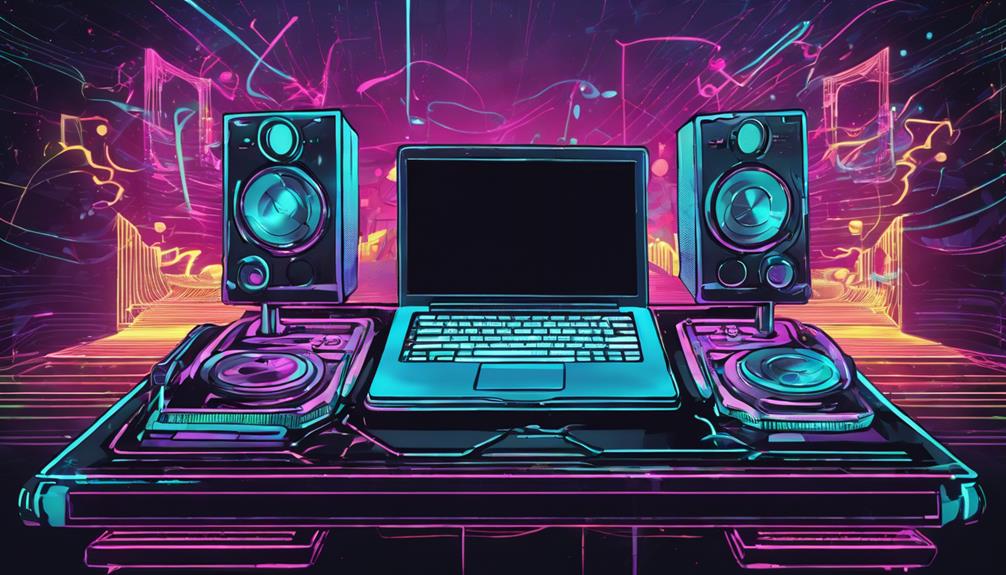
Connectivity options play an important role in setting up a monitor for DAW usage. When I consider a monitor for my audio work, I always check the available ports. HDMI and USB connections are particularly significant because they allow seamless integration with my computer, laptop, and even external storage for audio files.
I find that having multiple interfaces enhances my setup's versatility. If my monitor includes AV and BNC connections, it opens up compatibility with a wider range of audio and video equipment, which is essential for complex production tasks.
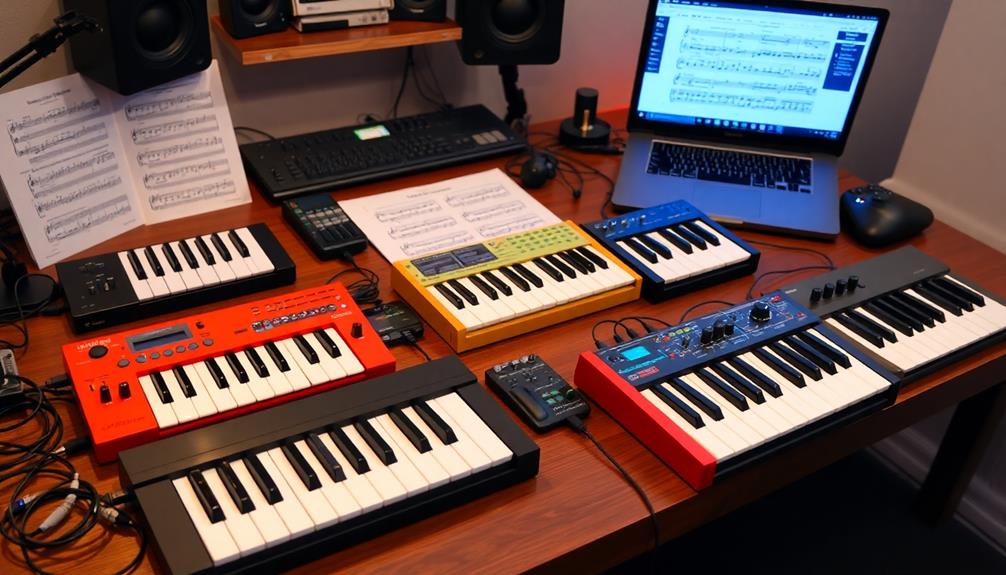
It's also critical to guarantee my monitor has enough ports for all necessary peripherals, like MIDI controllers and audio interfaces. This way, I can streamline my workflow without constantly switching cables.
Screen Positioning Techniques
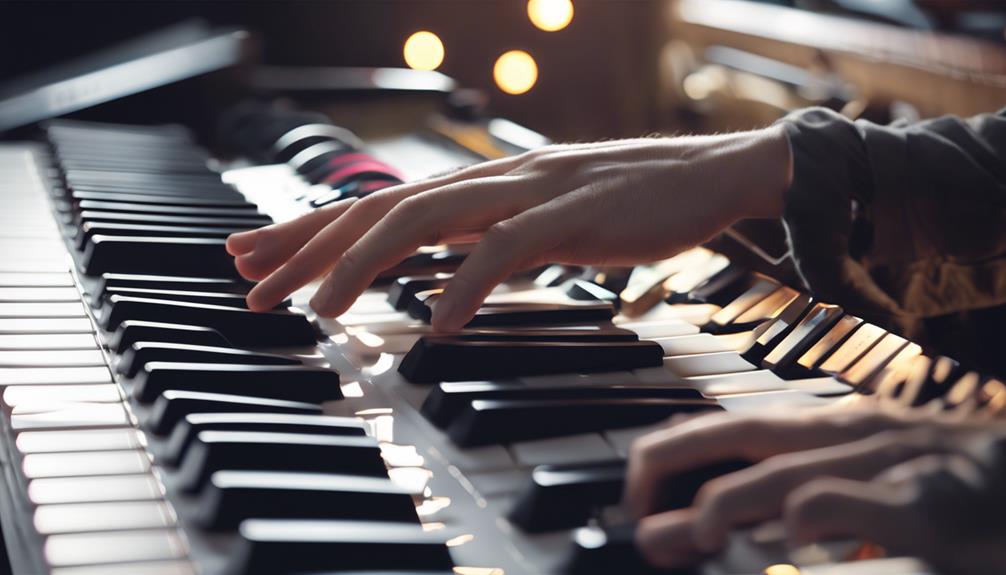
Setting up a monitor for DAW usage goes beyond just connectivity; screen positioning plays an essential role in guaranteeing comfort and efficiency during long sessions. I always position my monitor at eye level to reduce neck strain, which makes a huge difference during those marathon mixing sessions. It's also vital to keep the screen at least an arm's length away. This distance minimizes eye fatigue and allows me to see detailed elements without squinting.
I recommend using adjustable stands or mounts to tailor the screen's angle and height based on your seating position. It's all about finding that sweet spot that feels right for you. If you're like me and often juggle multiple software windows, consider adding a secondary monitor. I place mine to the side, which helps maintain my workflow without feeling cramped.
Lastly, I can't stress enough the importance of a clutter-free desk setup. Keeping your workspace tidy enhances focus and guarantees that your monitor remains the primary visual point, reducing distractions. By implementing these techniques, you'll create an ideal environment for your DAW work, making those long sessions more enjoyable and productive.
Audio Integration Features
Choosing the right monitor settings for DAW usage involves several key audio integration features that can drastically improve your workflow. First off, I always make certain my monitor has a resolution of at least 1920×1080. This clarity is vital for viewing detailed audio waveforms and mixing interfaces without strain.
Next, low latency is a must. It minimizes the delay between audio playback and visual feedback, guaranteeing I can edit and mix accurately. I also look for monitors with adjustable color settings and IPS panels. This combination provides better color accuracy and wider viewing angles, which is essential when I'm visualizing audio plugins and effects.
Connectivity is another significant factor. Monitors with multiple options like HDMI and USB make it easy to integrate various audio interfaces and devices in my studio setup. Finally, having built-in audio output or compatibility with external speakers enhances my audio monitoring experience. It guarantees that the sound quality aligns perfectly with the visual adjustments I make during production. By considering these features, I can optimize my DAW usage and achieve a seamless workflow.
Frequently Asked Questions
What Is the Best Monitor Size for DAW Usage?
When it comes to DAW usage, I find that a monitor size between 24 to 27 inches strikes the perfect balance. It gives me enough screen real estate without overwhelming my workspace or straining my eyes.
How Do I Calibrate My Monitor for Accurate Sound?
How can I guarantee my monitor's sound is spot on? I calibrate by using test tones, adjusting levels, and trusting my ears. It's all about finding that sweet spot for my personal sound preference.
Can I Use Multiple Monitors for DAW Work?
I use multiple monitors for my DAW work, and it really enhances my workflow. It lets me keep track of different tracks and plugins simultaneously, making the whole process much smoother and more efficient.
What Are the Ideal Monitor Placements in a Studio?
When it comes to monitor placements, I find it's best to create an equilateral triangle with my ears and monitors. This way, I enjoy a balanced sound, making my studio experience truly delightful and immersive.
Are There Specific Brands Recommended for DAW Monitors?
When picking DAW monitors, I've found brands like Yamaha, KRK, and JBL offer great sound quality. It's essential to test them in-store to see which ones suit my music style and preferences best.
Conclusion
In the world of digital audio workstations, getting your monitor settings just right can make all the difference. By considering factors like resolution, color accuracy, and connectivity, you can truly elevate your sound experience. Remember, it's not just about seeing the waves; it's about feeling them. So, don't let these settings be a thorn in your side—take the time to optimize, and you'll be amazed at how much better your mixes can sound.