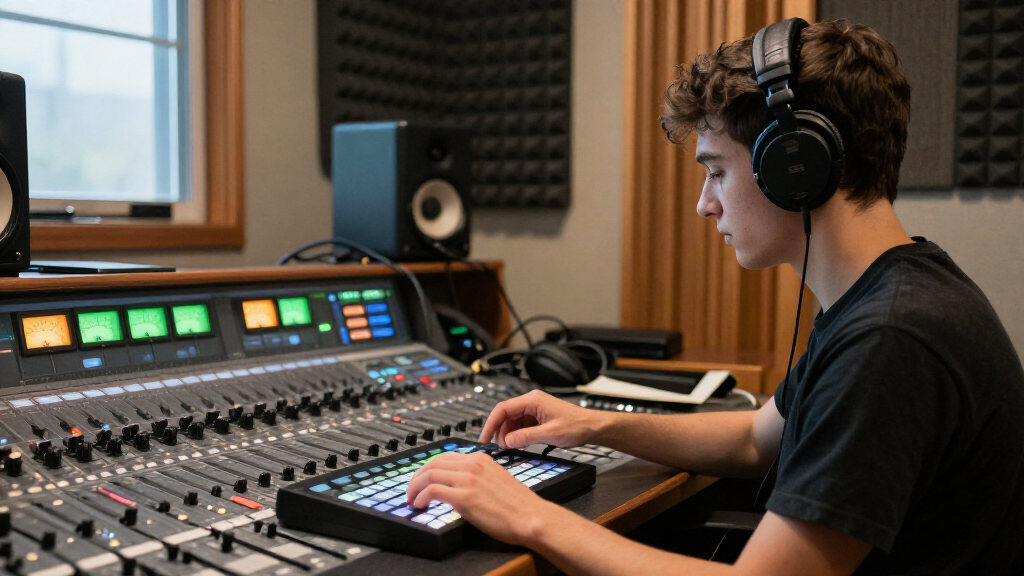
This checklist is for home producers and music creators setting up a room to make more confident mixing and mastering decisions. It covers the core monitoring chain and the room tools that can help you judge what you hear, with practical guidance for choosing compatible gear.

Get audio and creator gear delivered free with Prime
- Fast, free delivery on millions of items
- Prime Video, Amazon Music and more included
- Member-only deals all year
Each section focuses on one part of the setup: monitors, subwoofer, interface, headphones, calibration microphone, and acoustic panels. Product names identify the supplied picks; the advice explains what to check for that role, including fit and compatibility.
Use the list as a sequence of decisions, not a requirement to buy everything at once. Start with the parts that address your current listening setup, then confirm your room dimensions, connections, and placement before ordering. Keep the whole signal chain in mind so each component works with the others.
Studio Monitor Speakers
Studio monitors are the main speakers you use to judge balance, tone, and stereo placement while mixing. The Yamaha HS5 Powered Studio Monitor, Pair is the listed pick for this slot. Before choosing any pair, consider where the speakers will sit, how far you will listen from them, and whether your desk or stands can support a stable, symmetrical setup. Placement and listening distance affect how useful a monitor can be in your room.
A common mistake is to focus on the speaker name while overlooking the room and connection details. Check that you can connect the monitors to your interface with the appropriate outputs and cables, and allow enough space for the intended placement. Confirm whether the pair listing includes the components and accessories you expect. If the monitors must sit close to a wall or on a crowded desk, verify the manufacturer’s placement guidance and consider how that location may affect what you hear. Room and connection checks make the choice more practical.
Plan to compare mixes on other playback systems as well; monitors are one reference, not a substitute for checking your work elsewhere. Consistent listening and careful positioning help you get more from this slot.
What to look for:
- A pair listing that clearly identifies both monitors
- Inputs compatible with your interface outputs
- A placement plan with matching left and right positions
- Stable stands or desk space suited to the speakers
- Manufacturer guidance for distance from walls
Yamaha HS5 Powered Studio Monitor, Pair

The Yamaha HS5 is a pair of nearfield studio monitors designed for accurate sound reproduction in music production and mixing. Featuring a 5-inch woofer and 1-inch dome tweeter, these bi-amplified monitors deliver a flat frequency response from 54 Hz to 30 kHz, ensuring sonic purity without coloration.
Pros:
- Provides accurate and flat sound response ideal for mixing
- High-quality bi-amplified system with 70W power
- Includes balanced XLR and TRS inputs for versatile connectivity
- Compact size suitable for studio environments
Cons:
- No waterproof or water-resistant features
- Requires external power source and proper placement for optimal performance
Best for: Creators building a nearfield monitor setup
Not ideal for: Rooms without space for balanced speaker placement
Bottom line: Confirm connections and placement first, then use the pair as one consistent reference for mixing.
Studio Subwoofer
A subwoofer extends your monitoring setup into the low-frequency range, making it relevant when your work depends on judging bass and kick relationships. The listed pick is the Neumann KH 750 10-Inch Powered Studio Subwoofer. Before adding one, consider whether your existing monitors and room can accommodate a subwoofer, and how you will position and integrate it. Low-end monitoring depends on the whole setup, not the subwoofer alone.
A frequent buying mistake is to assume that adding a sub automatically makes bass decisions more accurate. Room placement and listening position can strongly shape what you hear, so check the manufacturer’s integration instructions and plan time to adjust the system. Verify the required connections with your monitors and interface, and confirm that your room has a suitable location for the unit without blocking access or creating a tripping hazard. Integration and placement deserve attention before purchase.
Think about whether you need this slot now or can first improve your monitoring habits and room arrangement. If you add a subwoofer, compare its sound with familiar material and check mixes on other systems. Make sure the setup can be used consistently, rather than adjusted differently from session to session. Repeatable listening is essential for useful mix decisions.
What to look for:
- Compatible inputs and outputs for your monitoring chain
- Manufacturer instructions for integrating with your monitors
- A location that fits your room and listening position
- Controls or setup options suited to your system
- A way to check bass decisions on other playback systems
Neumann KH 750 10-Inch Powered Studio Subwoofer

The Neumann KH 750 is a 10-inch powered studio subwoofer designed for professional audio environments. It features a 256W power output and a high-quality driver for accurate bass reproduction.
Pros:
- High-quality sound reproduction
- Powerful 256W output
- Suitable for professional studio use
Cons:
- Potentially high cost for some users
- Requires space for placement
Best for: Mixers who need to assess low-frequency material
Not ideal for: Small or untreated rooms with no workable placement
Bottom line: Plan connections and placement before adding a subwoofer to your monitor chain.
Audio Interface
An audio interface links your computer-based work to the monitoring chain and other audio equipment. The listed pick is the RME Digiface USB Portable Digital Audio Interface. For this slot, begin by checking the exact inputs and outputs your workflow needs; the interface name alone does not establish that it will connect directly to every monitor or headphone setup. Connection requirements should guide the decision.
One common mistake is choosing an interface because it is portable without confirming how it fits the rest of the system. Review its available connections, the computer connection and operating system requirements, and whether any additional converter or routing equipment is needed for your intended setup. Compare the interface’s output arrangement with the inputs on your monitors and other gear. Check the product details and manufacturer documentation for the configuration you plan to use. Trace the signal path from computer to listening equipment before committing.
Think through how you will use the interface in ordinary sessions: where it will sit, how it will connect, and whether its routing supports your monitoring routine. Keep a simple record of the cables and adapters required. If you expect to expand the setup later, check that the available connections align with that plan. A clear connection map helps avoid last-minute compatibility surprises and supports a reliable workflow.
What to look for:
- Inputs and outputs that match your equipment
- Computer connection and operating system requirements
- Whether additional converters or routing gear are needed
- Manufacturer documentation for your intended configuration
- A practical cable and placement plan
RME Digiface USB Portable Digital Audio Interface

The RME Digiface USB is a bus-powered digital audio interface offering 24-bit/192kHz resolution with four optical inputs and outputs. It provides 32‑in/32‑out (64 channels total) via USB, making it compatible with Mac, PC, tablets, and smartphones for high‑quality recording and playback.
Pros:
- High‑resolution 24-bit/192 kHz audio quality
- Four optical ADAT I/O ports for flexible routing
- Bus-powered via USB – no external power supply needed
- Broad compatibility with computers, tablets and smartphones
Cons:
- Limited to USB connectivity; no Thunderbolt or Ethernet options
Best for: Creators who need a portable digital interface
Not ideal for: Setups that require connections it does not provide
Bottom line: Verify the complete signal path and any extra gear required for your monitors.
Reference Headphones
Reference headphones offer another way to check a mix when speakers are unavailable or when you want to listen closely to details. No product is specified for this slot, so choose based on the kind of monitoring you need and how the headphones will connect to your interface. Comfort and a dependable fit matter when sessions run long.
A common mistake is to expect headphones to sound interchangeable with speakers or to rely on a single listening method for every decision. Headphone presentation differs from speaker listening, so use them as a complementary reference and check important balances elsewhere when possible. Consider whether you prefer an open or closed design for your room and recording needs, and check the connector and impedance requirements against your interface or headphone output. Match the design to the task and confirm compatibility before buying.
Try to listen to familiar music through any candidate pair and assess comfort, clamp, and how the fit changes over time. Check whether replacement cables or earpads are available if those details matter to your routine. For mixing, consistency is useful: avoid frequently changing headphone models or listening levels mid-project. Keep notes about what you hear on headphones, then compare those observations with your monitor checks. Use headphones as one reference within a repeatable process.
What to look for:
- Connector compatible with your interface or headphone output
- Design suited to your room and recording needs
- Comfort and fit over a full session
- Familiar music that helps you assess the sound
- Replacement parts that suit your long-term use
Monitor Calibration Microphone
A calibration microphone is used with compatible measurement or room-correction workflows to assess what reaches the listening position. The supplied product name is Measurement Microphone ECM-AC3 Compatible with Sony Home Theater Syste. Its name points to a particular compatibility context, so verify the exact supported device and software before treating it as a fit for a studio monitoring setup. Compatibility is the first check for this pick.
A common mistake is to assume that any measurement microphone will work with any calibration process. Check the manufacturer’s documentation for the intended system, connector, and supported calibration software. Confirm whether the product is sold alone or requires an additional interface, adapter, or specific application. Also check whether its measurement role matches your goal; compatibility with a Sony home theater system does not by itself establish compatibility with your studio monitors or interface. Confirm the complete workflow before purchase.
Plan where you will position the microphone during measurement and follow the instructions for the system you intend to use. Keep the microphone’s orientation and placement consistent with those instructions. If the listed compatibility does not match your equipment, choose a microphone explicitly supported by your calibration software and setup. A good fit here means the microphone, software, and monitoring chain can work together as intended. System support matters more than the generic category name.
What to look for:
- Explicit support for your calibration software or device
- Connector and interface requirements
- Whether extra adapters or software are needed
- Measurement instructions for microphone placement
- A clear match with your monitors and room workflow
Measurement Microphone ECM-AC3 Compatible with Sony Home Theater Systems

The ECM-AC3 measurement microphone is compatible with various Sony home theater and AV receiver models. It features an omnidirectional polar pattern, 600 ohm impedance, and a 3.5mm stereo plug, making it suitable for precise audio measurements and calibration.
Pros:
- Compatible with a wide range of Sony home theater models
- Omnidirectional polar pattern for versatile audio pickup
- Compact and durable metal enclosure
Cons:
- Limited to 3.5mm stereo connection, may require adapters for other devices
- Impedance of 600 ohms might be high for some applications
- No wireless or battery-powered options
Best for: Users whose equipment matches the stated compatibility
Not ideal for: Studio setups without confirmed support for this microphone
Bottom line: Verify the exact device and software match before using this microphone for monitor calibration.
Acoustic Panels
Acoustic panels are intended to be part of a room treatment plan, so their role depends on the room and where sound reflections occur. The supplied pick is 2 Pack Acoustic Panels 47.2″x23.6″x2″ Soundproof Fiberglass Panels, Bl. The product name gives dimensions and material wording, but it does not establish how many panels your room needs or where they should go. Room-specific placement is central to this choice.
A common mistake is buying panels based on a general promise of soundproofing or covering walls without considering the listening position. Room treatment and sound isolation are different goals; verify the product’s documented use and construction rather than inferring performance from its title. Measure the intended wall area, account for the listed panel dimensions, and check mounting requirements and installation guidance. Confirm the full listing details, including what’s included and any safety or handling instructions for the material. Measure and verify before planning a layout.
Think about where you listen and how the panels can be placed symmetrically around that position. Avoid blocking doors, vents, or equipment, and follow the manufacturer’s mounting directions. If the room has a specific problem, identify the area you are trying to address before choosing a quantity. Panels are one part of a listening environment; careful placement and consistent monitor positioning also matter. A measured treatment plan is more useful than buying by appearance alone.
What to look for:
- Dimensions that fit the planned wall locations
- Documented purpose and material details
- Mounting method and installation instructions
- A layout that suits the listening position
- Clear information about included panels and handling
2 Pack Acoustic Panels 47.2"x23.6"x2" Soundproof Fiberglass Panels, Black

These acoustic panels are designed for superior sound absorption, reducing noise and echoes to create a clearer sound environment. Made with high-density fiberglass and wrapped in polyester fabric, they are suitable for various settings like studios, conference rooms, and entertainment venues.
Pros:
- Excellent sound absorption with NRC 0.95
- Includes hanging hardware for easy installation
- Suitable for various environments like studios and conference rooms
Cons:
- Fiberglass material may require careful handling
- Limited color options (black only)
Best for: Creators planning targeted room treatment
Not ideal for: Anyone expecting panels alone to soundproof a room
Bottom line: Confirm the panels’ documented purpose, dimensions, and mounting plan before ordering.
Build the setup in a practical order: first confirm the interface and monitor connections, then arrange the monitors and listening position, and add headphones as a second reference. Consider a subwoofer and calibration microphone when you have verified room placement and system support. Plan acoustic panels after identifying the room areas you want to address. Buy for the next clear need and check compatibility at each step.
You do not need every component to begin making careful mix decisions. Start with a setup you can connect, position, and use consistently, then add pieces as your workflow calls for them. Measure before buying room treatment, read the product documentation, and keep checking mixes on more than one playback system. Steady, repeatable listening will help you get value from the gear you choose.