Layering reverb types is essential for creating a stunning three-dimensional sound in your mixes. By combining short, medium, and long reverb effects, you can achieve depth while maintaining clarity. Use different reverb types—like plate for richness and hall for space—to enhance spatial characteristics. Adjusting decay times helps separate instruments and manage the mix's overall feel. Don't forget about frequency damping to prevent muddiness and enhance texture. With the right techniques, you'll transform your soundscape into an immersive experience. You'll uncover even more strategies and insights that take your reverb game to the next level.
Key Takeaways
- Layering different reverb types, such as hall and plate, enhances spatial characteristics and creates a richer sound environment.
- Adjusting decay times across reverb layers helps maintain clarity for foreground elements while providing spaciousness in the background.
- Combining short, medium, and long reverb effects ensures depth without compromising clarity throughout the mix.
- Using EQ before and after applying reverb refines tonal characteristics and prevents muddiness in the overall sound.
- Implementing varying pre-delay settings can help maintain clarity while adding depth to different elements in the mix.
Understanding Reverb Basics
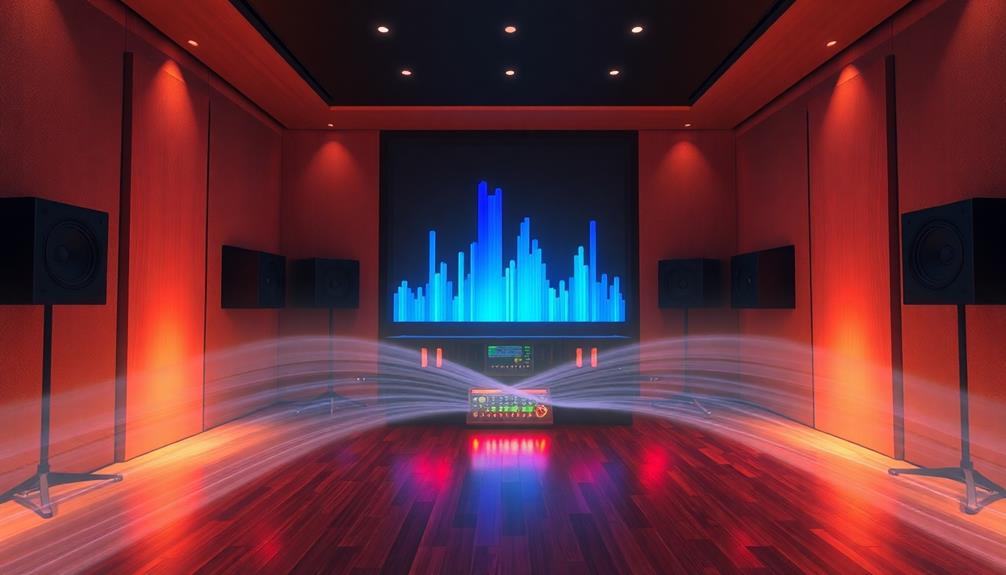
Reverb is an essential audio effect that adds depth and space to your mixes. It simulates the natural reflections of sound in different environments, creating a sense of space that can transform your tracks.
You'll encounter various types of reverb, such as hall, plate, room, and spring, each with unique characteristics that influence your sound. Understanding these differences helps you choose the right reverb for the desired atmosphere.
The decay time of a reverb is significant; it determines how long the sound lingers in the mix. Shorter decay times maintain clarity, while longer decay times can immerse listeners in a lush audio experience.
By experimenting with these types of reverb, you can enhance the perceived depth of your tracks.
Properly adjusting parameters like damping, diffusion, and pre-delay is essential. These settings refine the reverb's impact, ensuring it complements your mix without overwhelming the original sound.
Importance of Layering Reverb

Creating a rich auditory experience relies heavily on the importance of layering reverb. When you combine different reverb types and settings, you greatly enhance the depth and spatial quality of your mix. This layering reverb technique allows you to create a three-dimensional soundscape that captivates your listeners.
By utilizing a mix of short, medium, and long reverb effects, you can distinguish various elements within the mix, resulting in a clearer and more organized soundstage. Adjusting the decay times of your layered reverbs helps create a sense of distance and separation, ensuring each instrument occupies its own space without overwhelming the listener.
Experimenting with different frequencies and damping characteristics in your reverb plug-ins allows you to tailor textures for a polished, professional sound.
The effective layering of reverb adds a unique richness and complexity, making it essential for developing an immersive audio landscape.
Types of Reverb Explained

Understanding the different types of reverb is vital for any audio producer looking to enhance their sound. Each type of reverb serves a unique purpose and can greatly affect the overall mix.
Plate reverb is known for its smooth, rich sound, perfect for adding warmth and depth to vocals and instruments. Hall reverb, on the other hand, creates an expansive feel, simulating the acoustics of large spaces—ideal for achieving width in your mixes.
If you're after a more intimate sound, room reverb mimics smaller acoustic environments, making it suitable for close-miked instruments. Spring reverb brings a vintage character, often associated with guitars and snare drums, adding a nostalgic quality to your recordings.
You'll also encounter the bright and dark reverb options. Bright reverb enhances presence and clarity, while dark reverb provides a natural, receding quality, allowing for creative layering.
When using these types of reverb, pay attention to early reflections and the reverb tail. They're essential in shaping the overall character and space in your mix, enabling you to craft a more immersive listening experience.
Crafting a Three-Dimensional Sound
How can you elevate your mixes to feel more immersive? Crafting a three-dimensional sound is all about layering different reverbs effectively. By combining bright and dark reverb settings, you create depth and texture that enhances each element in your mix. Use short, middle ground, and long reverb effects strategically across instruments to maintain clarity while enhancing spatial perception.
Here's a quick guide to help you choose your reverb settings:
| Reverb Type | Purpose |
|---|---|
| Short Reverb | Adds punch and clarity |
| Medium Reverb | Provides a sense of space |
| Long Reverb | Creates depth and atmosphere |
| Damping Options | Tailors frequency response |
Adjusting decay times and pre-delay settings gives you control over how reverb tails interact, ensuring distinct yet cohesive elements. Experiment with damping characteristics to further refine high and low-frequency responses, making your sound more immersive. By employing multiple reverb instances with varying tail lengths, you can push some elements back in the mix and bring others forward, enhancing the overall dimensionality of your sound.
Techniques for Effective Layering

Effective layering techniques can transform your mixes into enchanting soundscapes. To achieve this, start by combining different types of reverb. For instance, a short plate reverb brings clarity, while a longer hall reverb adds depth. This combination enhances your sound environment, making it more immersive.
Pay attention to decay times across your reverb layers. Shorter reverbs maintain clarity for foreground elements, while longer ones create spaciousness in the background. This depth perception adds richness to your mix.
Additionally, don't underestimate the importance of pre-delay settings. By experimenting with longer pre-delays, you can separate sounds, reducing clutter and enhancing the overall sense of space.
Frequency damping is another critical factor in effective reverb layering. Make sure that high and low frequencies complement each other, preventing muddiness and ensuring clarity.
Applying EQ before and after your reverb can further refine each layer's sound, allowing for precise control over tonal characteristics. This balance is essential for achieving a cohesive and three-dimensional effect in your mixes.
Customizing Reverb Settings
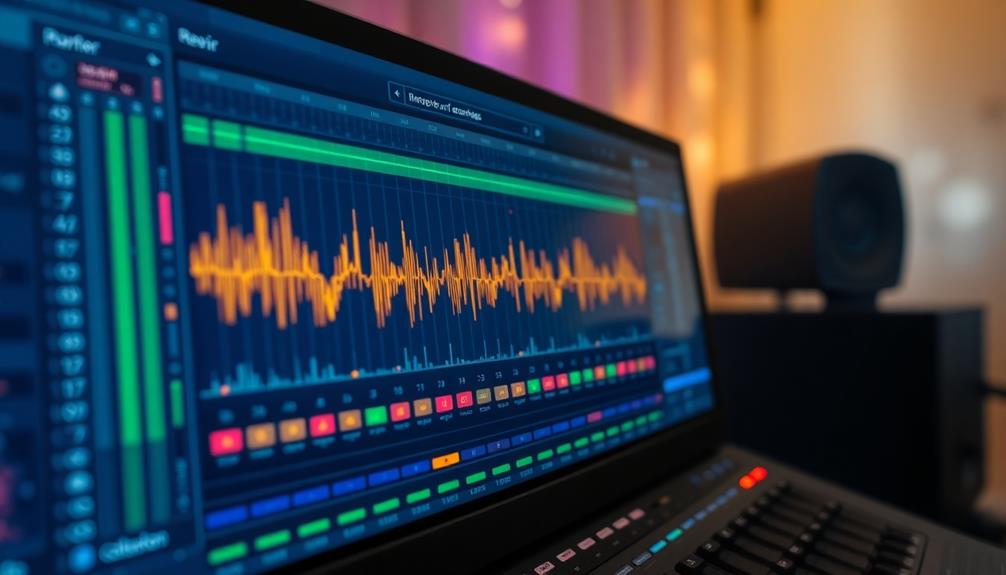
When customizing reverb settings, it is essential to adjust parameters like decay time, pre-delay, and damping to fit each instrument's unique characteristics. This guarantees clarity and depth in your mix. Utilizing a combination of short and long reverb settings can create a sense of space; short reverbs enhance punch, while long reverbs add depth to specific elements.
Here's a quick reference table to help visualize your options:
| Reverb Type | Ideal Use |
|---|---|
| Plate | Adds warmth and body |
| Hall | Creates width |
| Room | Provides intimacy |
Experimenting with different reverb types allows you to tailor the soundscapes that complement your overall mix. Layering multiple reverbs with distinct settings enhances the spatial quality, creating a richer acoustic environment suited to your song's needs. Additionally, applying EQ before using reverb can refine the sound, removing unwanted frequencies and guaranteeing the reverb enhances rather than muddies the mix. Mastering these techniques in recording will elevate your sound and create that three-dimensional feel you're aiming for.
Balancing Depth and Clarity
To achieve a well-balanced mix, it's important to contemplate both depth and clarity simultaneously. Selecting the right reverb types plays a significant role in this process. By combining short and long reverbs, you can create a sense of space without overwhelming the mix's clarity.
Adjusting the decay time of your reverb is essential; it helps prevent muddiness by ensuring reverb tails don't overlap greatly with your source material. Utilizing EQ to roll off higher frequencies in the reverb can further enhance clarity, allowing low-frequency elements to maintain their presence without competing for sonic space.
Panning elements with varying levels of reverb also contributes to a three-dimensional effect, letting sounds placed further back in the mix have more reverb without losing focus.
Lastly, layering multiple reverb instances with distinct characteristics—like a bright reverb for leads and a darker one for background elements—can enhance both depth and clarity. This careful approach results in a more immersive sound that keeps your mix defined while maximizing the spatial experience.
Balancing these elements will elevate your mix to new heights.
Exploring Plugins for Reverb

In recent years, the landscape of reverb plugins has exploded, offering an array of options that can transform your sound.
Whether you're looking to create depth or add a third dimension to your mixes, the right plugin can make all the difference. Here are some standout choices:
- MuzeNuspace – Renowned for its pronounced 3D effects, it's perfect for crafting immersive soundscapes.
- Adaptiverb by Zynaptiq – This plugin delivers remarkable soundscapes with less complexity, allowing seamless integration of reverb without overpowering your mix.
- Meris Mercury7 – Styled after the Lexicon 224, it offers rich stereo depth, adding ethereal qualities to vocals and instruments.
- Antelope Audio's Auraverb – It effectively mimics real spaces, enhancing the acoustic environment of your mix through realistic room simulation.
These plugins showcase the versatility of algorithm reverb, allowing you to tailor your sound to fit various production styles.
Immerse yourself in these options, and you'll find the perfect reverb to enhance your audio creations and elevate them into a thrilling auditory experience.
Real-World Examples and Applications
Layering reverb can drastically enhance your mix's spatial characteristics, creating a more immersive listening experience. By combining different types of reverb, such as a bright plate reverb with a darker room reverb, you can achieve a rich, three-dimensional sound.
Real-world examples abound, like when you use a short, bright reverb on snare drums to maintain punch while applying a longer, darker reverb to vocals. This technique effectively pushes vocals back in the mix, adding depth.
Artists like Fleet Foxes showcase the power of reverb layering by using plate and hall reverbs together, resulting in a lush soundscape that envelops listeners. You'll find that mixing techniques involving multiple reverb instances with varying decay times can help differentiate instruments, ensuring each element occupies its own space.
Experimenting with high pre-delay settings on secondary reverbs allows you to maintain clarity while adding depth, effectively positioning sounds within a three-dimensional audio environment.
Tips for Mixing With Reverb
When mixing with reverb, experimenting with different types can greatly enhance your track's depth and character. By considering the unique qualities of various reverb types, you can tailor the sound to each instrument's role in the mix.
Additionally, understanding how visual representation in music can influence your reverb choices may elevate your overall production. Here are some tips to guide you:
- Try Different Reverb Types: Use hall, plate, and room reverb to find the best fit for each instrument, enriching the overall mix.
- Layer Multiple Reverb Instances: Combine different reverbs with varying decay times and pre-delay settings to create a lush, three-dimensional soundscape.
- Utilize Short Reverb Techniques: Apply shorter reverb for rhythmic elements to maintain punch while letting melodic instruments bask in longer reverb tails for added spaciousness.
- Adjust Damping Characteristics: Control high and low-frequency attenuation to fine-tune the texture of the reverb, enhancing clarity and ensuring it complements the mix.
Frequently Asked Questions
How Can I Make My Sound More 3D?
To make your sound more 3D, try layering different textures, adjusting frequencies, and varying levels. Experiment with spatial effects, like panning and delays, to create depth, ensuring each element maintains its clarity in the mix.
How Do You Use Reverb for Depth?
They say, "Less is more." To use reverb for depth, you adjust decay times, utilize high-pass filtering, and experiment with pre-delay and stereo placement, letting your sounds breathe and occupy their own space in the mix.
What Is Three Dimensional Sound Effect?
Three-dimensional sound effect lets you experience audio from various angles, creating a spatial environment. You'll perceive sounds in layers, helping distinguish between foreground and background elements, enhancing immersion and making the listening experience feel lifelike.
What Are the Three Categories of Reverb?
Imagine painting a soundscape; the three categories of reverb—short, middle ground, and long—each add distinct colors. You'll use short for punch, middle for depth, and long for spaciousness, creating a rich auditory masterpiece.
Conclusion
Incorporating reverb layering can truly elevate your sound, creating a rich, three-dimensional experience. For instance, imagine mixing a cinematic score where you layer a lush hall reverb with a subtle room reverb on strings. This not only adds depth but also keeps the clarity of each note intact. By experimenting with different types and settings, you'll find the perfect balance that captivates listeners and immerses them in your music. So go ahead, start layering!


