
To get a clean mix, you need to master gain staging by properly setting levels at each stage of your recording and mixing process. Keep signals balanced—neither too weak nor too hot—using meters and consistent equipment calibration. This prevents distortion and noise, ensuring your sounds stay clear and transparent. Proper gain staging creates a solid foundation before adding effects or processing. Keep going, and you’ll discover more tips to achieve perfectly balanced mixes.
Key Takeaways
- Set input and output levels to avoid clipping and distortion, aiming for around -18 to -12 dBFS on digital meters.
- Regularly calibrate equipment to ensure consistent baseline levels across all gear and sessions.
- Use meters as guides to maintain signals in the green zone, preventing overly hot or weak signals.
- Maintain balanced levels across channels to ensure clarity and prevent unbalanced dynamics in the mix.
- Address gain staging issues early to prevent noise, distortion, and ensure a clean, transparent final mix.

Achieving a clean mix begins with proper gain staging, a fundamental step that guarantees each element of your session is balanced and transparent. When you focus on levels consistency, you ensure that signals are neither too weak nor too hot, preventing distortion or noise from creeping into your recordings. This process involves setting your input and output levels carefully, so every track sits well within the ideal range of your equipment. If your gain is too high, you risk clipping, which causes harsh distortion that’s difficult to fix later. Conversely, if it’s too low, the signal becomes noisy and less defined, making it harder to achieve clarity in the mix.
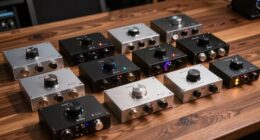
One of the keys to effective gain staging is equipment calibration. You need to know how your gear responds, so you can set levels accurately. This means regularly checking your interfaces, microphones, preamps, and compressors to ensure they’re operating within their proper parameters. Calibration helps create a consistent baseline, making it easier to compare signals across different sessions and hardware. When your equipment is properly calibrated, you can trust that a given input level will produce a predictable output. This consistency streamlines your workflow and reduces guesswork, allowing you to focus on artistic decisions rather than technical troubleshooting.
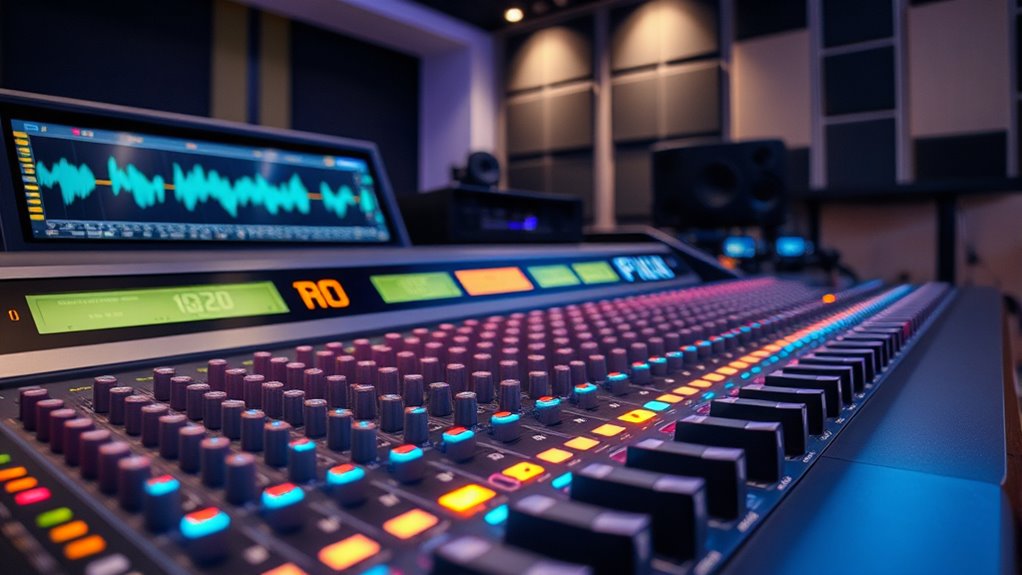
As you set your gain, pay close attention to the meters on your audio interface or mixer. Use them as your guide, aiming for signals that hover around the ideal zone—usually between -18 to -12 dBFS for digital systems, or the “green zone” on analog meters. Keeping levels consistent across channels is crucial because it prevents unbalanced dynamics and ensures each element sits well in the mix. When you have a solid foundation of balanced levels, you’ll find it easier to add effects, EQ, and processing without introducing unwanted artifacts or noise. Additionally, understanding the importance of recurring issues in your workflow can help you identify and address common gain staging errors before they impact your final mix.
Frequently Asked Questions
How Does Gain Staging Affect the Overall Mix Clarity?
Gain staging directly impacts your mix clarity by ensuring proper signal levels, preventing clipping, and maintaining signal integrity. When you set your gain levels correctly, your tracks stay clean and prevent distortion, making each element clear and distinct. This careful control allows you to hear every detail, avoiding muddiness. Proper gain staging helps your mix sound professional, balanced, and transparent, giving your overall production a polished, high-quality sound.
What Equipment Is Best for Proper Gain Staging?
Think of your equipment as the gears in a finely tuned machine. For proper gain staging, use quality microphones, audio interfaces, and preamps with clear signal flow. A good analog or digital mixer helps manage your gain structure, ensuring each stage’s levels are balanced. Level meters and gain controls allow precise adjustments, preventing distortion and noise. This setup keeps your signal flowing smoothly, like a river, ensuring a clean, professional mix.
Can Improper Gain Staging Damage My Audio Equipment?
Yes, improper gain staging can damage your audio equipment and compromise signal integrity. When levels are too high, it risks clipping and overheating, which can harm your gear. Conversely, too low levels may cause distortion or noise, affecting sound quality. To guarantee equipment safety and maintain clear audio, always set proper gain levels, monitor signals closely, and avoid pushing your gear beyond its recommended limits.
How Often Should I Check Gain Levels During Mixing?
Think of your mix as a river flowing smoothly; you should check your gain levels regularly, ideally every few takes or when switching tracks. Keep an eye on your meters, ensuring proper calibration, so signals don’t overflow or run dry. Monitoring signal flow consistently helps prevent distortion and preserves clarity. Frequent checks maintain a balanced, clean mix, much like guiding a river to stay within its banks for a serene flow.
Does Gain Staging Impact the Dynamic Range of the Mix?
Yes, gain staging substantially impacts your mix’s dynamic range. Proper gain levels help prevent audio clipping, which distorts the sound, and maintain a good signal-to-noise ratio, ensuring clarity. When you set levels correctly early on, you preserve the natural dynamics of your tracks, allowing for a cleaner, more balanced mix. Neglecting gain staging can cause noise issues and reduce the overall dynamic range, making your mix sound dull or distorted.
Conclusion
As you master gain staging, imagine your mix as a clear mountain stream—each element flowing smoothly without distortion. When you set levels carefully, you create a pristine landscape where every sound breathes freely. Your mix becomes a shimmering mirror, reflecting your creative vision with clarity and depth. Keep your gains balanced, and watch your music shine like sunlight on calm waters, delivering a clean, professional sound that truly resonates.