
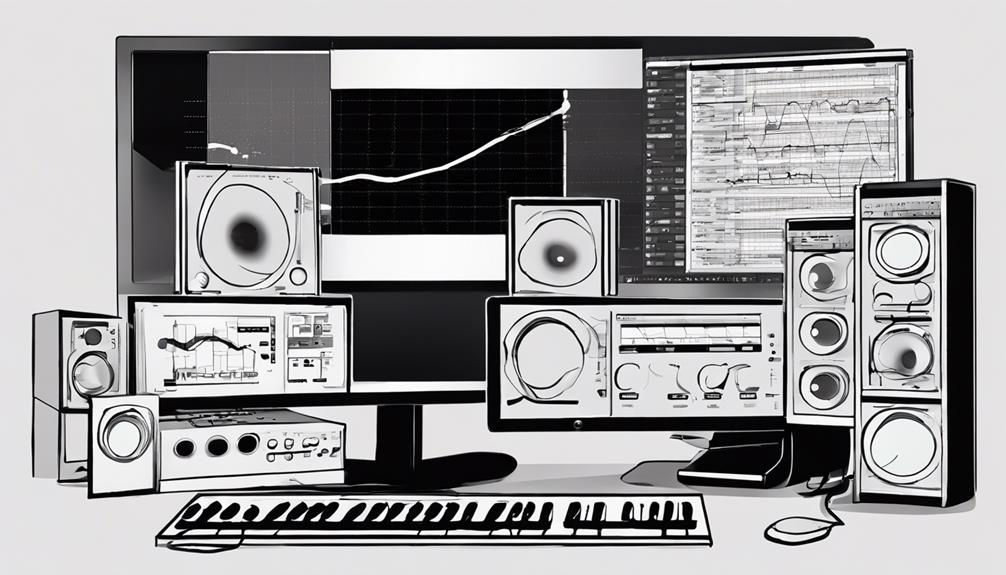
Start by setting up your project and importing audio files. Organize tracks, adjust levels, and apply effects like EQ and compression for a polished sound. Fine-tune track timing with editing tools. Control MIDI instruments and explore endless possibilities with Cubase's built-in and third-party plugins. Arrange your composition with different sections and use automation for dynamics. Master your track for a professional finish. This guide will lead you through each step smoothly to maximize your music production experience and help you ignite your creativity in no time!
Key Takeaways
- Configure project settings and import audio files.
- Organize tracks and apply edits/effects.
- Edit track timing and control MIDI instruments.
- Utilize virtual plugins for diverse sounds.
- Arrange composition with sections and automation.
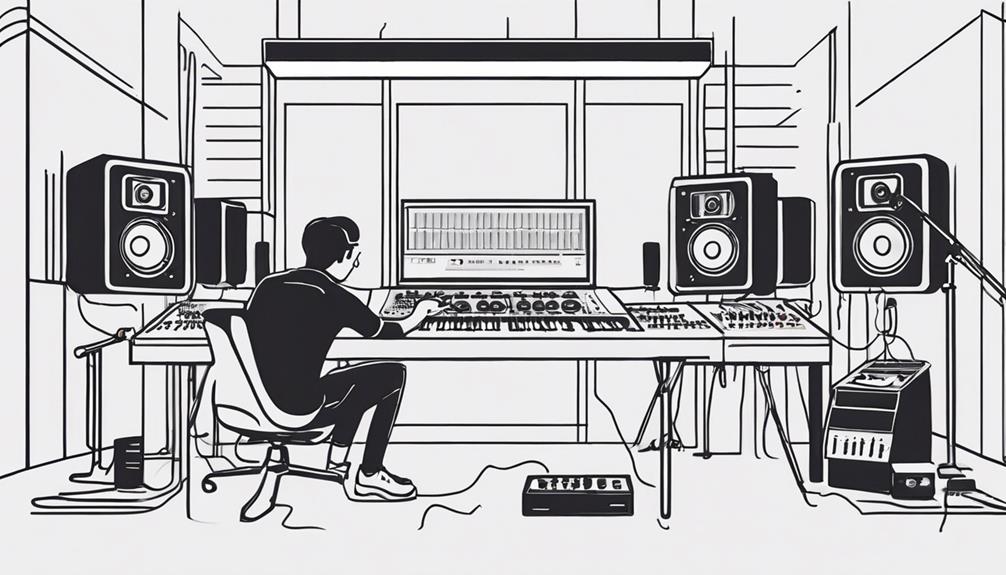
Setting up a New Project
To begin your music production journey in Cubase Pro, start by setting up a new project following these simple steps. First, launch Cubase Pro and navigate to the File menu to create a new project, selecting a template that best suits your musical style. Once your project is set up, configure your audio interface and ensure your input and output connections are properly routed for seamless recording. If you’re also exploring broader opportunities, understanding how to start a music company can complement your production skills by helping you turn your creative passion into a thriving business.
In Cubase, creating a new project is the first step towards bringing your musical ideas to life. By selecting 'File' and then 'New Project' from the menu, you can kickstart your creative process.
Whether you choose a template or set up the project from scratch, make sure to configure the project settings to align with your audio inputs, outputs, and sample rates. Name your project and select the folder location where the project files will be saved on your computer for easy access.
Additionally, don't forget to adjust the project settings for tempo, time signature, and other preferences before diving into adding tracks and instruments. Regularly saving your project will help you avoid losing any progress and maintain a smooth workflow throughout your music production process.
Get ready to express your creativity within Cubase Pro!
Importing Audio Files

To guarantee a smooth importing process, it's crucial to pay attention to your signal chain and the master bus while bringing audio files into your project in Cubase. Cubase supports various formats like WAV, AIFF, MP3, and more for importing audio files.
A quick method is to drag and drop the files directly into the project window. When importing, Cubase allows you to customize options such as sample rate, bit depth, and channel configuration to fit your project requirements.
Once imported, the audio files will automatically be placed on separate tracks, ready for editing and mixing within Cubase. Remember to make sure that JavaScript is enabled on your browser for a smooth importing process.
It's vital to pay attention to your signal chain and the master bus while importing audio files to maintain the quality and integrity of your music production.
Organizing Tracks and Levels
When it comes to organizing tracks and levels in Cubase for your music production, utilizing track colors and labels can greatly enhance your workflow efficiency. Here are some tips to help you streamline your organization:
- Use Track Colors and Labels:
Assign different colors and labels to your tracks based on the instrument or section they represent. This visual distinction makes it easier to navigate and identify specific elements in your project.
- Adjust Track Levels:
Balance the volume of individual tracks by adjusting their levels. Aim for peak performance, where the signal level matches the input level, to guarantee a consistent and well-balanced mix.
- Utilize Gain Reduction and the Green Line:
Keep an eye on the green line in the Cubase mixer to prevent clipping and ensure peak levels. Use gain reduction techniques to control dynamics and avoid unwanted distortion in your tracks.
Applying Edits and Effects
To apply edits and effects in Cubase, follow these steps:
- Select your track and open the audio editor.
- Use tools like EQ and compression to enhance your sound.
- Don't be afraid to experiment with different presets.
- Adjust parameters to tailor the effects to your taste and make your tracks stand out.
Inserting Audio Effects
In Cubase, enhancing your audio tracks is easily accomplished by inserting a variety of built-in effects such as reverb, delay, EQ, and compression through the audio inserts section. Here's how you can make the most of this feature:
- Selecting Effects: Choose from a range of effects like reverb for adding space, delay for creating echoes, EQ for shaping frequencies, and compression for controlling dynamics.
- Adjusting Parameters: Tweak settings like wet/dry mix, decay time, threshold, and makeup gain to fine-tune each effect to your liking, ensuring your audio sits perfectly in the mix.
- Combining Effects: Experiment with combining multiple effects in a chain to craft complex and unique sounds, tapping into your creativity and adding depth to your music production.
Adjusting Volume Levels
Adjusting volume levels in Cubase involves applying edits and effects to individual tracks to achieve the desired audio balance and dynamics. To get started, utilize the faders in the mixer window to adjust the volume of each track. Additionally, apply editing techniques such as volume envelopes to fine-tune specific sections within a track. Automation is a powerful tool that allows you to create dynamic volume changes throughout your song, adding depth and emotion to your music. Furthermore, explore the use of the channel strip and inserts to add effects that can impact volume levels, enhancing the overall sound of your tracks. Remember to monitor the volume levels using Cubase's metering tools to ensure that your mix maintains optimal balance and clarity.
| Volume Adjustment Techniques | Description |
|---|---|
| Faders | Adjust track volumes in the mixer window. |
| Volume Envelopes | Fine-tune volume levels within specific sections of a track. |
| Automation | Create dynamic volume changes throughout the song. |
| Channel Strip | Utilize effects that impact volume levels. |
| Metering Tools | Monitor volume levels for optimal balance and clarity. |
Editing Track Timing
How can you use Cubase's editing tools to precisely adjust track timing for smooth changes and accurate placements of audio clips?
Cubase offers a range of features to help you manipulate timing effectively:
- Time-Stretching and Quantizing Effects:
Cubase allows you to apply time-stretching and quantizing effects to align audio tracks with the grid, ensuring tempo consistency throughout your project.
- Crossfades and Automation:
Utilize crossfades and automation in Cubase to seamlessly blend and shift between different sections of your track, creating professional-sounding shifts.
- Creative Editing Features:
Experiment with tools like warp quantize and audio warp in Cubase to creatively manipulate the timing and feel of your audio recordings, giving you the freedom to explore unique sound possibilities.
Using EQ, Compression, Reverb
To enhance your music production in Cubase, start by utilizing the built-in EQ to adjust frequencies and shape the tone of your audio tracks. Adjusting the EQ allows you to boost or cut specific frequencies, helping instruments stand out or blend better in the mix.
Following this, apply compression to control the dynamic range of your tracks. Compression evens out the volume levels, making softer sounds more audible without overpowering louder ones.
Experiment with different reverb settings to add depth and ambiance to your music. Reverb creates a sense of space, making your tracks sound more immersive.
Use EQ to carve out space for different instruments, ensuring each has its place in the mix for clarity and separation.
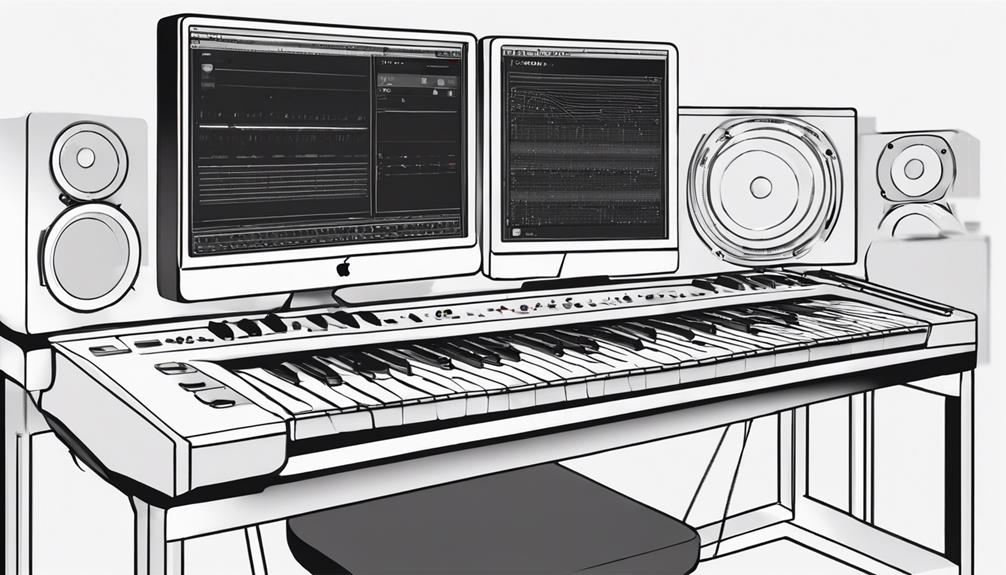
Incorporating MIDI Instruments
When incorporating MIDI instruments in Cubase, you'll explore the basics of MIDI instruments and how to set them up effectively.
Understanding MIDI instrument basics will help you utilize a wide range of virtual instruments within Cubase for your music production.
MIDI Instrument Basics
Incorporating MIDI instruments in Cubase allows you to access a wide array of virtual musical instruments within the software. By utilizing MIDI instruments, you open up a world of creative possibilities for your music production. Here are some basics to get you started:
- Selection and Assignment:
You can incorporate MIDI instruments by selecting them from the Instrument Rack and assigning them to MIDI tracks. This process enables you to choose the specific virtual instrument you want to use for a particular track.
- Control and Editing:
MIDI instruments can be controlled and edited using MIDI data, including note events, velocity, and modulation. This level of control allows you to tailor the sound of each instrument to fit your composition.
- Endless Possibilities:
Cubase offers a wide range of built-in MIDI instruments and supports third-party virtual instruments. This diversity provides you with endless possibilities for creating diverse sounds, from realistic instrument tones to innovative electronic synths and more.
MIDI Instrument Setup
Set up your MIDI instruments in Cubase by connecting them to your computer and configuring them in the Device Setup menu. Connect your MIDI instrument to your computer using a MIDI cable or USB connection.
Once connected, navigate to Devices > Device Setup within Cubase to set up your MIDI instrument.
Create a MIDI track in Cubase and assign your MIDI instrument as the input source to start recording. The MIDI editor in Cubase allows you to manipulate and fine-tune the MIDI data from your instrument, providing you with precise control over your recordings.
Additionally, take advantage of Cubase's MIDI effects and virtual instruments to add depth and creativity to your music productions. Experiment with different effects and instruments to enhance and personalize your MIDI recordings, opening up a world of possibilities for your music projects.
Leveraging Virtual Plugins
By incorporating virtual plugins in Cubase, you can elevate your music production by accessing a diverse array of virtual instruments and effects. These plugins offer a wide range of possibilities to enhance your tracks and add unique textures and sounds.
Cubase provides various virtual plugins such as synthesizers, samplers, EQs, compressors, reverbs, and more, giving you the tools to experiment and shape your music creatively.
Here are three key benefits of leveraging virtual plugins in Cubase:
- Versatility: Virtual plugins offer a broad range of sounds and effects, allowing you to explore different genres and styles within your music production.
- Customization: You can customize and tweak virtual plugins to create personalized sounds that align with your artistic vision, giving your tracks a distinct edge.
- Innovation: By using virtual plugins, you can stay current with the latest trends in music production and continuously push the boundaries of your creativity to produce fresh and innovative tracks.
Arranging Your Composition
To structure your composition effectively in Cubase, consider arranging different sections like intro, verse, chorus, bridge, and outro to create a cohesive musical flow. By utilizing Cubase's Arranger Track, you can easily rearrange these sections to experiment with different combinations and find the most engaging arrangement for your music.
Don't be afraid to mix things up by trying out various instruments, effects, and transitions to enhance the overall arrangement and keep your listeners engaged.
Once you have your sections in place, automation can be a powerful tool to add dynamics and movement to your composition. Control elements like volume, panning, and effects parameters throughout the arrangement to create depth and interest in your music.
Also, collaborating with other musicians becomes smoother when you can easily share your arrangements for feedback and collaborate on refining the structure of your composition. Arranging your music thoughtfully in Cubase can elevate your production to new heights.
Automating Elements

Automating elements in Cubase can elevate your music production game by giving you control over volume, panning, and effects.
This feature enables you to create smooth shifts and enhance the dynamics of your tracks.
Experiment with automation tools in Cubase to add movement and interest, taking your music to the next level.
Element Automation Basics
When working with element automation in Cubase for music production, you gain control over parameters such as volume, panning, and effects to enhance the dynamics of your tracks.
Here are some basics to get you started:
- Enhanced Dynamics: By automating elements like volume and effects, you can add movement and depth to your music, making it more engaging and expressive.
- Automation Curves: Cubase allows you to draw automation curves easily, letting you adjust different aspects of your elements gradually or in sudden changes throughout your song.
- Comprehensive Control: Whether you want to automate individual tracks, groups of tracks, or even the master track, Cubase provides the flexibility to apply automation globally or with precision to specific elements, giving you complete control over your music's evolution.
Workflow Efficiency Tips
Streamlining your workflow in Cubase for music production involves efficient tips for automating elements, enhancing your creative process. By automating elements like volume, panning, effects, and instrument settings, you can create seamless progressions, dynamic shifts, and intricate details in your tracks.
Cubase provides a user-friendly automation system that offers precise control over every aspect of your music, allowing you to experiment and add depth, emotion, and creativity to your productions.
When automating elements, consider how you want each parameter to evolve over time and use automation to achieve those changes smoothly. Whether you're adjusting the intensity of a reverb effect, modulating the cutoff frequency of a filter, or gradually increasing the volume of a synth lead, automation can bring your music to life and make it more engaging for your listeners.
Mastering Your Track
To master your track effectively in Cubase, focus on fine-tuning the overall sound and applying essential mastering techniques. Here are three key steps to help you achieve professional results:
- Balancing Levels: Use Cubase's metering tools to make sure that the levels of different elements in your track are well-balanced. Adjust the volume of individual tracks, groups, or the master output to prevent any clipping or distortion.
- Applying Effects: Utilize Cubase's plugins like the Magneto2 for adding subtle warmth or tape saturation to your mix. Experiment with EQ, compression, and reverb to enhance the overall sonic quality of your track.
- Ensuring Consistency: Check for consistency across your tracklist by comparing levels, tonal balance, and overall loudness. Embed metadata and ISRC codes for proper identification and make use of reference tracks to gauge how your master stacks up against professional releases.
Frequently Asked Questions
Is Cubase Good for Beginners?
Cubase is excellent for beginners! Its user-friendly interface, tutorials, VST instruments, and effects chains make learning music production enjoyable and efficient. Create, edit, and mix tracks easily. Join online courses for advanced skills.
How to Create Music in Cubase?
To create music in Cubase, open a new project, import audio tracks, use MIDI for virtual instruments, edit sound with tools, apply effects, arrange tracks in the timeline, mix them, and export your final composition.
How Long Does It Take to Learn Cubase?
Learning Cubase varies; basics in weeks, mastering in months/years. Practice, tutorials, and experimentation aid. Online courses/private lessons accelerate understanding. Consistent practice is key. Dedication determines speed. Your journey awaits; embrace it.
Can You Master Cubase?
You can master Cubase for music production. Learn mastering techniques and use built-in tools for efficient mastering. Set up mastering projects, apply plugins like Magneto2 for tape emulation, and utilize metering tools for best audio quality.
Conclusion
To sum up, crafting mesmerizing music with Cubase is a breeze!
By following this detailed guide, you can effortlessly set up projects, import files, organize tracks, apply effects, use virtual plugins, arrange your composition, automate elements, and master your tracks.
Get ready to enhance your music production skills with Cubase!