To begin, download and install Audacity from trusted sources. Configure audio settings and start recording by pressing R and stopping with the spacebar. Use multiple tracks for layering sounds and adjust input levels for quality. Play back using the spacebar and edit with zoom tools. Apply effects from the menu and adjust parameters. Save projects as .aup3 files and export mixes in different formats like MP3 or WAV. Set up microphones and adjust project rate for professional sound. Become familiar with basic functions and gather essential tools. Mastering these basics will give you total creative control and polished productions.
Key Takeaways
- Set up input/output devices for optimal recording quality.
- Record multiple tracks for layering sounds.
- Utilize editing tools for precise audio manipulation.
- Apply audio effects to enhance music production.
- Save projects in various formats like MP3 or WAV.
Setting Up Audacity Software
When setting up Audacity for music production, start by downloading the audio editor from the official website or trusted sources. Installing Audacity on your computer is important for utilizing its capabilities as an audio interface. Guarantee a safe installation process by following the step-by-step instructions provided on the website or in the installation wizard.
Once Audacity is installed, configuring the audio settings is vital. Select the appropriate input and output devices for recording and playback purposes. Adjust the recording preferences, including sample rate, bit depth, and channels, to optimize the audio quality for your music production needs.
Familiarize yourself with the interface layout of Audacity, which includes tracks, tools, and menus. Understanding the layout will help streamline your music production workflow and make navigation easier. By setting up Audacity correctly, you lay a solid foundation for creating high-quality music productions.
Recording Audio in Audacity
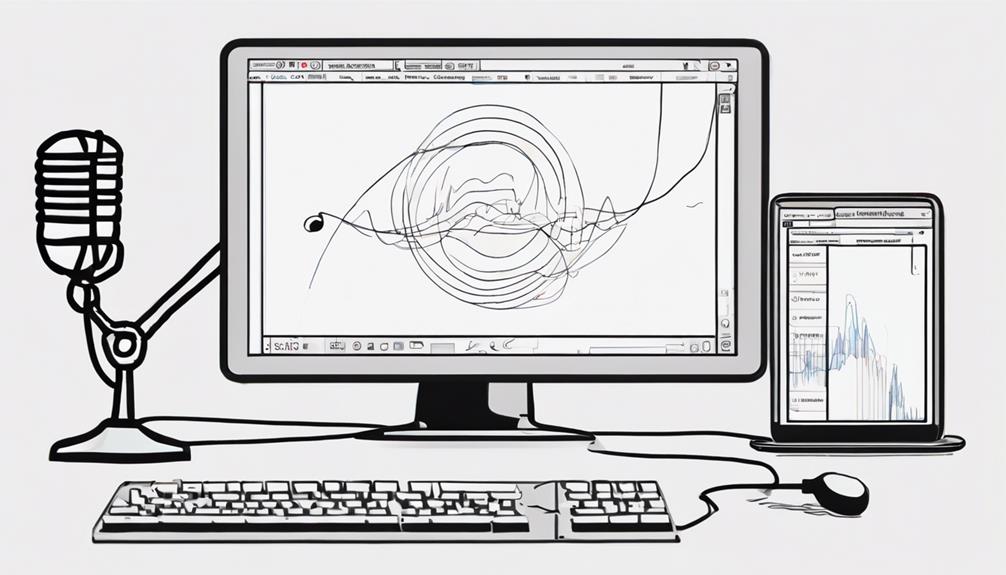
To record audio in Audacity, simply click on the record button or press the R key on your keyboard to initiate the recording process. Once you start recording, you can use the space bar to stop when you're done capturing your audio. Audacity also offers the capability to record multiple tracks simultaneously, allowing you to layer different sounds for a richer audio experience.
For optimal recording quality, you can adjust the input levels and microphone settings within Audacity. This ensures that your audio is captured at the desired quality level.
Once you have finished recording your audio, you can easily edit and manipulate it using Audacity's editing tools. This includes cutting, copying, pasting, and applying various effects to enhance your audio recordings.
Enjoy the flexibility and power that Audacity provides for recording and editing your audio projects seamlessly.
Playback and Editing Techniques
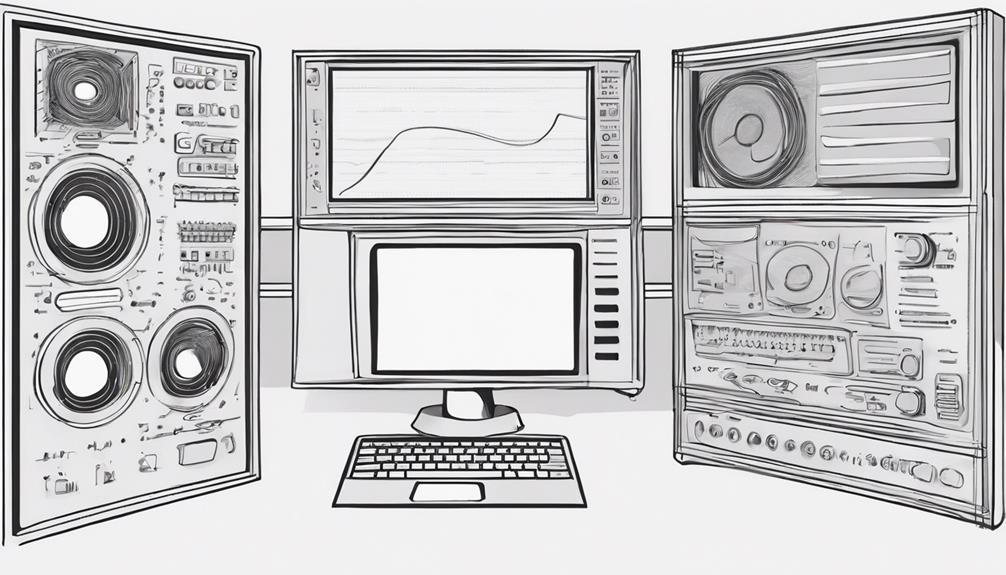
You can utilize the play button or the space bar in Audacity to listen to your music recordings. When editing your tracks, take advantage of the Zoom tools to zoom in for detailed adjustments. Here's a handy table to help you understand these playback and editing techniques better:
| Playback and Editing Techniques | Description |
|---|---|
| Play Button | Use the play button or space bar for playback of your recordings. |
| Zoom Tools | Zoom in and out using selection and zoom tools for precise editing. |
| Highlighting and Looping | Experiment with highlighting and looping sections for playback. |
| Envelope Tool | Seamlessly fade in and out your tracks using the envelope tool. |
Applying Audio Effects in Audacity
Enhance your music tracks in Audacity by applying a variety of audio effects to achieve a professional sound. Audacity offers a diverse selection of effects like reverb, delay, EQ, and distortion to help you elevate your music productions.
Here's how you can make the most of these effects:
- Selecting Effects: Choose the desired effect from Audacity's menu and adjust the parameters to tailor the sound to your liking.
- Layering Effects: Stack multiple effects on a single voice track to create intricate audio textures, allowing for unique and complex soundscapes in your music.
- Real-Time Preview: Enjoy the convenience of Audacity's real-time preview feature, enabling you to fine-tune effect settings before committing to the changes on separate tracks.
Saving and Exporting Projects

Consider saving your Audacity projects as .aup3 files to preserve all editing data and settings for future modifications. This guarantees that you can revisit your projects and make changes without losing any of your previous work. When it comes to exporting your final mixdowns, choose formats like MP3, WAV, or OGG based on your intended use. For higher quality exports, WAV is a great option, while MP3 offers a good balance between quality and file size. Regularly saving your projects is essential to prevent any accidental loss of work and to maintain project continuity. Utilize Audacity's saving and exporting features effectively to safeguard your music production projects. Here's a handy table to help you understand the different export formats:
| File Format | Quality |
|---|---|
| WAV | High |
| MP3 | Balanced |
| OGG | Good |
Tips for Getting Started
When starting with Audacity for music production, begin by setting up the basics and gathering the essential tools you'll need.
Familiarize yourself with recording, importing audio files, and mastering playback controls to kickstart your music projects efficiently.
These initial steps will lay a solid foundation for your journey into music production with Audacity.
Basic Setup Steps
To kickstart your music production journey using Audacity, make sure you download and install the software from the official website. Once you have Audacity ready to go, follow these basic setup steps to guarantee a smooth recording experience:
- Set up your microphone: Before you hit record, it's important to properly configure your microphone and audio interface in Audacity's preferences. This step guarantees that you capture high-quality audio without any technical glitches.
- Adjust project rate: For best results, adjust the project rate to 44100 Hz. This setting provides standard CD quality audio recordings, giving your music a professional sound.
- Familiarize yourself with basic functions: Get comfortable with essential functions like recording, importing audio files, and playback controls. Understanding these basics will establish a solid foundation for your music production journey.
Essential Tools Needed
Before starting your exploration of Audacity for music production, make sure you have the essential tools required for a successful recording and editing session. It's super simple to get started with just a few key items.
To begin with, you'll need a computer with the Audacity software installed. Whether you use Mac, Windows, or Linux, Audacity is compatible across platforms.
Next, make sure you have a good quality microphone for recording vocals or instruments. A clear and crisp sound input is crucial for producing high-quality tracks. Additionally, positioning the microphone correctly plays a key role in capturing the best sound. Whether you’re singing or recording guitar for music production, aim to minimize background noise by choosing a quiet environment and using a pop filter to reduce unwanted sounds. Investing in the right equipment ensures your recordings feel professional and polished from the start.
Additionally, invest in a pair of headphones or studio monitors to accurately monitor the audio during recording and editing in Audacity. These tools will help you catch any imperfections and fine-tune your music.
Familiarize yourself with basic recording and editing techniques within Audacity to enhance your music production skills. Experiment with different audio effects and tools to spark your creativity and craft unique sounds and music tracks.
With these essentials in place, you're ready to immerse yourself in the world of music production with Audacity!
Frequently Asked Questions
Is Audacity Good for Beginners?
For beginners, Audacity is a fantastic choice! It's user-friendly, free, and packed with tools. You can learn essential music production techniques without breaking the bank. Immerse yourself, explore, and enhance your skills effortlessly.
Can You Use Audacity to Produce Music?
Yes, you can use Audacity to produce music. It offers recording, editing, and mixing features that are suitable for beginners. With effects like compression and EQ, you can create and enhance music tracks easily.
Can I Make Beats With Audacity?
Yes, you can make beats with Audacity! While it may lack advanced features of dedicated beat-making software, Audacity offers tools like click tracks and metronomes for timing. Experiment with layering sounds and adjusting tempo for unique beats.
What Is the Best Setting for Recording Music in Audacity?
For recording music in Audacity, set the project rate to 44100 Hz. Use a high-quality microphone and audio interface. Adjust input levels to avoid clipping. Consider a pop filter for vocals. Experiment with mic positions and room acoustics for desired sound.
Conclusion
Congratulations on learning the basics of using Audacity for music production! Remember, practice makes perfect, so keep experimenting with recording, editing, and applying effects to your music projects.
For example, imagine creating a powerful podcast intro using Audacity's editing tools and effects to capture your audience's attention from the very beginning.
The possibilities are endless, so keep exploring and honing your skills to create amazing music productions.
Happy recording!


