Get started by setting up your session with labeled tracks, ideal levels, and quality monitors. Balance frequencies using EQ by cutting or boosting as needed. Control dynamics through compression settings and shaping sound with attack/release adjustments. Add depth with effects like reverb, delay, chorus, and flanger for spatial enhancements. Use panning strategically to separate elements and create width for an immersive experience. Achieve a cohesive sound by following these key steps in the music mixing process. Mastering these techniques will take your music production to the next level!
Key Takeaways
- Label tracks for organization and clarity.
- Utilize EQ to balance frequencies for tonal clarity.
- Control dynamics with compression for a polished sound.
- Add depth with effects like reverb and delay.
- Create spatial separation with strategic panning.
Setting Up Your Session
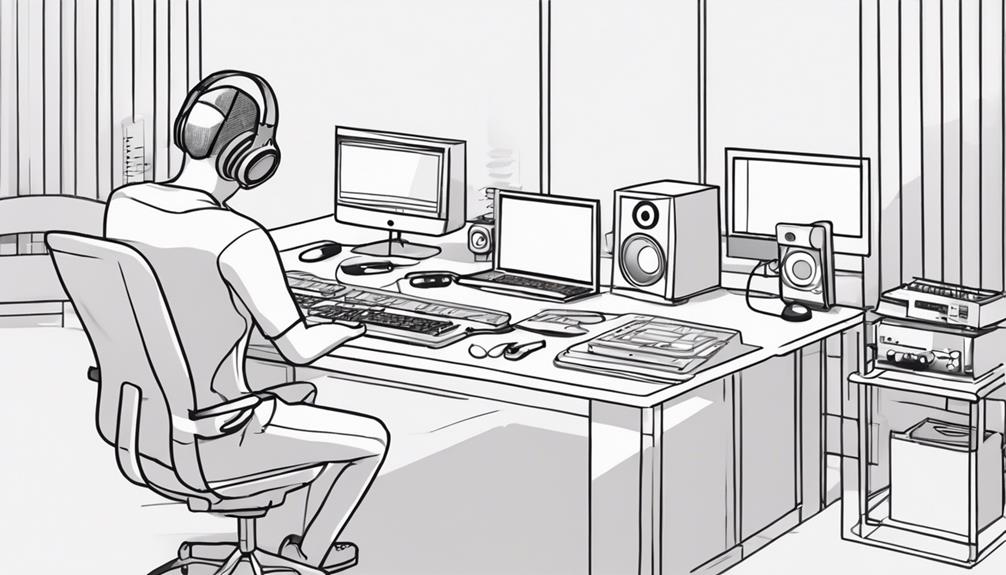
To kick off your music production journey, begin by meticulously setting up your session for maximum efficiency and organization. Proper labeling of tracks and grouping of instruments will help you stay organized and focused during the mixing process.
Utilize gain staging techniques to guarantee ideal input levels, preventing clipping and maintaining headroom for a clean mix. Setting up routing for busses and aux channels will streamline the flow of audio signals, making it easier to process and manipulate individual tracks.
Additionally, incorporating reference tracks into your session can provide valuable insights into industry standards and help guide your mixing decisions. Consider the acoustics of your studio environment and invest in quality studio monitors and acoustic treatment to accurately hear the nuances of your mix.
Balancing Frequencies With EQ
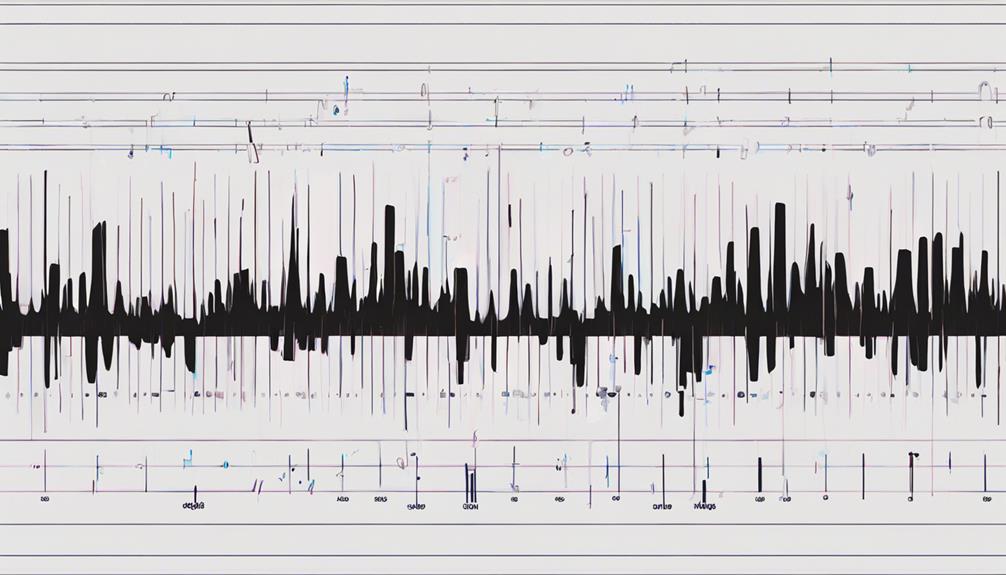
How can you effectively balance frequencies using EQ in your music mix?
EQ, or Equalization, is a powerful tool for adjusting the frequency content of individual tracks to achieve tonal balance and clarity in your mix. By cutting or boosting specific frequency ranges such as bass, mids, and highs, typically ranging from 20 Hz to 2 kHz and above, you can enhance the overall sound of instruments and vocals.
When using EQ, consider removing unwanted frequencies, carving out space for different instruments, and adding presence to vocals or lead instruments. Balancing frequencies with EQ is crucial for creating a cohesive mix where each element has its sonic space and clarity.
Controlling Dynamics With Compression
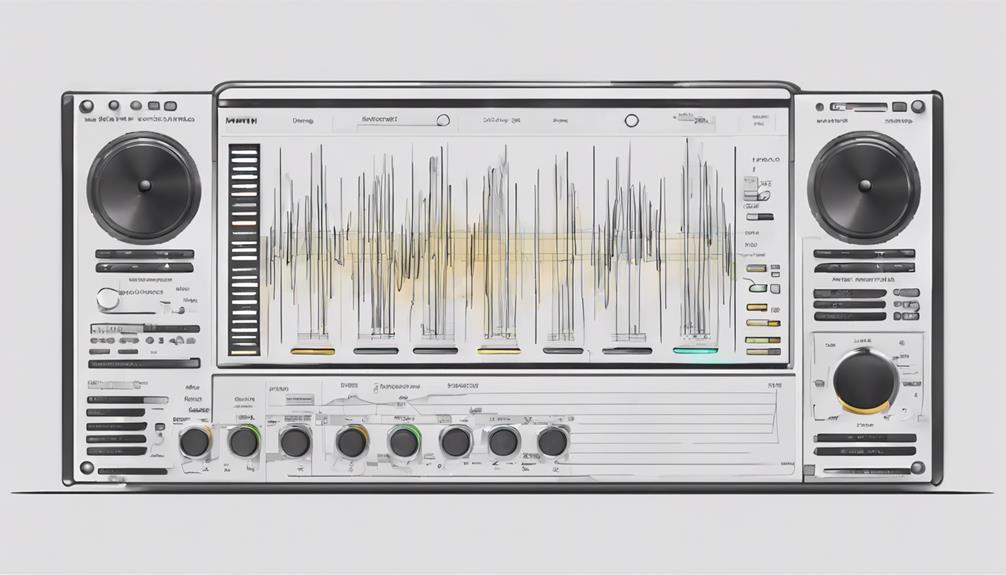
When it comes to controlling dynamics with compression, you'll learn the basics of how it works and why it's essential in music production.
Setting compression parameters such as threshold, ratio, attack, and release allows you to tailor the sound to your liking and achieve a more polished mix.
Understanding these fundamental concepts will help you master the art of compression and enhance the overall quality of your tracks.
Compression Basics
Understanding compression basics is essential for controlling dynamics in your music production mix. Compression, a fundamental tool in dynamic processing, allows you to control volume levels of audio signals. By reducing the dynamic range, compressors help in shaping the character of instruments and enhancing clarity in your mix. This technique can also improve balance by controlling dynamics effectively.
To grasp compression basics better, let's look at a breakdown of key concepts:
| Compression Basics | Description |
|---|---|
| Reduce Dynamic Range | Attenuates louder parts for consistency |
| Parameters of Compressors | Threshold, ratio, attack, release, makeup gain |
| Shape Character of Instruments | Influence transients, sustain, and overall sound |
With a solid understanding of these fundamentals, you can utilize compression to its fullest potential in your music production. Stay tuned for more insights on setting compression parameters in the next section.
Setting Compression Parameters
To effectively control dynamics in your music production mix, mastering the art of setting compression parameters is essential. Compression is a fundamental tool in dynamic processing, allowing you to manage the volume levels of audio signals within your mix.
When setting up compression, key parameters like threshold, ratio, attack, release, and makeup gain play pivotal roles. The threshold determines the point at which compression begins to affect the signal, while the ratio setting dictates how much reduction occurs above this threshold.
Adjusting the attack and release times is critical for achieving smooth and natural compression of audio dynamics. By understanding and fine-tuning these parameters, you can shape the dynamics of individual tracks or the entire mix, ensuring a balanced and cohesive sound.
Experimenting with different settings and listening attentively to the changes in dynamics will help you master the art of setting compression parameters effectively in your music production process.
Adding Depth With Effects
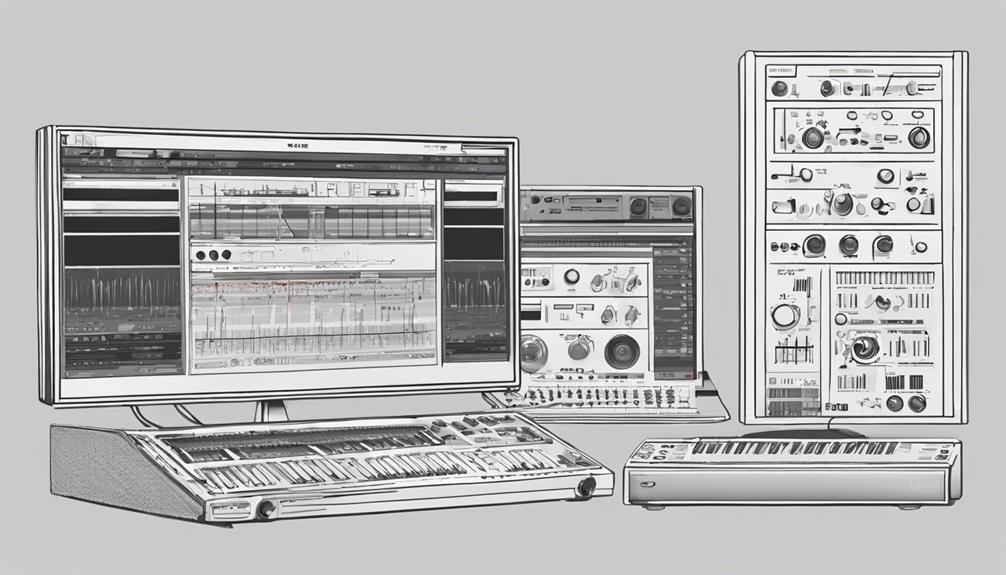
Enhance the spatial characteristics of your mix by incorporating reverb and delay effects to add depth and dimension to your tracks. Reverb can help simulate different room sizes, creating a sense of space and enhancing the overall ambiance of your music. On the other hand, delay effects introduce echoes and reflections, adding movement and dimension to individual elements within your mix. Additionally, effects like chorus and flanger can contribute to the depth by modulating the sound, providing a unique texture to your tracks. Experimenting with various effect settings and combinations allows you to craft a more immersive and dynamic sound. Check out the table below for a quick reference on how each effect can enhance the spatial aspects of your mix:
| Effect | Description | Usage |
|---|---|---|
| Reverb | Simulates room sizes and environments | Adds depth and ambiance to tracks |
| Delay | Creates echoes and reflections | Enhances movement and dimension in the mix |
| Chorus | Thickens sound with slight variations | Adds a sense of width and depth to instruments |
| Flanger | Modulates sound for a swirling effect | Provides a unique modulation enhancing spatial presence |
Creating Spatial Separation With Panning
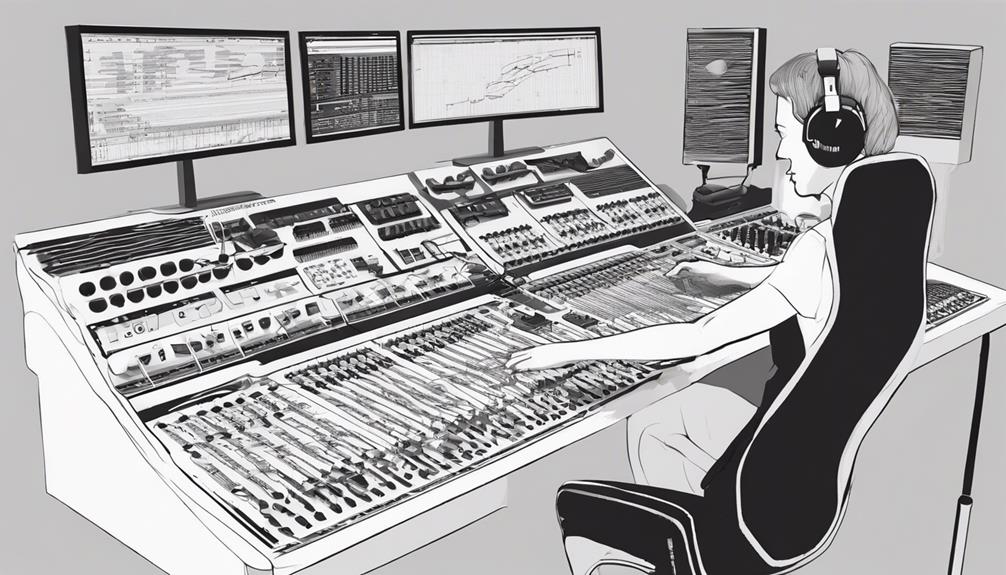
To create spatial separation and width in your mix, utilize panning to strategically place audio elements in the stereo field. Panning allows you to give each instrument its own space, enhancing clarity and definition.
By adjusting the pan position of tracks, you can introduce movement and depth into your mix, making it more dynamic and engaging. Creatively using panning can lead to interesting effects, immersing the listener in a unique auditory experience.
Proper panning techniques are essential for achieving a balanced and cohesive sound, preventing audio elements from clashing and ensuring a harmonious blend. Here are some key points to keep in mind when using panning:
- Experiment with different pan positions to create spatial separation.
- Use panning to enhance the depth and dimension of your mix.
- Balance the placement of audio elements across the stereo field for a cohesive sound.
- Incorporate movement by automating pan settings for dynamic shifts.
- Aim to create an immersive listening experience through strategic panning techniques.
Achieving Cohesive Sound
For achieving a cohesive sound in your music mix, it's essential to carefully balance and blend individual tracks harmoniously. This involves adjusting volume levels, applying EQ, compression, and effects to create a unified and polished sound. Additionally, using EQ in music production is crucial for carving out space for each instrument and ensuring they sit well together in the mix. This technique helps eliminate frequency clashes and enhances clarity, allowing each track to contribute to the overall sonic balance. When paired with thoughtful panning and dynamic processing, you can achieve a professional, immersive mix that captivates listeners.
By ensuring that each element complements the others without clashing or overpowering, you can achieve a balanced and sonically pleasing mix. The goal is to create a seamless integration of all components, allowing the track to translate effectively across various playback systems.
Mixing engineers employ techniques like precise EQ adjustments, strategic compression, and tasteful effects application to enhance the coherence and unity of the track. Through these methods, a professional and polished final product can be achieved, elevating the overall quality and impact of your music production.
Frequently Asked Questions
How Do You Mix Tracks Step by Step?
To mix tracks step by step, start by setting levels, adjusting EQ for balance, applying compression for control, adding spatial effects for depth, and refine with automation. Keep experimenting and fine-tuning for best results.
How Do You Mix Different Tracks?
Dance with the sounds blending in your ears, like colors on a canvas. Adjust levels, add EQ, compress, and sprinkle spatial magic. Treat each track with care, pan for space, mind frequencies, and control dynamics.
How to Produce a Song Step by Step?
To produce a song step by step, start with composing your melody and lyrics. Then, record your tracks, focusing on quality sound capture. Next, mix your instruments, adjusting levels and effects. Finally, master your song for a polished finish.
What Is Involved in Mixing a Track?
Mixing a track involves adjusting levels, panning, EQ, compression, and adding effects. Achieve a polished sound by balancing instruments, shaping frequencies, controlling dynamics, and creating space. Your attention to detail and critical listening skills are key.
Conclusion
Now that you've learned the basics of mixing a track, you're well on your way to creating professional sounding music.
Keep practicing and experimenting with different techniques to find your own unique style.
Remember, mixing is an art form that takes time and dedication to master, but with patience and persistence, you'll be able to achieve the cohesive sound you're aiming for.
Keep up the great work!

