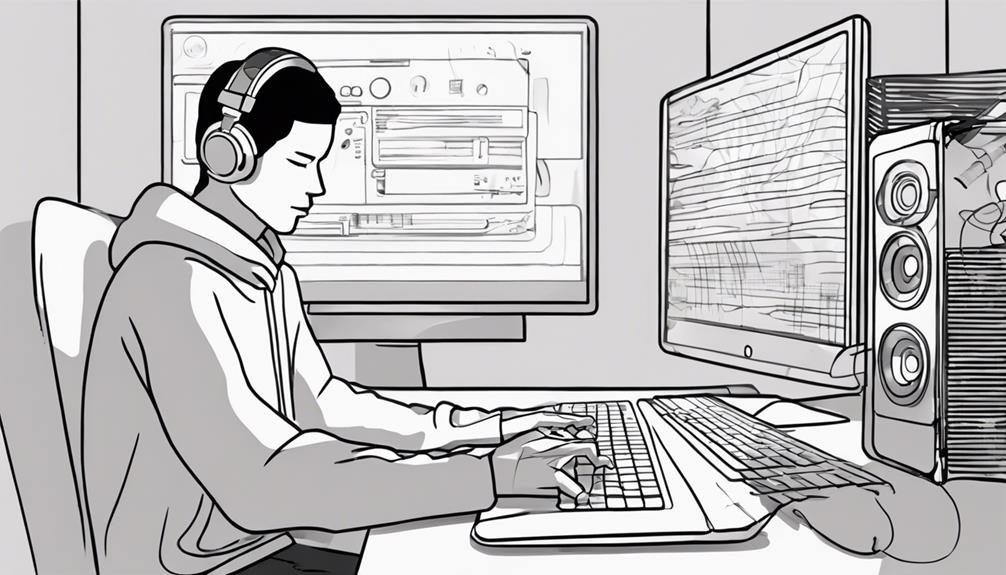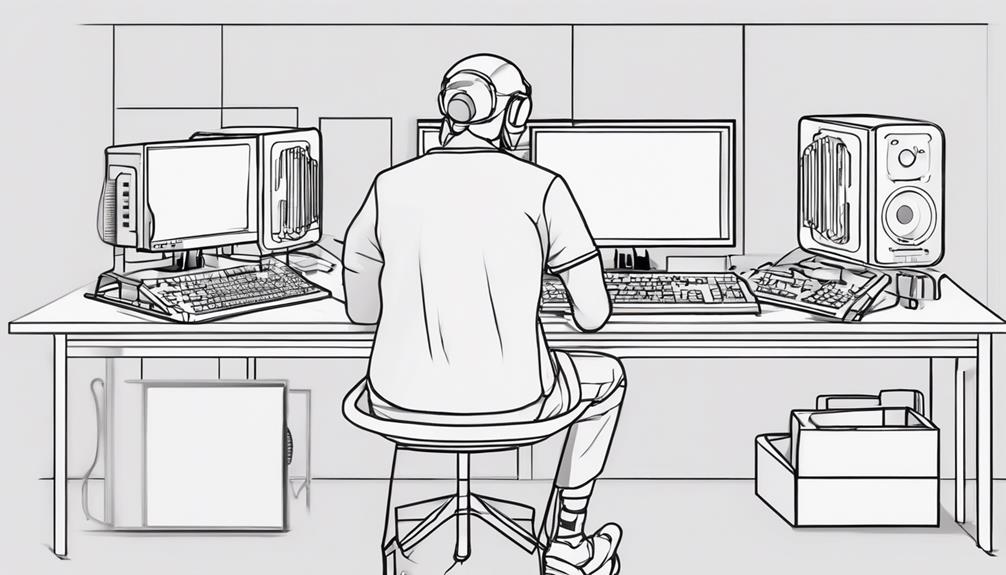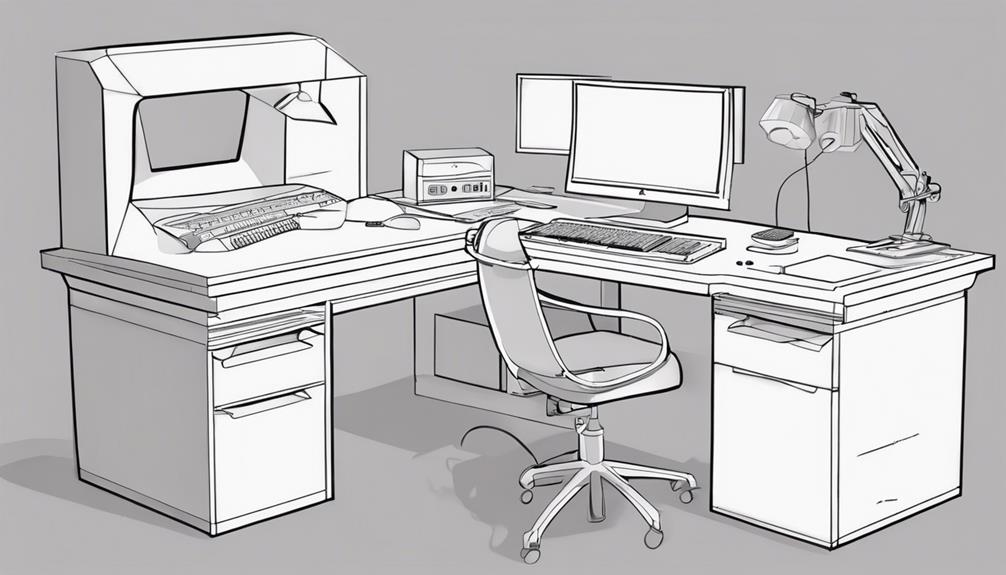

To build a studio desk for music production, start by cutting and preparing the MDF with accurate measurements and smooth edges using a circular saw. Construct the desk structure by evenly spacing side racks, securing them with screws, and adding back support pieces for stability. Customize the bamboo countertop with gel wood stain and a clear coat. Sand and prime the MDF surfaces before painting for a polished finish. Assemble the desk, focusing on levelness and reinforcement. Add cable management for organization. By following these steps, you can create a professional studio desk to elevate your music production setup.
Key Takeaways
- Use 3/4 inch MDF for durability and strength.
- Incorporate wood cross supports for reinforcement.
- Customize bamboo countertop for resilience and appearance.
- Sand, prime, and paint with acrylic-based products.
- Add cable management for a tidy setup.
Materials Needed
To build a studio desk for music production, gather the necessary materials including 3/4 inch MDF, wood for cross supports, screws, brackets, a bamboo countertop, acrylic-based primer, and gel wood stain. Studio desks require sturdy construction, making 3/4 inch MDF an ideal choice due to its strength and durability.
The wood cross supports play an important role in reinforcing the desk's structure, guaranteeing it can withstand the weight of equipment. When assembling the desk, using screws and brackets is essential for stability and security.
For the desk's surface, a bamboo countertop is recommended for its sleek appearance and resilience to daily wear and tear. Before painting the MDF parts, it's important to apply an acrylic-based primer to ensure a smooth and long-lasting finish.
To add a touch of color and protection to the bamboo countertop, using gel wood stain will help achieve the desired aesthetic while preserving the surface. By gathering these materials, you're one step closer to constructing your own functional and stylish studio desk for music production.
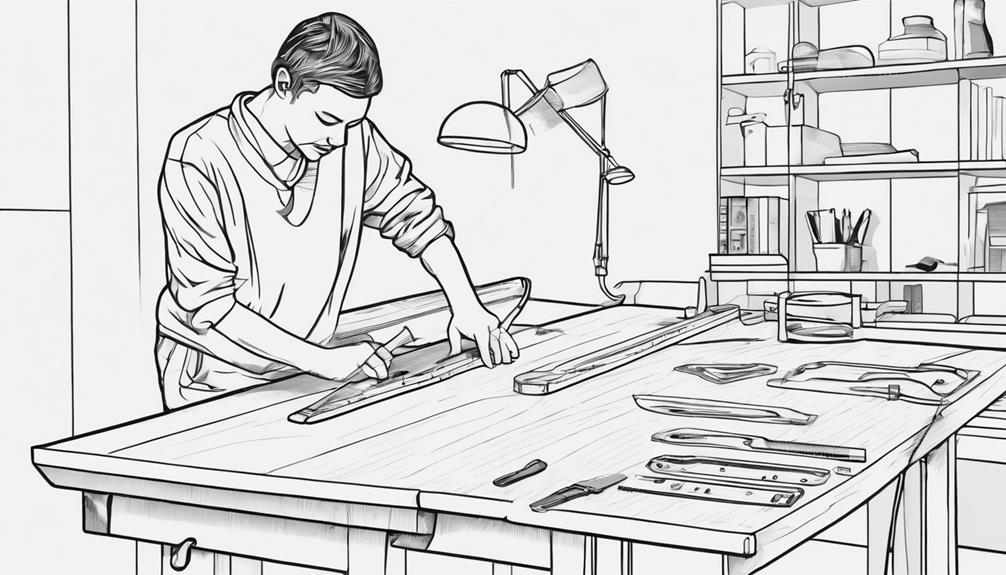
Cutting and Preparing MDF
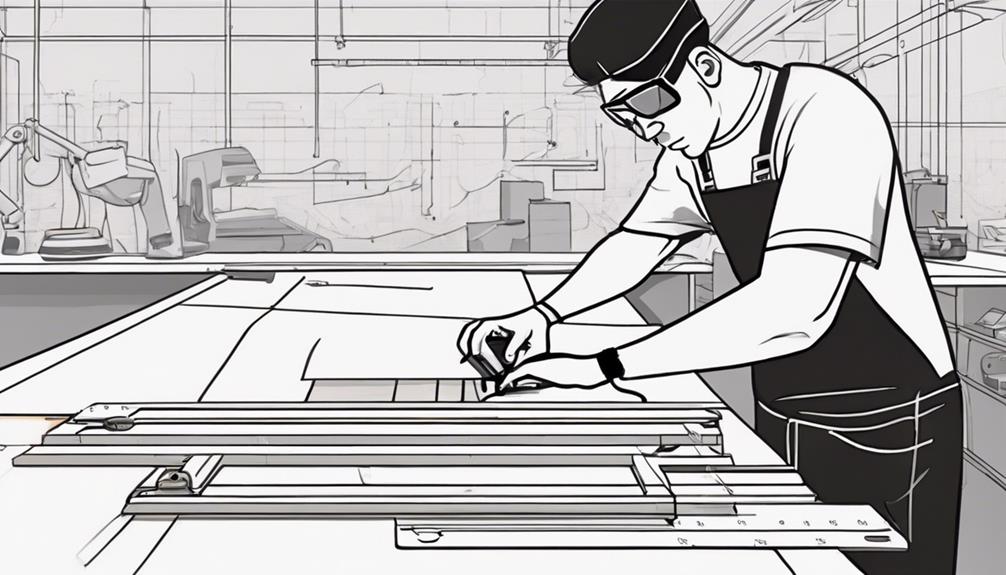
Consider using a circular saw to accurately cut the 35.5-inch squares on the MDF for the desk surface. Measure and mark the MDF according to the exact measurements needed for your desk, ensuring precision for a perfect fit.
When cutting, follow the marked lines precisely to achieve clean and professional-looking edges. Smooth out any roughness or splinters on the MDF pieces by sanding the edges gently.
It's vital to double-check all measurements and cuts to guarantee that the pieces align correctly during assembly. This step is important to make sure that your desk is stable and provides ample space for your computer monitor and other studio equipment.
Taking the time to cut and prepare the MDF accurately will result in a high-quality studio desk that meets your music production needs.
Constructing Side Racks
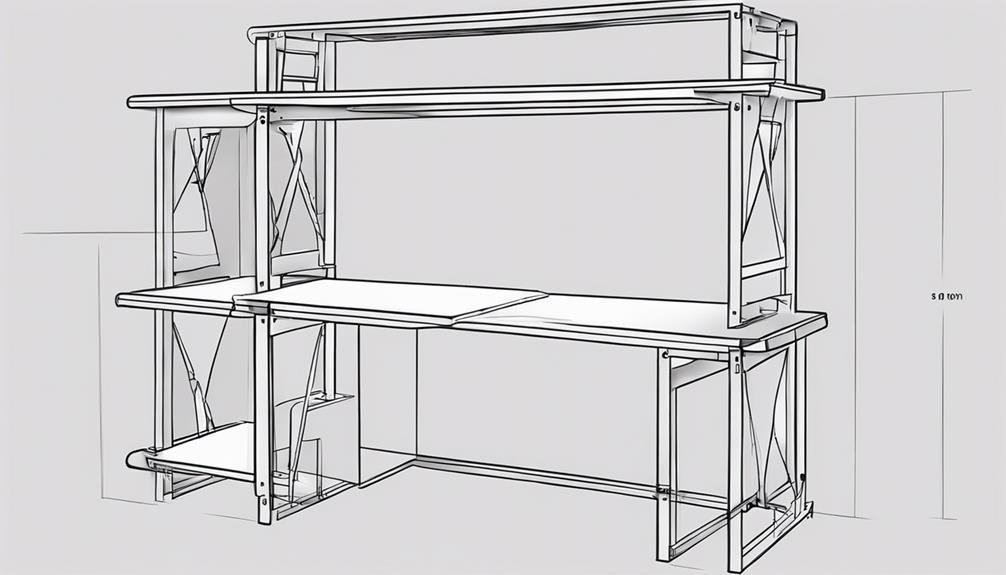
To construct the side racks, make sure they're evenly spaced to maintain stability and balance in the overall desk structure. Begin by securing the side racks with half-inch screws for essential structural support. These screws will ensure durability and longevity in your studio desk. Additionally, consider adding extra brackets to the side racks for increased stability and weight-bearing capacity. By reinforcing the side racks in this manner, you guarantee a sturdy foundation for your workspace.
Once the side racks are securely in place, it's time to position the desktop on them to form the main working surface of the studio desk. Placing the desktop on the assembled side racks not only completes the basic structure but also sets the stage for the next steps in the construction process.
Adding Back Support Pieces
Now, let's focus on the vital step of adding back support pieces to your studio desk. These pieces are essential for providing stability and preventing any unwanted wobbling.
Ensuring they're securely attached will enhance the overall durability and structural integrity of your DIY desk design.
Back Support Design
Ensure the stability and durability of your DIY studio desk by incorporating sturdy back support pieces made from materials like 1×8 lumber. These back support pieces play an essential role in maintaining the structural integrity of your desk, preventing any potential wobbling or shifting that could occur during use. By adding these reinforcements, you guarantee that your desk can support the weight of all your music production equipment and accessories securely.
To help you visualize the importance of back support pieces, here is a table showcasing the key benefits they provide:
| Benefits of Back Support Pieces |
|---|
| Ensures stability and durability |
| Prevents wobbling and shifting |
| Supports the weight of equipment |
| Enhances structural integrity |
| Improves overall desk reliability |
Incorporating these back support pieces into your studio desk design is essential for creating a workspace that is both functional and long-lasting.
Securing Back Pieces
Consider fastening the back support pieces to firmly connect the sides of your studio desk, ensuring stability and durability in your music production workspace.
Use screws or nails to attach the back support pieces to the side racks securely. Make sure to align the back support pieces properly to distribute weight evenly across the desk, reinforcing its structure for long-term durability.
By securing the back pieces effectively, you'll prevent any wobbling or instability, providing a reliable foundation for your music production setup. This step is essential in ensuring that your studio desk can support the weight of your equipment and withstand the demands of daily use.
Take the time to double-check the alignment of the back support pieces before fastening them to guarantee a sturdy and robust construction that will serve you well during your music production sessions.
Aligning for Stability
To guarantee stability and durability in your music production workspace, aligning the back support pieces between the side racks is an essential step in reinforcing your studio desk structure.
These back support pieces, typically made from sturdy materials like 1×8 wood, play an important role in preventing any wobbling or shifting of your desk during intense music production sessions. By securely attaching these support pieces between the side racks, you create a solid foundation that ensures your studio desk can withstand the demands of your workflow.
Using sturdy materials for the back support pieces is critical to maintaining the overall strength and integrity of your studio desk. When aligning these pieces, make sure they're level and securely fixed to both side racks, providing maximum reinforcement to the structure.
Proper alignment and installation of the back support pieces are essential for establishing a stable and reliable workspace for your music production needs.
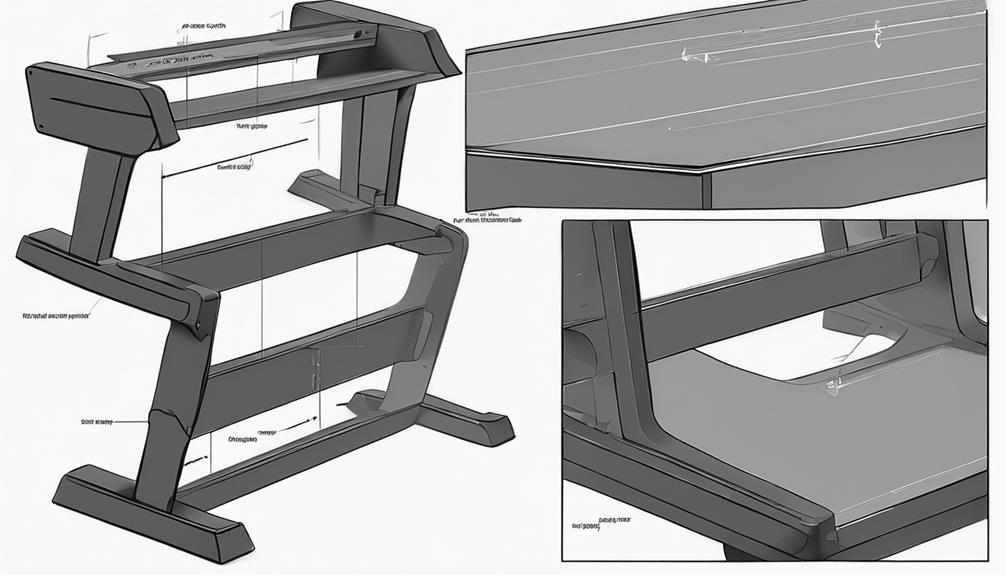
Customizing Bamboo Countertop
Customize the bamboo countertop for your studio desk by selecting a gel wood stain that complements your decor. Gel wood stains are ideal for enhancing the natural grain pattern of bamboo while offering a wide range of rich colors to choose from. The application of multiple layers of gel stain allows you to control the darkness and depth of the color, giving you the flexibility to achieve your desired look.
When customizing your bamboo countertop, consider the overall theme of your studio space. Opt for a gel wood stain that not only protects the bamboo but also adds a touch of sophistication to your workstation.
Once you have achieved the perfect color intensity, finish the countertop with a clear coat to provide added protection against daily wear and tear. This final step will also give your customized bamboo countertop a polished and professional appearance, elevating the aesthetic of your music production studio.
Sanding and Priming
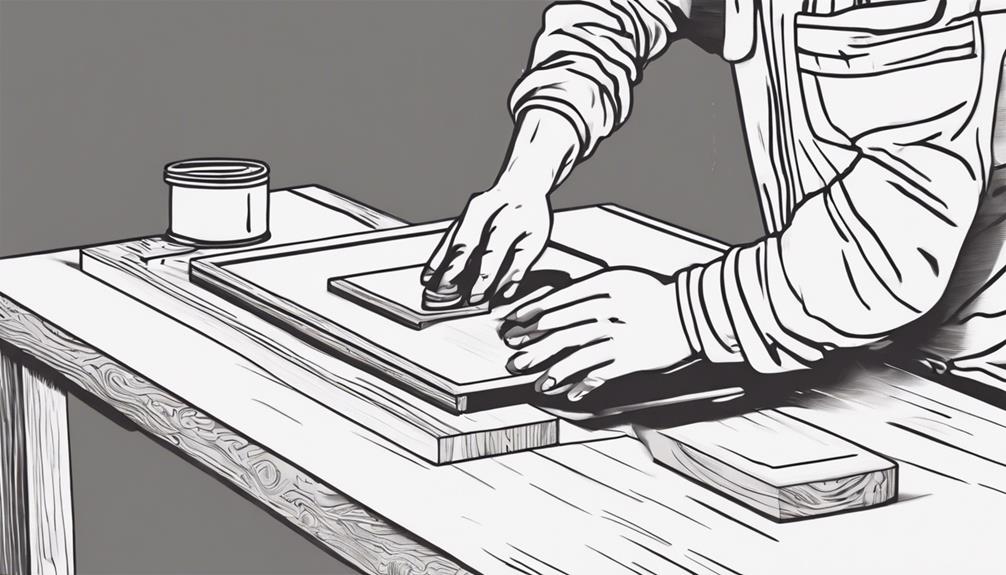
Sanding MDF surfaces is an essential step to achieve a smooth finish before priming. When prepping your studio desk for painting or staining, follow these key steps:
- Use the right sandpaper: Opt for a fine grit sandpaper, typically between 220-400, to ensure the wood is properly prepped for the next steps.
- Sand in the correct direction: Always sand in the direction of the wood grain to prevent unwanted scratches and to maintain a uniform surface for a professional finish.
- Apply acrylic-based primer: After sanding, it's important to apply a coat of acrylic-based primer to the MDF surface. This primer enhances paint adhesion, providing a solid base for your chosen color.
Remember to allow the primer to dry completely before moving on to the painting phase. This process sets the foundation for a flawless and durable finish on your custom studio desk.
Painting and Staining
For a professional and durable finish on your studio desk, consider using gel wood stain as a common choice. Multiple coats of paint should be applied, ensuring a long-lasting and polished appearance. Sanding between each layer of paint is vital to achieve a smooth surface free of imperfections. Attention to detail during the painting and staining process will result in a high-quality final look that enhances the overall aesthetic of your studio desk. To prolong the lifespan of the desk and protect the finish, applying clear coats over the stain is recommended.
| Painting and Staining Tips | |
|---|---|
| Use gel wood stain for a smooth finish | Multiple coats of paint are essential |
| Sand between paint layers for a polished look | Attention to detail is vital |
| Clear coats add a protective layer |
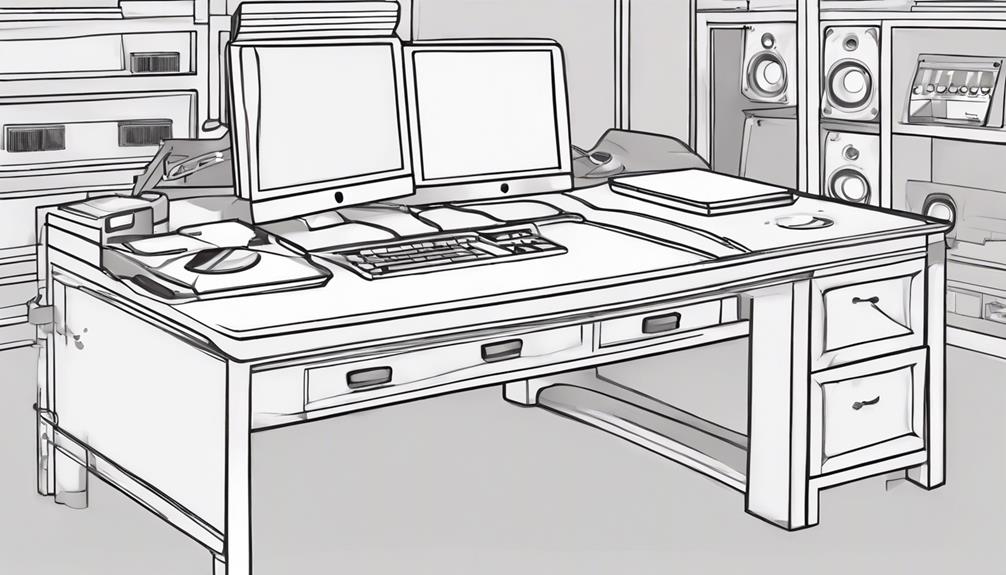
Assembling and Finishing Touches
Now it's time to finalize the desk structure by securely attaching the desktop to the side racks using half-inch screws.
Add extra brackets for reinforcement to guarantee the desk is sturdy and level before proceeding.
Finish up by adding finishing screws for additional stability and checking the overall quality and functionality of the desk before starting your music production sessions.
Finalizing Desk Structure
To guarantee the stability and quality of your studio desk for music production, securely attach the desktop to the assembled side racks using appropriate support pieces. Double-check the levelness of the desk to prevent any wobbling or unevenness. Add finishing screws to reinforce the structure and make certain all components are securely attached.
Make any necessary adjustments to the desk to assure a perfect fit and alignment of all parts. Review the finished desk for quality, ensuring that it meets your standards before using it for your music production setup.
Check the weight capacity of the desk to confirm it can support your studio monitors underneath the desk. Use a level to verify the desk is flat to avoid any issues with stability. Consider adding rubber or felt pads to the bottom of the desk legs to protect your floor and reduce vibrations.
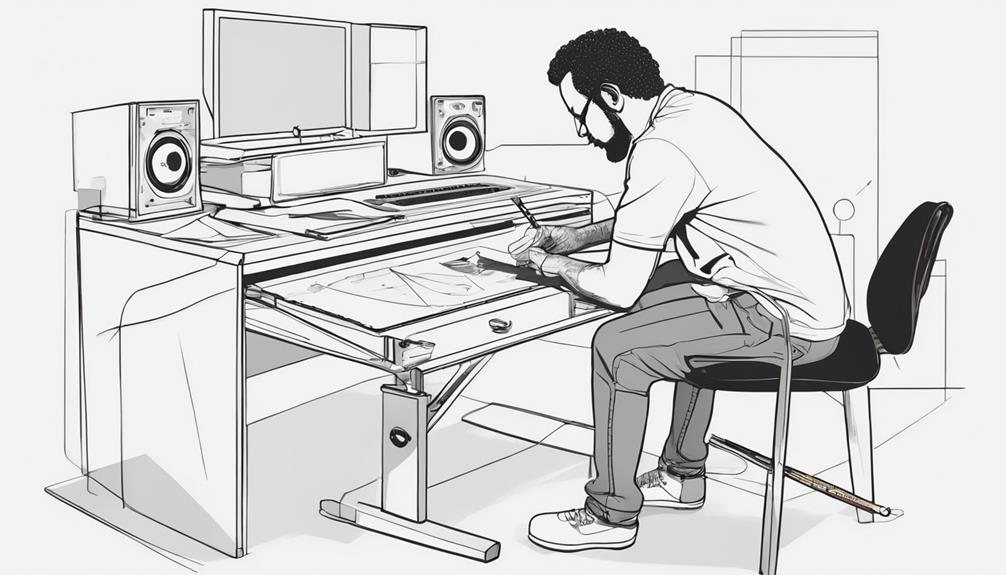
Adding Cable Management
Install cable management grommets on the desk surface to neatly organize and route cables for a clean and efficient workspace setup.
Use cable clips to secure cables underneath the desk, ensuring a tidy appearance.
Consider incorporating a cable tray or rack beneath the desk to elevate cables off the floor, maintaining a clutter-free environment.
For easy identification and troubleshooting, label cables at both ends.
By utilizing Velcro straps or cable sleeves, you can efficiently bundle and manage multiple cables connecting your equipment.
These simple cable management solutions not only enhance the aesthetics of your studio desk but also contribute to a more organized and streamlined workflow.
With cables neatly arranged and secured, you can focus on your music production tasks without the distraction of tangled wires.
Implementing these cable management techniques won't only improve the look of your studio setup but also make maintenance and future changes easier to handle.
Frequently Asked Questions
What Is the Height of a Music Production Desk?
To determine the height of a music production desk, consider your comfort and ergonomics. Align monitors, keyboard, and equipment for best use. Account for chair and monitor stand heights. Custom desks can be built to your specific needs.
How to Set up a Music Studio at Home?
Creating a home music studio starts with selecting a quiet, well-acoustically treated space. Invest in quality gear like studio monitors and an audio interface. Organize efficiently with cable management. Personalize the setup for comfort and creativity.
How to Start a Music Production Studio?
To start a music production studio, research essential equipment, create a budget, choose a suitable space with good acoustics, invest in quality acoustic treatment, and consider hiring a designer. These steps will help optimize your studio for better sound quality. Additionally, ensure you have a reliable computer with a digital audio workstation (DAW) software to handle recording and mixing tasks. Understanding how to start a music company involves not only setting up a functional studio but also building a network of talented artists and producers to collaborate with. Focus on marketing and branding strategies to establish your studio as a trusted name in the industry.
How Do Recording Studios Work?
To understand how recording studios work, you'll witness skilled engineers capturing magic in soundproof rooms, mixing tracks for polished results. Renting studio time allows artists to create professional-quality audio productions, with every note sculpted to perfection.
Conclusion
Now that you've followed these steps and put in the work, you'll have a custom studio desk that fits your music production needs perfectly.
By taking the time to cut, construct, customize, and finish your desk, you've created a space that isn't only functional but also reflects your personal style and creativity.
So go ahead, sit down at your new desk, and let the music flow!