To balance your cymbals and kit with overheads, position them above the kit, aiming for even coverage without overpowering the snare or kick. Keep the microphones equidistant from cymbals and the snare to maintain a natural stereo image, and angle them slightly to prevent phase issues. Adjust mic placement and flip the phase if needed to achieve clarity and fullness. Continuing will help you master these essential techniques for a professional drum sound.
Key Takeaways
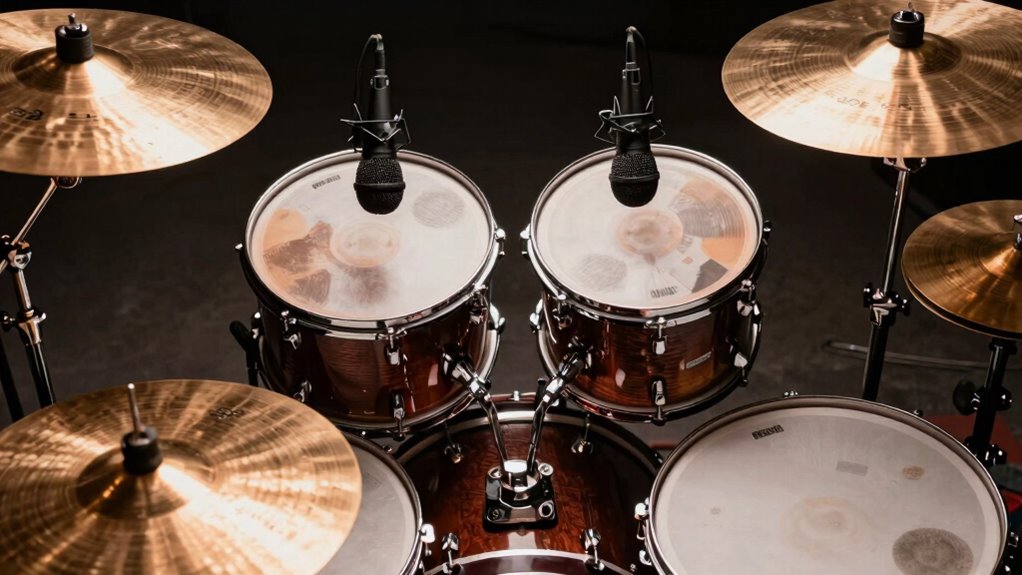
- Position overhead microphones above cymbals and kit at an angle to capture brightness without overpowering other elements.
- Keep overheads equidistant from cymbals and snare for a balanced stereo image.
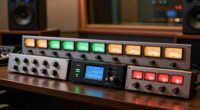
- Check phase alignment by flipping the phase switch or using a phase tester to ensure cymbals sound full and clear.
- Make small positional adjustments, like moving mics closer or changing angles, to optimize cymbal brightness and kit balance.
- Focus on achieving phase coherence and proper placement to create a natural, lively, and balanced drum sound.
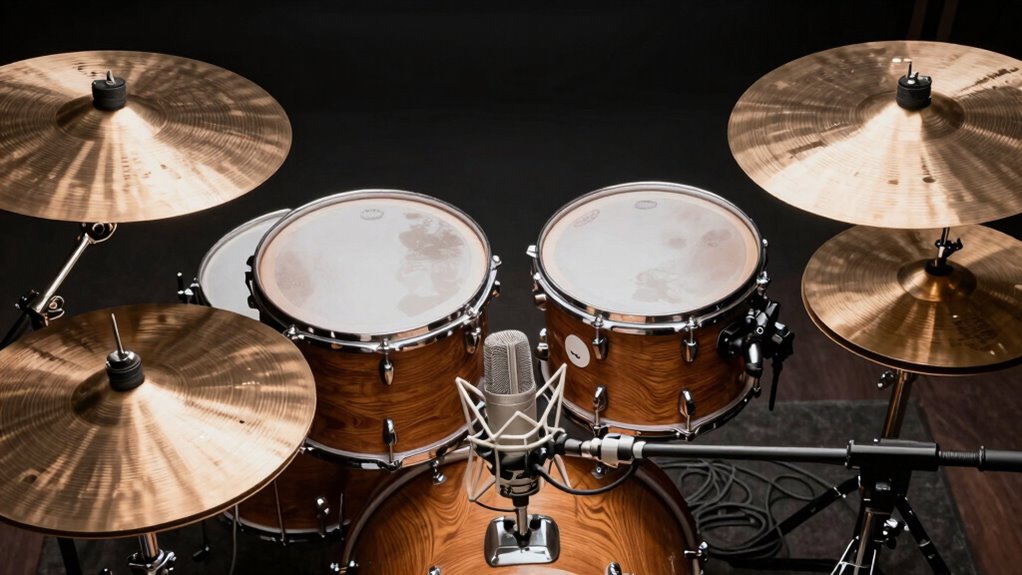
Are you ready to capture the full essence of your drum kit? When setting up your overhead microphones, proper microphone placement is crucial to achieve a balanced, natural sound. Start by positioning your overheads above the kit, aiming to pick up the cymbals and overall kit sound evenly. The goal is to place the mics at a height where they can capture the sparkle of the cymbals without overpowering the snare or kick. Keep the microphones equidistant from the cymbals and snare to maintain a balanced stereo image. Use a slight angle to avoid phase issues and to focus on the sound sources you’re most interested in. Remember, the distance and angle of your microphones considerably influence how well the cymbals blend with the rest of the kit. Proper microphone placement and phase alignment are essential to capturing a clear, lively sound. Phase alignment is a critical aspect that can make or break your overhead sound. If your microphones are out of phase, you’ll notice a hollow, thin tone, and the cymbals may sound distant or weak. To guarantee phase coherence, start with your microphones as close to the cymbals and kit as possible, then check their phase relationship. A quick way to verify phase alignment is to listen to the combined sound and, if possible, do a phase check with a phase tester or by simply flipping the phase switch on your preamp or audio interface. When the phase is aligned, the cymbals will sound full and clear, with a natural sense of space. If you detect a hollow or muffled quality, try flipping the phase switch on one of the overhead mics. Small adjustments in mic placement—such as moving the microphones slightly closer or adjusting their angles—can also enhance phase coherence. Getting your microphone placement right and ensuring proper phase alignment isn’t just about technical accuracy; it’s about capturing the true energy and brightness of your cymbals and overall kit. Take your time to experiment with different positions and listen carefully to how each change affects the sound. When everything is aligned properly, you’ll notice a more cohesive, lively overhead sound that complements your snare, kick, and toms. This balanced overhead setup will give your recordings clarity, presence, and punch, making your drum tracks sound professional and vibrant. Ultimately, paying attention to microphone placement and phase alignment will elevate your drum sound, giving you a mix that sounds as good on playback as it does in the room.
Frequently Asked Questions
What Are the Best Overhead Microphone Types for Cymbals?
You should choose condenser microphones with a flat cymbal frequency response for clear, detailed cymbal capture. Look for overhead mics with cardioid or hypercardioid polar patterns to minimize bleed from other drums and focus on cymbals. These types provide a balanced, natural sound, helping you achieve an accurate cymbal representation in your mix. The right combination of mic type and polar pattern guarantees your cymbals sound crisp and well-balanced.
How Does Room Acoustics Affect Overhead Mic Placement?
Imagine your room as a mirror reflecting soundwaves, where reflections can either enhance or muddy your overhead mic placement. Room acoustics directly influence how sound bounces and interacts with your microphones. You need to carefully consider microphone positioning to minimize unwanted reflections and capture a clear, balanced cymbal sound. Adjust placement by moving mics closer to cymbals or using acoustic treatments, ensuring your overheads accurately represent your kit’s true tone.
Can Overheads Capture the Entire Drum Kit Accurately?
Overheads can capture the entire drum kit accurately if you focus on proper phase alignment and stereo imaging. By positioning your mics carefully, you guarantee sound waves stay in phase, preventing phase cancellation and preserving clarity. Good stereo imaging helps distribute cymbals and drums evenly across the stereo field, giving a natural, balanced sound. Adjust mic angles and distances to optimize these factors, resulting in a true, full-kit capture.
How Do I Reduce Bleed From Other Drums Into Overhead Mics?
Imagine you’re recording a kit and notice too much bleed from the toms into your overheads. To fix this, adjust your mic positioning—placing mics slightly above and away from drums can minimize bleed. Also, check phase cancellation—reversing polarity on problematic mics can reduce unwanted sound. Proper positioning and phase alignment help isolate cymbals, giving you a cleaner, more focused overhead sound, free from other drum bleed.
What Are Common Mistakes to Avoid in Overhead Setup?
You should avoid common mistakes like placing microphones too close, which can cause phase cancellation and reduce clarity, or too far, leading to excessive bleed. Be mindful of microphone proximity to cymbals and drums to balance sound and prevent phase issues. Also, make sure microphones are aligned correctly and not angled poorly, as this can cause phase problems and compromise the overall drum kit sound. Proper positioning is key for a clear, balanced overhead sound.
Conclusion
Now that you’ve fine-tuned your drum overheads, you’re well on your way to capturing a balanced and lively kit sound. Remember, setting up overheads is like threading a needle—you need patience and a steady hand. Trust your ears, make small adjustments, and don’t be afraid to experiment. With practice, you’ll strike the perfect balance, turning your recordings into a true reflection of your kit’s spirit. Keep at it, and you’ll hit the nail on the head every time.