
To switch between DAWs smoothly, focus on exporting stems as WAV or AIFF files and bouncing tracks with effects if needed. Use alternative formats like AAF or OMF to transfer your arrangements, but remember they don’t carry plugin settings. Check plugin compatibility beforehand, and document your plugin versions. Planning ahead and understanding file formats will save you time. Keep exploring; you’ll uncover more tips to make your transitions even easier.
Key Takeaways
- Use open audio formats like WAV or AIFF for transferring individual tracks to ensure compatibility.
- Export stems with effects bounced to preserve sound without relying on plugin compatibility.
- Utilize interchange formats such as AAF or OMF to transfer edits, arrangements, and basic project data.
- Document plugin versions and settings beforehand to replicate effects accurately in the new DAW.
- Plan the transfer process in advance by understanding each DAW’s supported formats and plugin compatibility.
Have you ever wondered how to transfer your project seamlessly between different digital audio workstations (DAWs)? The process can seem daunting at first, especially when you consider the various file formats and plugin compatibility issues that often come into play. However, understanding some key concepts can make this transition much smoother and save you from headaches later on.
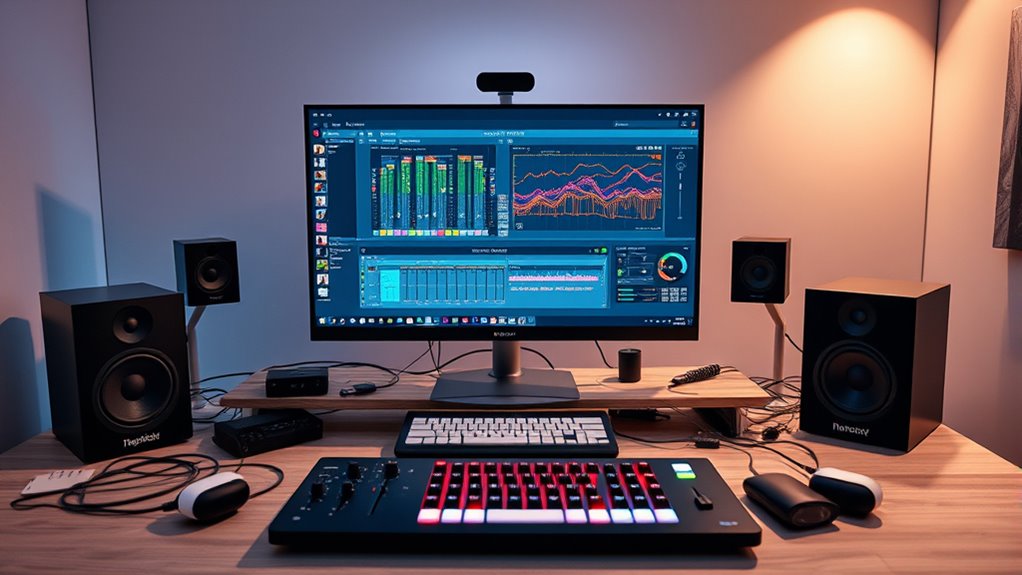
First, it’s essential to recognize that each DAW often uses its own native file format. When you save a project, it’s typically locked into that specific software, which means opening it in a different DAW requires converting or exporting files. To facilitate this, many DAWs support exporting stems—individual audio tracks or groups of tracks—as WAV or AIFF files. These universal formats are widely compatible and preserve your audio quality. By exporting stems, you can import them into another DAW without losing sound fidelity, guaranteeing your project’s core elements transfer smoothly.
But audio files are only part of the picture. Your project might also include plugins—virtual instruments, effects, or processors—that add unique sounds and textures. Compatibility here is vital. Not all plugins work across different DAWs, especially if they’re proprietary or require specific licensing. To avoid losing those effects or instruments, you should check whether your plugins are compatible with the target DAW before transferring. Some DAWs support plugin formats like VST, AU, or AAX, and knowing which ones your plugins use can help you prepare. If plugin compatibility is an issue, consider bouncing your tracks with effects applied, turning them into audio clips, so you don’t lose the sound even if the plugin isn’t available in the new DAW.
Another approach is to use project interchange formats like AAF or OMF. These formats are designed to transfer not only audio but also some project data, such as clip placements and edits, between DAWs that support them. While they don’t transfer plugin settings, they help preserve your editing work and timeline structure. Using these formats can substantially reduce the time spent rebuilding your project in a new environment.
Additionally, to ensure a smooth transition, it’s beneficial to familiarize yourself with the compatibility of different file formats and consider using open standards when possible. Planning ahead makes all the difference. When starting a project, keep in mind the DAWs and plugin ecosystem you’re working with. Use common file formats, bounce tracks with effects when necessary, and document plugin versions. These steps guarantee that when you need to switch, the process becomes straightforward rather than a frustrating puzzle. With a bit of preparation and understanding of file formats and plugin compatibility, you can transfer your projects between DAWs efficiently, keeping your creative flow uninterrupted.
Frequently Asked Questions
How Do I Handle Plugin Compatibility Across DAWS?
To handle plugin compatibility across DAWs, focus on plugin standardization by using plugins that support multiple formats like VST, AU, or AAX. Save session templates with your preferred plugins already loaded to streamline workflows. Always check plugin versions and update them regularly to prevent compatibility issues. Using a common plugin format and standardized session templates makes switching between DAWs seamless and reduces headaches during collaboration or project transfers.
What Are the Best File Formats for Interchange?
You should use WAV or AIFF files for the best file compatibility and smooth transfer protocols between DAWs. These formats preserve audio quality and are widely supported, reducing headaches when swapping projects. Avoid compressed formats like MP3 for interchange, as they can degrade quality. By sticking with WAV or AIFF, you guarantee your audio files transfer seamlessly, maintaining your project’s integrity across different software environments.
How Can I Minimize Audio Quality Loss During Transfer?
To minimize audio quality loss during transfer, use lossless compression formats like WAV or AIFF, which preserve original quality. Always include audio metadata to guarantee your project details stay intact. Avoid converting files multiple times, as each conversion can introduce degradation. When possible, transfer files in their original, uncompressed form. This way, you maintain the highest fidelity and ensure seamless interchange between DAWs without compromising audio quality.
Are There Specific Settings to Ensure Session Consistency?
Ever wondered how to keep your session consistent across DAWs? You should use session templates and project templates tailored for each DAW. Set your sample rate, bit depth, and audio file formats consistently in these templates. When transferring sessions, verify your settings match to prevent issues. Do you customize your templates for different projects? Doing so helps maintain session integrity and minimizes headaches during interchange.
How Do I Troubleshoot Synchronization Issues Between DAWS?
To troubleshoot synchronization issues between DAWs, first check plugin standards to guarantee compatibility across your software. Verify that session templates are consistent and correctly configured in both DAWs, including sample rates and clock sources. Restart both applications, and confirm that your MIDI or audio interfaces are properly connected and functioning. If problems persist, consider resetting sync settings and updating your software to the latest versions for peak performance.
Conclusion
Switching between DAWs doesn’t have to feel like crossing a rickety bridge. Think of it like a well-oiled machine, where each part connects smoothly, keeping your workflow seamless. I once moved from Logic to Ableton mid-project, and it was like switching gears in a well-tuned car—you might hesitate at first, but once you get the hang of it, the ride becomes smoother. With the right tools, your creative flow stays uninterrupted, no matter the platform.