
To guarantee a successful soundcheck at a small venue, focus on evaluating and adjusting acoustic treatments, stage layout, and sound distribution. Position microphones and instruments carefully to reduce feedback and dead zones. Set levels, gain, and EQ for a balanced mix that highlights all performers. Secure cables and optimize soundproofing for clarity. Taking these steps helps create a professional sound environment. Keep going to discover detailed tips that will help you get it just right.
Key Takeaways
- Assess room acoustics and implement treatments like panels, rugs, or curtains to reduce echo and improve sound clarity.
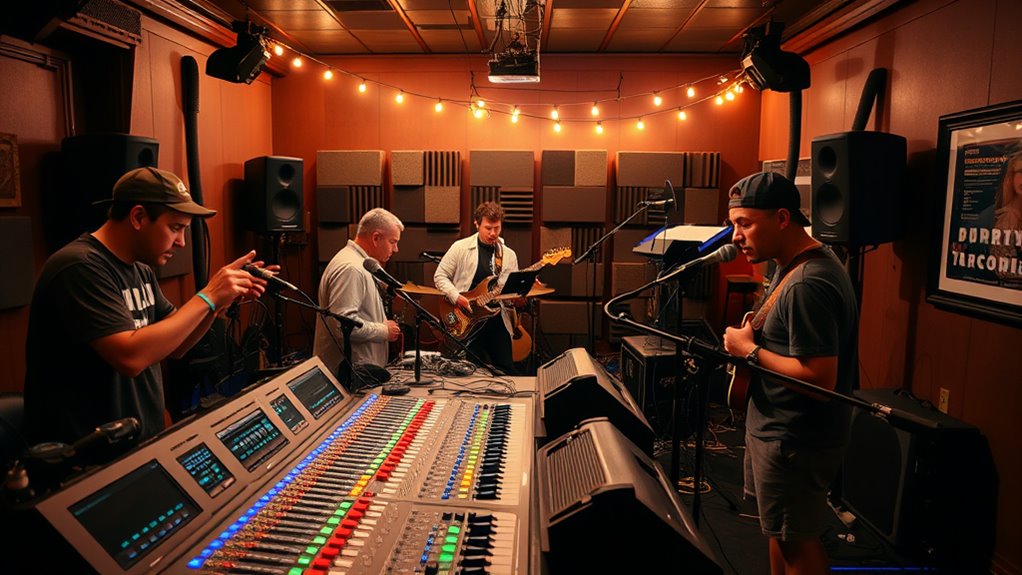
- Strategically position speakers, monitors, and instruments to ensure even sound distribution and minimize feedback.
- Properly place microphones and instruments to optimize sound pickup and reduce low-frequency buildup.
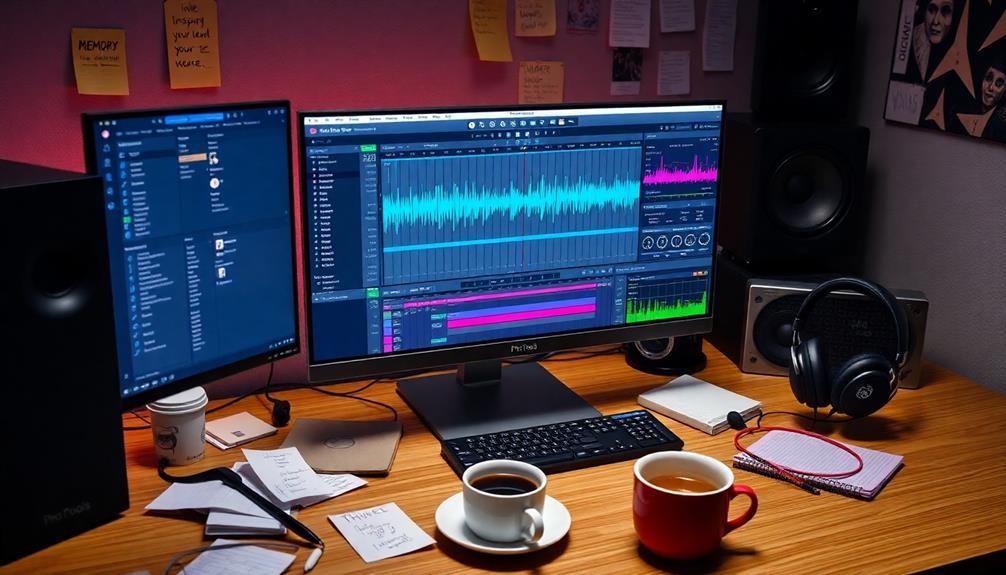
- Set and adjust sound levels, gain, and EQ to create a balanced and clear mix for all elements.
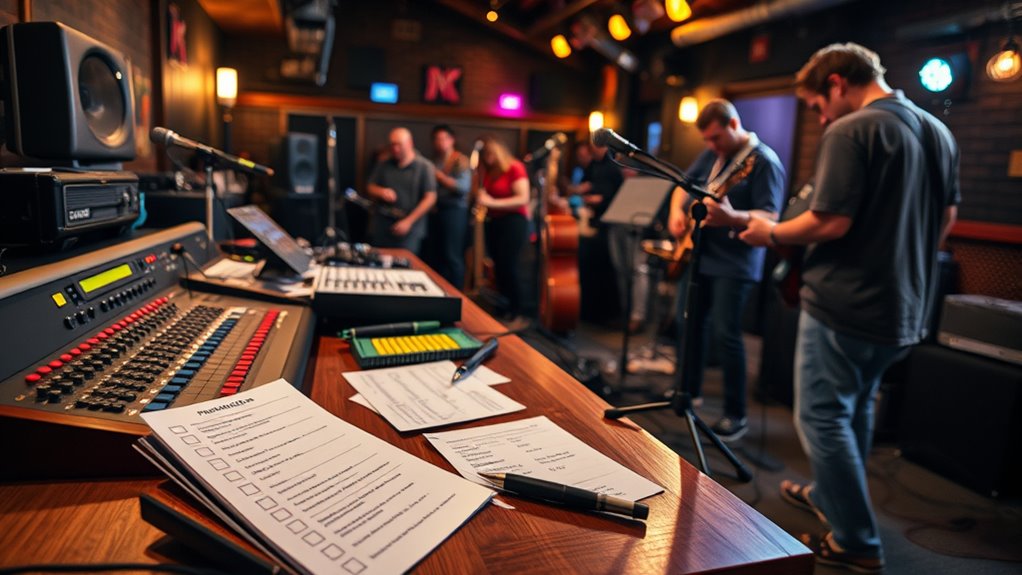
- Organize cables, ensure soundproofing, and facilitate easy performer movement to enhance overall sound quality.
A well-organized soundcheck is vital for ensuring a smooth live performance at any small venue. It sets the tone for the entire event, allowing you to identify and resolve potential issues before the audience arrives. One of the first things you should focus on is the acoustic treatment of the space. Small venues often have unpredictable acoustics, which can lead to muddiness or excessive echo if not addressed properly. You want to evaluate how sound reflects off walls, ceilings, and floors. Use acoustic panels, rugs, or curtains to absorb or diffuse sound where necessary. This helps create a balanced environment, making it easier to fine-tune your sound system and achieve clarity across all instruments and vocals. When planning your stage layout, consider how the placement of speakers, monitors, and instruments impacts sound distribution. A well-thought-out stage setup ensures everyone on stage can hear themselves and each other clearly, which is vital for tight performances. Position your monitors to face performers without obstructing sightlines or causing feedback issues. Keep your main speakers aimed toward the audience, avoiding placement that causes sound to bounce back into microphones. During the soundcheck, walk around the venue to listen from different spots; this helps you identify dead zones or overly bright areas, guiding you to adjust speaker angles and levels accordingly. The stage layout should also facilitate ease of movement and accessibility, especially if multiple performers are involved. Make sure cables are neatly organized and secured to prevent tripping hazards, which could disrupt the performance. In addition to acoustic treatment and stage arrangement, consider how your instruments and microphones are positioned. For example, placing drums and bass in a way that minimizes low-frequency buildup can drastically improve clarity. Microphones should be positioned to pick up sound efficiently without causing feedback, so tweak their placement during the soundcheck. Don’t forget to check the sound levels of each instrument and vocal, adjusting gain and EQ settings to suit the room’s acoustics. This is your chance to balance the mix to ensure every element is heard clearly without overpowering others. Incorporating proper soundproofing techniques can further enhance audio clarity by reducing external noise interference. This is your chance to balance the mix to ensure every element is heard clearly without overpowering others. By paying close attention to acoustic treatment and stage layout from the start, you can prevent many common sound issues. A thorough, methodical approach during the soundcheck will save you time during the actual performance, ensuring you deliver your best sound to the audience. Remember, a well-prepared stage and room acoustics can make all the difference between a good show and a great one, so invest the effort upfront.
Frequently Asked Questions
How Do I Handle Last-Minute Equipment Failures During Soundcheck?
When equipment fails last minute, stay calm and quickly implement your backup plans. Use your pre-prepared equipment troubleshooting skills to identify and fix issues swiftly. If a device isn’t working, switch to backup gear or channels immediately to keep the soundcheck moving smoothly. Having spare cables, connectors, and a portable audio interface on hand ensures you’re prepared for any unexpected problems, minimizing disruptions and keeping everything on schedule.
What Are the Best Ways to Manage Acoustic Challenges in Small Venues?
You can turn acoustic challenges into a sonic charm by carefully managing acoustic treatment and sound absorption. Start by adding soft furnishings, curtains, or rugs to absorb excess sound, creating a balanced environment. Use portable panels or diffusers to shape the sound, reducing echoes. Regularly walk the space during soundcheck to identify problem areas and adjust your setup. These simple tweaks will guarantee clear, warm sound that engages your audience.
How Can I Efficiently Coordinate Between Sound Engineer and Performers?
You can efficiently coordinate between the sound engineer and performers by establishing clear communication protocols early on. Use scheduled check-ins to guarantee everyone’s on the same page and address issues promptly. Keep communication channels open through radios or messaging apps during soundcheck. Prioritize scheduling efficiency by adhering to a timeline, which helps prevent delays and ensures smooth transitions, making the entire process seamless and enjoyable for everyone involved.
What Safety Precautions Should Be Considered During Soundcheck?
Like a seasoned captain steering turbulent waters, you should prioritize fire evacuation plans and keep exits clear. Make certain equipment sanitation to prevent health hazards, especially when handling shared gear. Use proper cable management to avoid tripping, and check that all electrical connections are grounded. Communicate safety protocols clearly with performers and crew. By taking these precautions, you create a safer environment during soundchecks, reducing risks and making certain smooth operations.
How Do I Optimize Soundcheck Time With Limited Staff?
To optimize soundcheck time with limited staff, start by familiarizing yourself with the venue layout and planning equipment setup in advance. Assign clear roles to staff members to streamline the process and avoid duplication. Prioritize essential checks first, such as main sound, monitors, and microphones. Keep communication clear and concise, and arrive early to set up efficiently, ensuring you maximize the limited time available.
Conclusion
Now that you have this thorough checklist, you’re ready to tackle your soundcheck with confidence. But remember, every venue has its quirks, and unforeseen issues can still arise. Will your setup hold up when the crowd starts to grow? Keep your eyes sharp and your systems flexible. The true test comes when the lights go down—are you prepared to adapt on the fly? Stay alert, and your small venue sound will be unforgettable.