

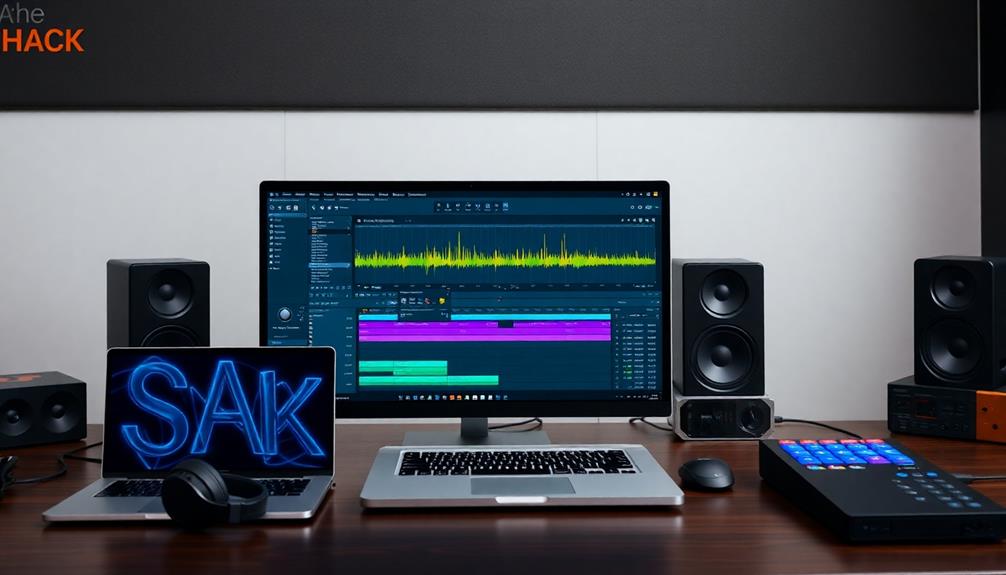
To boost your performance in Pro Tools, focus on memory management and session optimization. Start by adjusting your playback buffer size in the Playback Engine settings to suit your project needs. Use the Track Freeze function to temporarily render tracks, freeing up CPU resources. Organize your tracks with color coding and clear labeling for smoother navigation. Additionally, manage your plugins effectively by using buses for similar tracks and removing unnecessary ones. Implementing these simple hacks can greatly enhance your workflow, and there's plenty more to explore that can take your Pro Tools skills even further. To further improve your efficiency, consider utilizing keyboard shortcuts to speed up your editing process and save valuable time. Regularly cleaning up your session by removing unused clips and consolidating edits can also help maintain a streamlined project. For those looking for optimal Logic Pro performance tips, many of these strategies, like plugin management and session organization, can be adapted to achieve smoother workflows across different DAWs.
Key Takeaways
- Adjust playback buffer size in the Playback Engine settings to optimize memory management and reduce CPU strain during sessions.
- Utilize the Track Freeze function to temporarily render tracks with effects, freeing up CPU and RAM resources.
- Organize tracks into folders and color code them for efficient navigation and workflow during editing and mixing.
- Experiment with different buffer sizes, balancing latency and CPU load to achieve optimal performance for your projects.
- Regularly save your work using versioned backups and enable Auto Backup for added security against data loss.
Understanding Pro Tools Memory Usage
When you're working in Pro Tools, understanding how the software uses memory is essential for optimizing your workflow. Pro Tools relies on RAM as a buffer for audio processing, which means that having enough memory allocated can greatly enhance performance, especially during sessions with numerous tracks and plugins.
To optimize memory management, you'll want to adjust the playback buffer size in the Playback Engine settings. This setting influences how much audio data gets processed at once. If you're running into "ran out of CPU power" errors, consider increasing the maximum amount of RAM allocated to Pro Tools. The software supports up to 32 GB of RAM on Windows, so if you've got more, look into additional optimization techniques to guarantee efficient resource utilization.
Another effective way to manage memory usage is by utilizing the Track Freeze function. This feature temporarily renders tracks with effects, freeing up CPU and RAM for other tasks during mixing.
Optimizing Session Setup

How can you set up your Pro Tools session for maximum efficiency? Enhancing your session setup can save you time and improve your productivity. Here are four key strategies:
- Use Session Templates: Create session templates with pre-configured tracks, effects, and routing. This way, you won't waste time setting up every project from scratch.
- Set the Right Sample Rate: Choose an appropriate sample rate—typically 44.1kHz for music and 48kHz for film. Additionally, opt for a 24-bit depth for ideal audio quality and system performance.
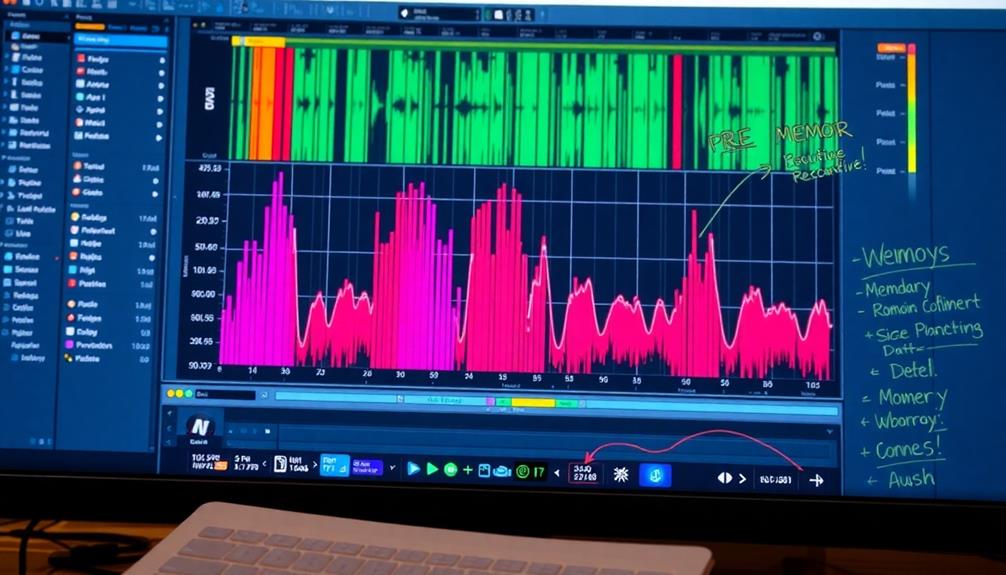
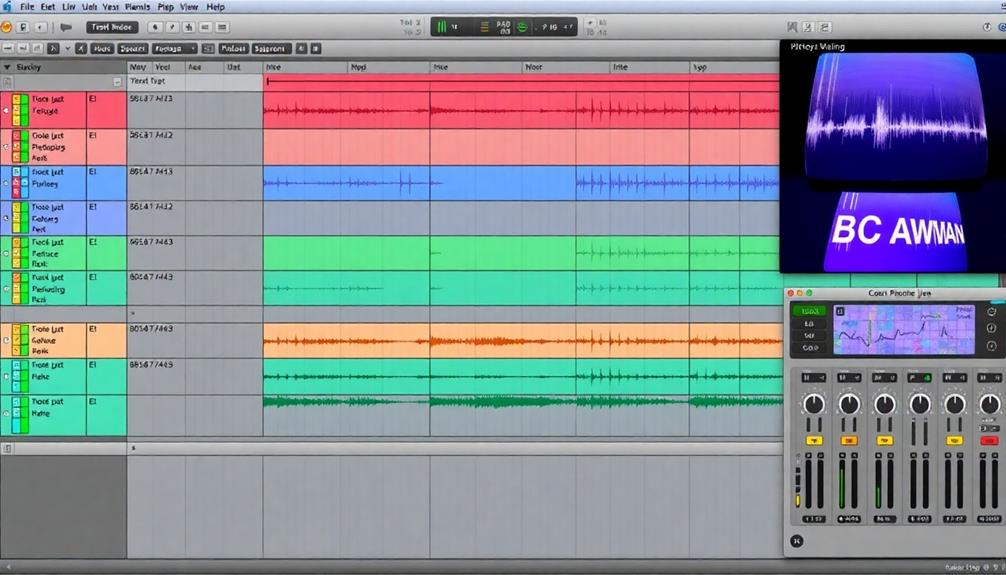
- Organize Tracks: Group similar instruments together and clearly label all tracks and regions. Use color coding to visually distinguish between different parts, making navigation during editing and mixing a breeze.
- Implement a Folder System: Create a structured folder system for your audio files and sessions. This organization allows for quick access and minimizes confusion, keeping your workflow smooth.
Efficient Track Organization
Efficient track organization in Pro Tools can dramatically enhance your workflow and clarity during projects. Start by grouping similar instruments or vocals into folders. This not only streamlines your workflow but also helps you maintain session clarity, allowing you to focus on your creative process.
Utilize color coding for different track types—like red for drums and blue for vocals—to quickly identify tracks during mixing and editing. This small visual cue can save you valuable time.
Additionally, consider implementing templates for common project setups. Templates pre-arrange tracks and settings, ensuring consistency across sessions and further saving you time.
Labeling tracks and regions with clear, descriptive names is essential, especially in complex sessions. It aids navigation and prevents confusion when you're deep into your project.
Effective Editing Techniques
With your tracks organized, you can shift your focus to effective editing techniques that enhance your workflow in Pro Tools. Implementing these strategies will help you work more efficiently with your audio tracks and achieve a polished final product.
- Use Shortcuts: Speed up your editing by using shortcuts like Command + E (Mac) or Ctrl + E (Windows) to quickly separate audio clips. This will save you precious time during the editing process.
- Activate Grid Mode: For precise timing adjustments, activate Grid mode. This guarantees your audio clips align perfectly with the project's tempo and structure, creating a cohesive sound.
- Utilize Slip Mode: Make use of Slip mode for flexible editing. It allows you to move clips freely without being constrained to a grid, giving you creative freedom in your edits.
- Implement Crossfades: To create smooth changes, implement crossfades between audio clips. This technique eliminates abrupt audio cuts or clicks, resulting in a more professional sound.
Managing CPU Strain
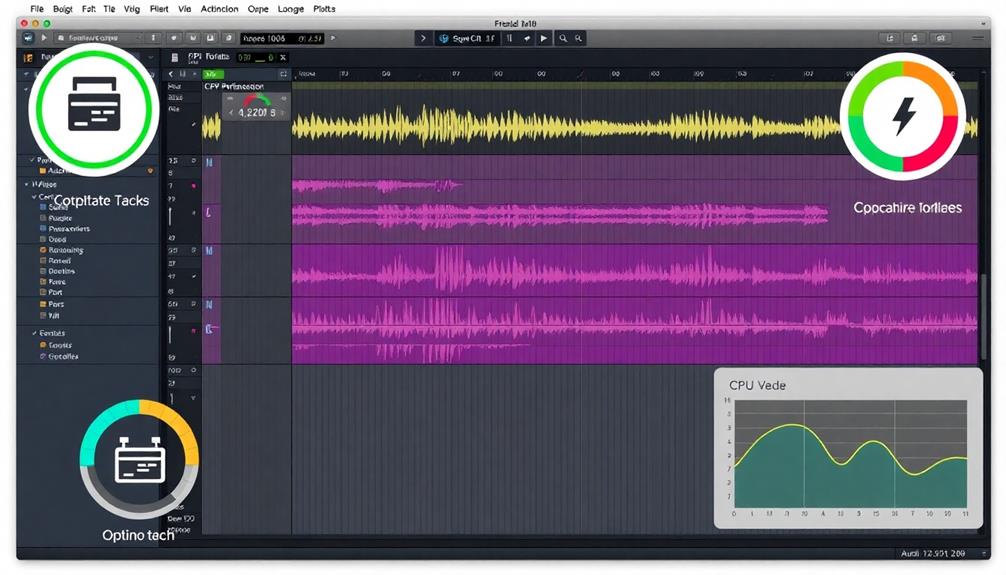
When you're deep into a mixing session in Pro Tools, managing CPU strain becomes essential to maintaining a smooth workflow. Lower buffer sizes can lead to random CPU spikes, so it's vital to find a balance. Increasing your buffer size to 1024 samples during mixing can stabilize CPU usage while ensuring low latency.
Here's a quick reference table to help you decide on buffer sizes based on your session needs:
| Task | Recommended Buffer Size | Expected CPU Usage |
|---|---|---|
| Recording | 64-128 samples | High |
| Mixing | 1024 samples | Moderate |
| Final Bounce | 512 samples | Low |
Additionally, take advantage of multicore CPUs by adjusting core affinity settings. This helps dedicate specific cores to Pro Tools, minimizing interference from other processes and preventing "ran out of CPU power" errors. Setting Pro Tools to high priority can further reduce overall CPU usage during intensive sessions. By implementing these strategies, you can enhance performance and keep your creative flow uninterrupted.
Utilizing Advanced Features

Now it's time to explore some advanced features in Pro Tools that can elevate your production game.
You'll benefit from Elastic Audio to adjust tempos effortlessly, while the Track Freeze function helps manage CPU usage efficiently.
Plus, don't forget to tap into Pro Tools' powerful MIDI capabilities to create complex compositions and control your external devices seamlessly.
Elastic Audio Benefits
Elastic Audio in Pro Tools revolutionizes your audio editing experience by allowing you to manipulate both timing and pitch with remarkable precision.
This powerful feature offers you the flexibility needed to fit your audio tracks seamlessly into your project's tempo, all while maintaining high audio quality.
Here are some key benefits you'll enjoy with Elastic Audio:
- Algorithm Variety: Choose from different algorithms like Polyphonic for complex instruments and Monophonic for vocals, ensuring the best results for your specific audio content.
- Real-Time Processing: Make adjustments on the fly during mixing without destructive editing, allowing you to hear changes immediately.
- Non-Destructive Editing: Stretch and compress audio tracks without permanently altering the original files, giving you the freedom to experiment creatively.
- Versatility: Easily convert audio tracks to and from Elastic Audio, toggling between static and flexible editing methods tailored to your project's needs.
Track Freeze Optimization
Track Freeze Optimization is a game changer for managing your sessions in Pro Tools, especially when dealing with numerous plugins that demand heavy CPU resources.
By using the track freeze feature, you can temporarily render tracks with effects, greatly reducing CPU load and allowing for smoother playback during mixing sessions.
To freeze a track, just right-click and select "Freeze." Pro Tools will automatically process the track with all its plugins, freeing up valuable resources for other tracks and processes.
This is vital when working with high-demand plugins, as it prevents CPU overload errors that can disrupt your workflow.
The best part? You can unfreeze tracks at any time to make adjustments, ensuring you maintain flexibility without sacrificing performance.
Regularly freezing and unfreezing tracks as needed not only enhances your workflow but also optimizes performance in resource-intensive projects.
MIDI Capabilities Exploration
Pro Tools offers an impressive array of MIDI capabilities that can elevate your music production experience. With its robust features, you can record, edit, and manipulate MIDI data seamlessly alongside your audio tracks, enhancing your overall workflow.
Here are some advanced MIDI features to explore:
- MIDI Editor: Immerse yourself in a detailed view of MIDI notes, allowing you to adjust pitch, velocity, and timing for precise musical expression.
- MIDI Effects: Employ tools like arpeggiators and note repeaters to craft complex rhythmic patterns and dynamic performances that stand out.
- MIDI Learn: Easily map MIDI controller parameters to software controls, enabling real-time manipulation of your sounds.
- Elastic Audio Integration: Utilize Pro Tools' Elastic Audio feature for flexible tempo adjustments and real-time pitch shifting of your MIDI performances.
Implementing Performance Hacks
To get the most out of Pro Tools, you'll want to optimize your buffer settings and manage plugin usage effectively.
Increasing the buffer size during mixing can help prevent those annoying CPU spikes, while disabling unused plugins keeps your system running smoothly.
Optimize Buffer Settings
Adjusting buffer settings is crucial for achieving peak performance in Pro Tools. By modifying the buffer size, you can effectively manage CPU performance and guarantee smoother sessions. Here are some key tips to help you find the right balance:
- Increase Buffer Size: Set your buffer size to 1024 samples during mixing to reduce random CPU spikes. This simple adjustment can greatly improve overall performance.
- Lower Buffer Size for Tracking: Use lower buffer sizes, like 64 samples, when recording to minimize latency. Just be cautious, as this can lead to high CPU usage even with no tracks active.
- Monitor Session Complexity: Regularly assess your project's complexity. If it's getting more demanding, don't hesitate to adjust your buffer settings accordingly.
- Experiment: Try different buffer sizes to find the ideal setting. Aim for minimal latency while preventing CPU overloads during playback and recording.
Manage Plugin Usage
Managing plugin usage effectively is essential for maintaining ideal performance in Pro Tools. Start by utilizing the Track Freeze function; this can greatly reduce CPU performance by rendering tracks with plugins into audio files.
Instead of running multiple instances of heavy plugins, group similar tracks and apply processing through buses. This approach not only streamlines your workflow but also manages resources more efficiently.
During recording, switch to low-latency monitoring settings. This minimizes the impact of plugins on performance, allowing for smoother tracking with fewer CPU spikes.
Regularly audit your plugin library, too. Remove or disable any unnecessary or unused plugins to keep your setup clean and improve overall system performance.
Saving and Version Control

When working in Pro Tools, saving your session regularly is essential to prevent data loss and assure smooth progress. To enhance your saving and version control practices, consider these four key strategies:
- Use "Save As": Create versioned backups to easily retrieve earlier project states. This method helps you keep track of changes and progress over time.
- Utilize "Save Copy In": Generate a portable version of your session, including all audio files and plugins. This assures compatibility when you're transferring projects between systems.
- Implement Shortcuts: Frequently use the "Save Session" shortcut (Command + S or Ctrl + S). This minimizes the risk of losing your hard work due to unexpected crashes.
- Organize Your Files: Create a dedicated folder structure for your session files. Separate versions and backups to streamline access and maintain clarity in your project management.
Additionally, consider enabling "Auto Backup" in the Preferences menu to automatically save incremental versions of your session.
Community Insights and Tips

After mastering saving and version control in Pro Tools, you'll want to tap into the wealth of knowledge shared by the community. Here are some top insights to help you enhance your performance:
| Tip | Description | Benefit |
|---|---|---|
| Buffer Size Adjustment | Set around 1024 samples to minimize CPU spikes. | Smoother mixing sessions. |
| PowerShell Script | Automate core affinity to dedicate specific cores. | Enhanced application performance. |
| Use SSDs | Opt for SSD storage in custom PCs for faster access. | Improved load times and efficiency. |
| Monitor Core Usage | Regularly check core activity and background processes. | Prevents performance degradation. |
| High-Quality Drivers | Verify driver support, especially for UAD interfaces. | Achieves peak stability and performance. |
Frequently Asked Questions
What Is the Best Memory for Pro Tools?
For Pro Tools, 16GB of RAM is the minimum, but 32GB or more is ideal for larger sessions. Make certain you use DDR4 RAM and check compatibility with your motherboard for peak performance.
Why Are Pro Tools Using so Much Memory?
Pro Tools uses a lot of memory due to high-resolution audio files, numerous active plugins, and demanding sample rates. Background processes also contribute, so optimizing your system settings can help improve performance and reduce memory usage.
How to Increase Playback Speed in Pro Tools?
To increase playback speed in Pro Tools, adjust the BPM in the Transport window or use the "Change Tempo" feature. For real-time adjustments, hold "Shift" while pressing "Play" for faster playback during sessions.
How to Speed up a Pro Tools Session?
To speed up your Pro Tools session, increase your buffer size, freeze heavy tracks, clear unused files, disable unnecessary plugins, and organize your sessions with templates for quicker navigation and improved performance.
Conclusion
By harnessing these memory mastery techniques in Pro Tools, you're set to elevate your audio production game. Remember to optimize your session setup and organize your tracks efficiently, just like a maestro conducting an orchestra. Managing CPU strain and implementing performance hacks will guarantee smooth sailing as you create. With these insights, you'll not only save time but enhance your creative flow, proving that even in the digital age, a little finesse goes a long way.