
To make Logic Pro fly, start by optimizing your system performance. Turn off Wi-Fi to minimize distractions and reduce CPU load. Use the Bounce In Place feature to commit effects, freeing up valuable resources. Adjust your buffer size; keep it low for tracking and higher for mixing. Consider external storage for sample libraries to improve access speeds. Don't forget about memory management—ensure you have enough RAM and maintain free hard drive space. With these tips, you can experience smoother production sessions. Discovering more effective strategies can keep your creative flow uninterrupted and enhance your overall experience.
Key Takeaways
- Turn off Wi-Fi to minimize CPU load and distractions during recording sessions for improved focus and performance.
- Use the Bounce In Place feature to commit effects, reducing CPU usage and streamlining larger projects.
- Adjust the buffer size to 64 samples for tracking and increase it for mixing to allocate more CPU resources effectively.
- Utilize external SSDs and high-speed interfaces for faster data transfer, improving overall load times and performance.
- Engage Low Latency Mode by disabling high-latency plugins to enhance responsiveness during real-time recording sessions.
System Performance Enhancements
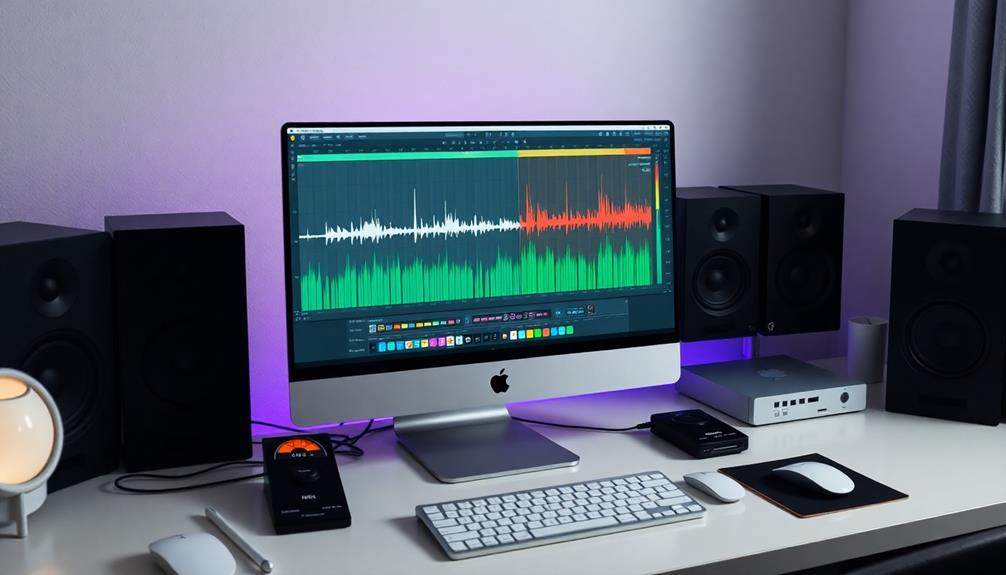
To optimize your Logic Pro experience, consider implementing several key system performance enhancements.
First, turning off Wi-Fi during your recording sessions can greatly boost performance. It reduces CPU load and minimizes distractions from internet browsing, allowing you to focus entirely on your music.
Next, adjusting the buffer size according to your task is essential. For tracking, set it lower, around 64 samples, to guarantee responsiveness. When mixing, increase it to 512 or even 1024 samples, which allows for greater plugin usage without straining your system.
Utilizing the "Bounce In Place" feature is another effective strategy. This feature commits effects to tracks, freeing up CPU resources and streamlining your sessions for more efficient playback.
Consider implementing external storage solutions for saving sessions and libraries. This approach improves disk I/O performance, making sure your internal drive can focus on running Logic Pro and handling system tasks.
Buffer Size Management
When you're tracking, lowering the buffer size to 64 samples helps reduce latency, making it easier to record live instruments and vocals.
On the other hand, increasing the buffer size to 512 or 1024 samples during mixing allows you to allocate more CPU resources for plugins and effects.
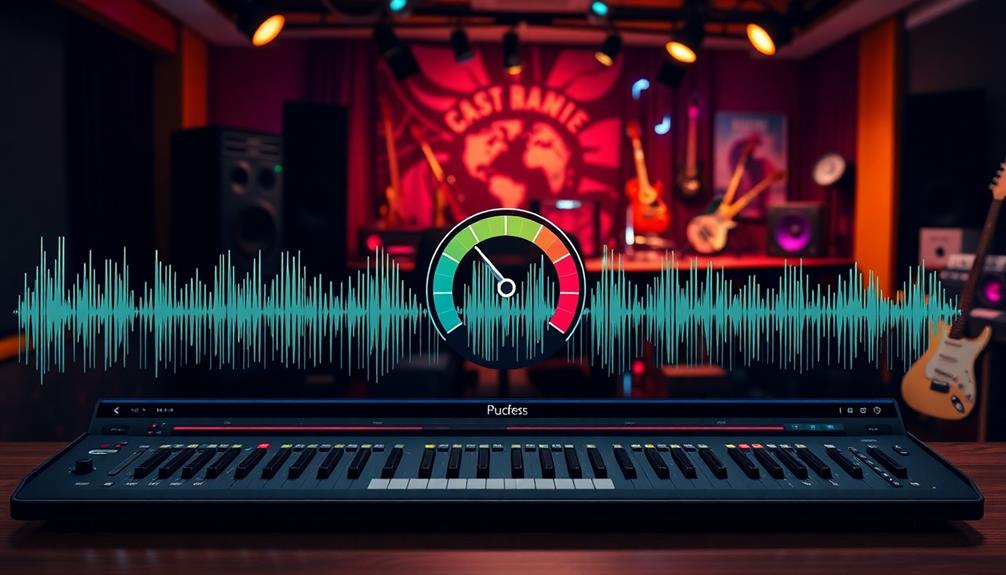
Tracking vs. Mixing Buffer
In the world of music production, managing buffer sizes effectively can greatly impact your workflow. Understanding the difference between tracking and mixing buffer sizes is essential for achieving peak performance. Here's how to navigate it:
- Lower Buffer Size for Tracking: Set your buffer size to around 64 samples when you're tracking. This minimizes latency, ensuring you can record instruments or vocals in real-time without delay.
- Higher Buffer Size for Mixing: When it's time to mix, increase your buffer size to 512 or 1024 samples. This allows for greater CPU resource allocation, letting you use more plugins without risking system overload.
- Adjust Based on Task: Always adjust the buffer size based on your task. Lower settings enhance immediacy during tracking, while higher settings provide stability during mixing.
- Monitor Performance: Keep an eye on Logic Pro's performance meter. Monitoring the impact of buffer size changes can give you valuable insights into CPU usage and overall session stability.
Adjusting for Plugin Load
Managing plugin load effectively is vital for maintaining ideal performance in Logic Pro. One of the key factors in this is adjusting your buffer size according to the task you're working on. When tracking, lower the buffer size to 64 samples to enhance responsiveness, enabling real-time monitoring of MIDI instruments without noticeable latency. This setup is essential for capturing those perfect takes.
On the other hand, when you switch to mixing, increase the buffer size to 512 or even 1024 samples. This adjustment provides the extra processing power needed for additional plugins, preventing CPU overload and guaranteeing a smoother mix.
Regularly adjusting the buffer size based on your workflow guarantees optimal performance and helps avoid timing issues during recordings. You can easily tweak the buffer size in the Preferences menu, allowing you to adapt quickly to the current project needs.
Additionally, keep an eye on your CPU usage in Activity Monitor while adjusting settings. This practice helps you identify the best buffer size for specific projects, assuring an efficient and smooth production experience.
Bounce In Place Technique
The Bounce In Place technique in Logic Pro can really help you optimize your workflow by reducing CPU load.
You'll quickly render audio tracks with effects applied, making playback smoother without losing your original sound.
Let's go through the benefits and the step-by-step process so you can start using it effectively.
Benefits of Bounce In Place
One of the standout advantages of using Bounce In Place is how it greatly enhances your workflow by freeing up CPU resources. This technique is especially vital when working with resource-intensive effects like auto-tune, which can slow down your system.
Here's why you should consider using bounce in place:
- Commit Effects: By bouncing in place, you commit effects and processing to your tracks, allowing your system to run smoother.
- Streamlined Sessions: Reducing the number of active plugins during playback helps streamline your sessions, making it easier to manage larger projects.
- Original Track Preservation: When you bounce in place, the original track is muted, and a new audio file is created, preserving all your effects while keeping your workflow intact.
- Enhanced Creativity: With fewer distractions from potential CPU overload, you can focus more on your creativity and less on technical limitations.
Incorporating bounce in place in your production process not only optimizes performance but also creates a more enjoyable and efficient working environment.
You'll find that your sessions flow better, allowing you to concentrate on crafting your sound.
Step-by-Step Process
Mastering the Bounce In Place technique can greatly enhance your workflow in Logic Pro. This powerful feature allows you to commit effects and processing to a track, freeing up valuable CPU resources. Here's how to effectively use Bounce In Place.
First, select the track you want to process. Right-click on the track and choose "Bounce In Place" from the context menu. A dialog box will appear, giving you options for how to bounce the track. You can decide whether to mute the original track, create a new audio file, and even choose to include volume and pan settings.
Once you confirm, Logic Pro will create a new audio file with all the effects applied, while the original track remains intact as a hidden track. This way, you can easily revert if needed.
Utilizing Bounce In Place is particularly beneficial for tracks with resource-intensive effects like auto-tune or complex plugin chains. By reducing the number of active plugins during playback, you'll experience improved performance and lower latency in your projects.
Embrace this technique to keep your sessions responsive and efficient!
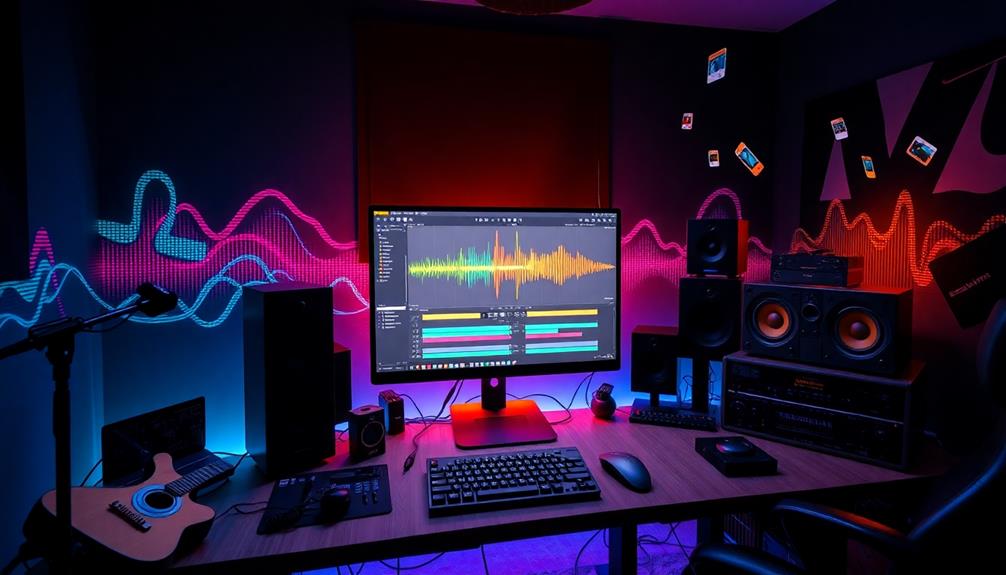
External Storage Options

When optimizing your Logic Pro setup, considering external storage options is crucial for enhancing performance. Utilizing external SSDs can make a significant difference. They offer faster read/write speeds compared to traditional HDDs, improving load times and overall efficiency.
Here are some tips to get the most out of your external storage options:
- Connect via High-Speed Interfaces: Use Thunderbolt or USB 3.0 connections for your external drives to maximize data transfer rates and reduce latency during playback.
- Organize Your Sample Libraries: Distribute large sample libraries across multiple external drives based on their usage frequency. This helps streamline your workflow and alleviates strain on your internal drive.
- Separate Audio Sessions and Libraries: Keep your audio sessions and sample libraries on different external drives. This prevents internal drive overload, allowing your OS and Logic Pro to operate more smoothly.
- Regularly Defragment HDDs: If you're using external HDDs, defragment them regularly. This guarantees that data is stored contiguously, enabling quicker access during production sessions.
Delay Compensation Strategies

Delay compensation is essential for maintaining a smooth and efficient workflow in Logic Pro. To guarantee your tracks remain perfectly in sync, utilize the automatic delay compensation feature. This will adjust for any latency introduced by effects and virtual instruments, keeping everything aligned during playback.
Enabling low latency mode is another key strategy. This reduces the delay caused by CPU-intensive plugins, enhancing the responsiveness of your MIDI instruments during recording. However, it's important to monitor and manage the latency settings of individual plugins, as some may add significant delay. Disabling these plugins while in low latency mode can help maintain performance.
Regularly check and adjust your buffer sizes based on your current task. Using lower buffer settings while tracking allows for real-time responsiveness, while higher settings can be more suitable during mixing, optimizing CPU load. Regularly check and adjust your buffer sizes based on your current task. Using lower buffer settings while tracking allows for real-time responsiveness, while higher settings can be more suitable during mixing, optimizing CPU load. Additionally, pairing the right buffer size with the appropriate sample rate is crucial for achieving the desired audio quality and performance. For those needing clarity, having sample rate settings explained can help you understand how higher rates improve fidelity but also demand more processing power. Balancing these factors ensures smooth workflow and minimizes latency issues during your production process.
Hard Drive Optimization

To guarantee Logic Pro runs smoothly, hard drive optimization is vital. By following these key tips, you can enhance your system's performance during music production:
- Free Space: Maintain at least 35% free space on your hard drive. This prevents slowdowns during intensive sessions and guarantees Logic Pro operates efficiently.
- Separate Drives: Use separate drives for your operating system and audio/projects. This minimizes read/write conflicts, leading to better overall system performance.
- Regular Maintenance: Regularly repair disk permissions and run maintenance scripts. Keeping your hard drive healthy is essential for consistent performance in Logic Pro.
- Drive Configuration: Enable journaling on the drive containing your OS for stability, but consider disabling it on data drives to boost performance.
Additionally, organize your sample libraries across multiple drives based on usage frequency. This streamlines access and improves workflow efficiency.
Memory Management Tips
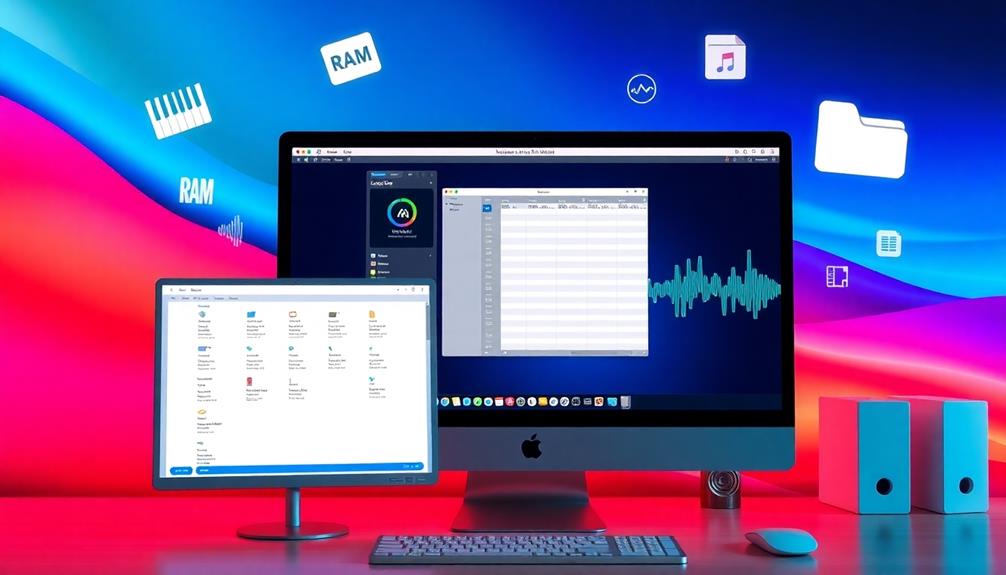
Effective memory management is essential for maximizing Logic Pro's performance, especially during complex projects. To guarantee your system runs smoothly, start by increasing your RAM to at least 2 GB. This upgrade can considerably boost performance, particularly with CPU intensive tasks.
Utilizing two separate drives—one for your operating system and another for audio projects—can maximize data access speed and enhance your workflow efficiency. Keep at least 35% of your hard drive free to maintain peak OS performance and prevent Logic Pro from lagging.
Configuring swap files on a separate drive can also improve efficiency; aim for a partition of around 5 GB for most production tasks. This dedicated space helps manage memory more effectively during demanding sessions.
Don't forget to regularly clear caches and repair permissions. These simple maintenance tasks can lead to improved responsiveness and stability within Logic Pro, allowing for a more seamless production experience.
Community Sharing Insights

Sharing insights within production communities can greatly enhance your experience with Logic Pro. Engaging in discussions with fellow producers enables you to uncover practical knowledge about performance optimization that you mightn't find elsewhere.
Here are four ways community sharing insights can make a difference:
- Discover Techniques: By sharing personal experiences, you can learn effective techniques that others have successfully implemented in their setups.
- Explore Configurations: Discussing specific configurations with peers can lead you to uncover lesser-known tips that markedly boost system performance during real-time music production.
- Collaborate and Validate: Working together with other producers allows you to test and compare various optimization strategies, offering quantitative results that can validate or challenge common practices.
- Utilize Tools: Community insights often highlight tools like Cocktail or OnyX, showcasing real-world examples of their effectiveness in maintaining system health and enhancing performance.
Frequently Asked Questions
How Can I Improve My Logic Pro Performance?
To improve your Logic Pro performance, reduce the buffer size while tracking, use "Bounce In Place" for effects, close unnecessary apps, and save on external drives. Regularly repair disk permissions and clear caches, too.
How Do I Reduce CPU in Logic Pro?
To reduce CPU usage in Logic Pro, lower your buffer size while tracking, bounce tracks in place, disable Wi-Fi, and monitor Activity Monitor for resource-heavy plugins. These steps enhance performance and streamline your workflow effectively.
Is Logic Pro Good for Mastering?
Yes, Logic Pro's mastering tools are excellent. You've got features like the Adaptive Limiter, multiple EQ options, and support for third-party plugins. Its integrated metering helps you achieve a polished, professional-sounding master effortlessly.
How Do I Speed up Logic Pro?
You're probably waiting for a magic wand to speed up Logic Pro, huh? Try lowering the buffer size for tracking, disabling Wi-Fi, and using external drives. It's not sorcery, just smart management!
Conclusion
By implementing these essential performance optimization tips, you can take your Logic Pro production to new heights! Did you know that adjusting your buffer size can reduce audio dropouts by up to 70%? By fine-tuning your system settings, managing memory wisely, and utilizing techniques like Bounce In Place, you'll guarantee a smoother workflow. So, don't hesitate to share insights with the community—collaboration can lead to even greater efficiency. Get ready to make your music fly!