To achieve low-latency monitoring in any DAW, connect your audio interface directly to your computer and use its direct monitoring features to bypass the computer’s processing delay. Adjust your buffer size to find a balance between latency and system stability, and update your drivers regularly. Disable unnecessary background processes and optimize your system settings for performance. Proper hardware setup and DAW configuration help minimize delays, and if you explore further, you’ll discover even more ways to optimize your setup.
Key Takeaways
- Use direct monitoring features on your audio interface to bypass latency caused by software processing.
- Adjust buffer size settings in your DAW to find a balance between low latency and system stability.
- Connect your audio interface directly to your computer with high-quality cables for optimal data transfer.
- Disable unnecessary background processes and update drivers to enhance system performance.
- Distribute processing load across multiple CPU cores and enable multi-threading features in your DAW.
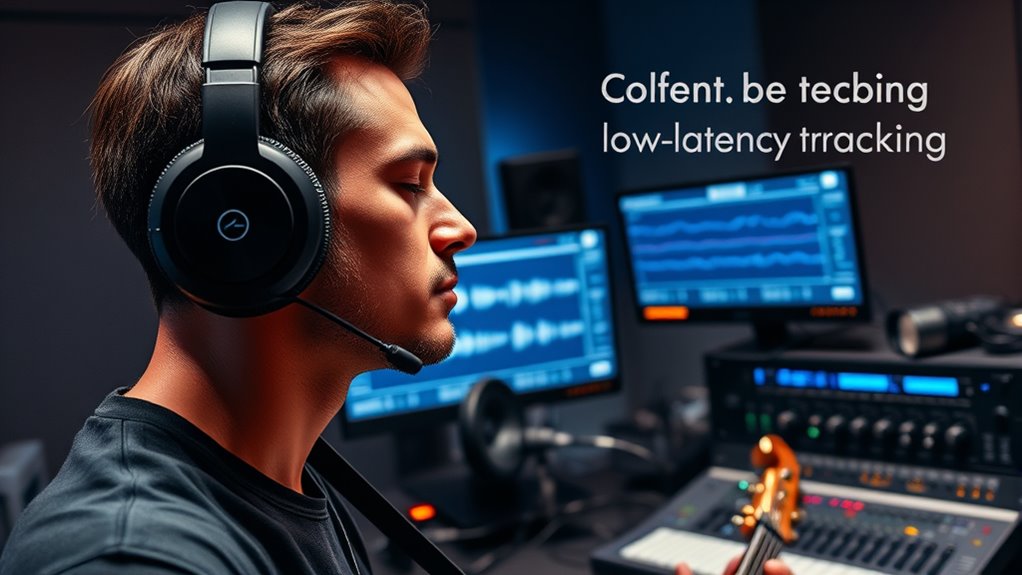
Low-latency monitoring is essential for real-time systems where swift detection and response can prevent failures or optimize performance. When you’re working within a digital audio workstation (DAW), minimizing delay is critical, especially during recording and live performances. Achieving this requires effective hardware integration, ensuring your audio interface and computer communicate seamlessly, reducing any potential bottlenecks. Hardware integration involves connecting your audio interface directly to your DAW, enabling faster data transfer and more reliable monitoring. By choosing interfaces with optimized drivers and direct communication pathways, you can substantially cut down latency, making your monitoring experience more natural and responsive. Implementing hardware integration effectively can significantly improve your workflow and reduce frustration during critical recording sessions.
Effective hardware integration ensures seamless communication between your audio interface and DAW for minimal latency.
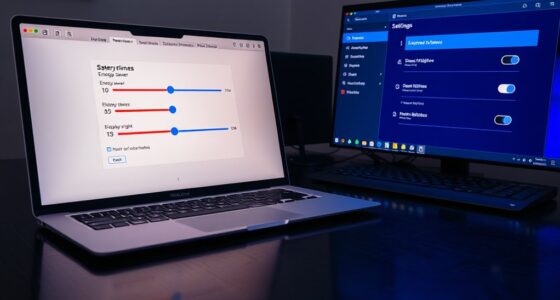
Latency reduction techniques are your primary tools for enhancing real-time performance. These techniques include adjusting buffer sizes—lower buffer sizes decrease delay but demand more processing power. You’ll want to find a balance that your system can handle without causing dropouts or glitches. Many DAWs offer settings that allow you to tweak buffer sizes easily; reducing them during recording sessions can make monitoring feel instantaneous. Another effective technique involves using direct monitoring features built into many audio interfaces, which bypass the computer’s processing altogether for near-zero latency. When enabled, direct monitoring routes your input signal straight to your headphones or speakers, giving you real-time feedback without any noticeable delay.
Additionally, optimizing your system’s configuration plays a vital role. Disable unnecessary background processes, update your drivers regularly, and ensure your computer’s power settings prioritize performance. These steps help your system allocate more resources to audio processing, further reducing latency. Some DAWs incorporate advanced latency reduction techniques, such as multi-threading or optimized audio engines, which distribute processing loads more efficiently across your CPU cores. Utilizing these features can help you sustain low latency even with demanding projects.
Lastly, consider the physical setup of your hardware. Keep your audio interface close to your computer to minimize cable length and potential interference. Use high-quality cables and ensure all ports are functioning correctly. Proper hardware setup complements software-based latency reduction techniques, creating a cohesive environment that supports real-time monitoring. By combining hardware integration strategies with effective latency reduction techniques, you’ll gain a more responsive and reliable monitoring experience within your DAW. This setup allows you to focus on your music or project without worrying about distracting delays, giving you the confidence to perform and record with precision.
Frequently Asked Questions
How Does Low-Latency Monitoring Affect CPU Performance?
Low-latency monitoring can impact your CPU performance, especially if your hardware isn’t optimized or if you set a small buffer size. A smaller buffer reduces latency but increases CPU load, which can cause glitches or dropouts. To balance this, you should optimize your hardware and adjust the buffer size accordingly. Larger buffers ease CPU strain but add latency, so finding the right balance is key for smooth recording and monitoring.
Can Low-Latency Monitoring Cause Audio Dropouts?
Yes, low-latency monitoring can cause audio dropouts if your buffer size is too small or if there are driver conflicts. A very small buffer reduces latency but strains your CPU, leading to dropouts. Driver conflicts, like incompatible or outdated audio interfaces, can also interrupt smooth audio streaming. To prevent this, find a balance with your buffer size and verify your drivers are up to date and compatible with your system.
Is Low-Latency Monitoring Suitable for Live Performances?
Yes, low-latency monitoring is suitable for live performances because it allows you to hear your inputs in real-time without noticeable delay. This makes it ideal for studio recording sessions and live shows, guaranteeing you stay in sync and perform confidently. Just make certain your system is optimized for low latency, so you avoid issues like audio dropouts that could disrupt your performance.
What Are the Best Audio Interfaces for Low-Latency Monitoring?
You might think any audio interface will do, but for low-latency monitoring, you need the best. Look for interfaces with high-quality drivers and low round-trip latency—like Focusrite Clarett or Universal Audio Apollo. Your monitoring setup depends on this choice, ensuring real-time tracking without delays. Ironically, spending a bit more on your audio interface can save you headaches, making your recordings smoother and more professional.
How Can I Troubleshoot Latency Issues During Monitoring?
To troubleshoot latency issues during monitoring, start by reducing your buffer size in your DAW settings, which decreases latency but may increase CPU load. Make sure your audio driver is up to date, as outdated drivers can cause delays. If problems persist, try switching to a different driver mode, like ASIO for Windows or Core Audio for Mac. These steps help improve real-time monitoring performance.
Conclusion
Imagine your DAW as a clear mountain lake, reflecting every note with perfect stillness. When you enable low-latency monitoring, you’re adding a smooth, invisible bridge over the water—allowing your sound to flow instantly, unbroken by ripples. This bridge symbolizes seamless connection, giving you crystal-clear insight without distortion. With it, your creativity flows freely, like sunlight piercing the surface, illuminating every detail. Embrace low-latency monitoring and let your music shine with clarity and confidence.