To add instant atmosphere with reverse-reverb, start by applying long decay reverb to your sound, then invert the reverb tail and align it with the original. Tweak the timing, decay, and diffusion to fit your track’s rhythm and mood. Experiment with automation and layering for more depth and uniqueness. Mastering these steps opens up creative possibilities—if you keep exploring, you’ll discover even more secrets to transforming your soundscape.
Key Takeaways
- Duplicate the sound, apply long decay reverb, then invert the reverb tail for a smooth, swelling atmospheric effect.
- Synchronize the reverb decay with your track’s rhythm for seamless integration and natural flow.
- Automate decay and pre-delay to create evolving, dynamic atmospheres that enhance emotional impact.
- Use reverse-reverb on vocals or instruments to add ethereal gloss and instant depth.
- Balance stereo width and decay time to avoid muddiness, ensuring the effect blends naturally into the mix.
What Is Reverse-Reverb and Why Use It?
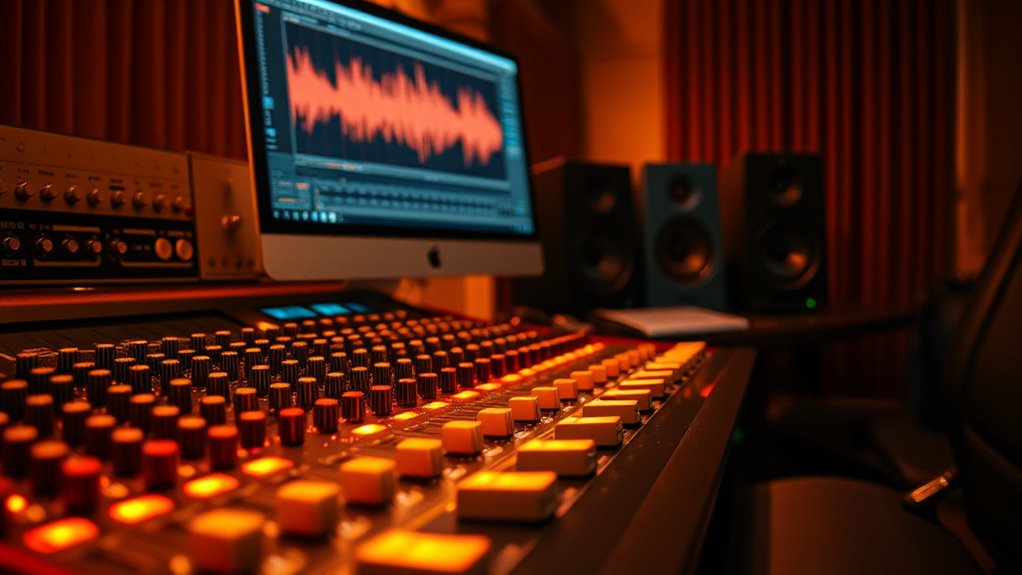
Reverse-reverb is a creative audio effect where the reverb tail is played backward, creating a swelling, ethereal sound that leads into the original note or sound. This effect emphasizes sound layering, giving your track a dreamy, otherworldly quality. By manipulating reverb decay, you control how long the reverb tail lingers, shaping the intensity of the swell. When applied thoughtfully, reverse-reverb adds depth and atmosphere, making elements feel more immersive and dynamic. It can highlight specific sounds or create a sense of movement that draws listeners in. Whether you use it subtly for texture or as a prominent feature, understanding how reverb decay and sound layering work together helps you craft more compelling, unique soundscapes. Understanding sound layering is key to mastering this technique and achieving professional-sounding results.
Essential Tools and Plugins for Reverse-Reverb

To create compelling reverse-reverb effects, you’ll need the right tools and plugins that facilitate precise control and seamless processing. Focus on plugins that offer adjustable reverb parameters like decay, pre-delay, and diffusion to shape your sound exactly as you envision. Compatibility is key—choose plugins that integrate smoothly with your DAW and support your workflow. Popular options include Valhalla VintageVerb, Waves H-Reverb, and Eventide Blackhole, all offering versatile reverb controls. These plugins allow you to fine-tune the reverse-reverb effect, guaranteeing it complements your track perfectly. Seamless plugin compatibility ensures easy automation and consistent sound quality. Investing in these essential tools streamlines the process and unlocks endless creative possibilities for atmosphere and depth. Additionally, understanding how sustainable sound design can enhance your workflow helps in creating more immersive audio experiences.
Step-by-Step Guide to Creating Reverse-Reverb

Creating a reverse-reverb effect involves a series of deliberate steps that transform a simple sound into a haunting, swelling texture. First, select your audio sample, then duplicate it to preserve the original. Apply a reverb with a long decay to one clip, emphasizing the reverb decay to create a lush tail. Next, invert the reverb-heavy clip, so the reverb swell leads into the original sound. Carefully align the reversed clip with the original audio, ensuring seamless audio layering. This process creates a smooth transition that mimics the reverse-reverb effect. Adjust the reverb decay and timing to taste, making sure the swelling sounds natural and atmospheric. Understanding the jet propulsion mechanism helps in creating dynamic, powerful sound effects that can enhance your track’s atmosphere. With these steps, you’ll craft a haunting, immersive texture that adds instant atmosphere to any track.
Tips for Timing and Synchronization

Getting your reverse reverb to sit perfectly in your track depends on precise timing. You need to sync the effect tightly with the beat to create a seamless blend. Focusing on accurate timing and beat alignment will make your reverse-reverb sound more polished and intentional. To ensure clarity, detect passive voice in your mixing process can help you identify and improve any unclear phrasing.
Precise Reverb Timing
Achieving perfect reverb timing hinges on your ability to synchronize the reverb with the main audio source precisely. To do this, focus on controlling the reverb decay so it complements the original sound without muddying it. Adjust the decay time carefully to match the rhythm and feel of your track, ensuring it doesn’t linger too long or cut off abruptly. Sound diffusion also plays a vital role; by spreading the reverb evenly across the sound field, you create a seamless blend that feels natural. Use your DAW’s timing tools to fine-tune the reverb’s start point and decay, aligning it closely with the attack of your original audio. Precise timing makes the reverb feel intentional, enhancing your mix without sounding out of sync. Additionally, understanding the importance of contrast ratio can help you better shape your reverb’s presence, making it more or less prominent depending on your desired atmosphere.
Sync With Beat
Ever wondered how to make your reverse reverb sit perfectly in the rhythm of your track? To achieve this, focus on precise timing by syncing your reverse reverb with the beat. Use echo layering to create rhythmic patterns that complement the groove, ensuring each echo hits on the beat or offbeat as desired. Incorporate frequency modulation to subtly shift the reverb’s tonal qualities, helping it blend seamlessly with the track’s rhythm. Automate these parameters to match the song’s tempo, making the reverse reverb feel like an integral part of the groove. Pay attention to the placement of reverse tails, aligning them with the beat to enhance the sense of timing. This synchronization makes your atmospheric effects more cohesive, adding impact without sounding out of place.
Enhancing Vocals With Reverse-Reverb

To enhance vocals with reverse-reverb, start by selecting the right track and recording clean, well-separated vocals. This guarantees the effect doesn’t muddy the mix. Apply reverse-reverb to the vocal tail, focusing on creating a smooth, swelling sound that adds atmospheric depth. Adjust the reverb’s decay time to match the song’s mood—longer for ethereal textures, shorter for subtle enhancement. Experiment with EQ to shape the vocal’s tonal qualities, emphasizing clarity or warmth as needed. The reverse-reverb creates a unique vocal texture, blending seamlessly into the track while adding an immersive atmosphere. Use automation to control the effect’s intensity throughout the song, ensuring it enhances without overpowering. This approach delivers a lush, spacious vocal sound that elevates your mix. Additionally, leveraging professional voice techniques can help ensure the effect complements your vocal performance effectively.
Applying Reverse-Reverb to Guitars and Synths

Applying reverse-reverb to guitars and synths can create smooth shifts and add depth to your mix. You can enhance the instrument’s atmosphere by carefully timing the effect so it complements the rhythm. Syncing the reverb with your track’s timing ensures a cohesive and professional sound. Additionally, understanding the trustworthiness of AI models can help you adopt innovative tools for sound design and mixing techniques.
Crafting Seamless Transitions
When you want to create smooth, natural progressions between sections or sounds, reverse-reverb is a powerful tool, especially on guitars and synths. To craft seamless connections, focus on controlling reverb decay so it blends smoothly without abrupt drops. Use stereo imaging to spread the reversed sound across the stereo field, enhancing spatial flow. Start by applying reverse-reverb to create a swell, then carefully fade the reverb tail into the next section. Adjust the decay time for a natural feel, avoiding overly long tails that cause disjointedness. Balance the stereo image to prevent the sound from feeling too wide or narrow. Additionally, understanding the importance of self-awareness can help you better judge the emotional impact and spatial placement of your reverb effects.
Enhancing Instrument Atmosphere
Using reverse-reverb not only smooths out sections but also transforms the atmosphere of your instruments, especially guitars and synths. By manipulating the reverb decay, you can control how long the ambient tail lingers, creating a lush, immersive sound. This effect is perfect for ambience layering, where you blend the reverse-reverb with the original sound to add depth and character. When applying reverse-reverb to guitars, focus on a longer reverb decay to enhance sustain and create a dreamy feel. For synths, experiment with shorter or more complex decay settings to craft unique textures. Layering these reversed sounds with other effects amplifies the sense of space, making your instruments feel larger and more atmospheric. This technique instantly elevates your mix’s mood and depth. Regular SSD organization tips can help you manage the additional samples and settings involved in processing these effects efficiently.
Syncing Reverb With Timing
Syncing reverse-reverb with your track’s timing is essential for creating a seamless and cohesive sound. When applied to guitars and synths, proper synchronization guarantees the ambient textures blend naturally and enhance the musical flow. To achieve this, align the reverse-reverb’s decay with your track’s rhythmic delay, so the reverb complements the groove rather than sounding disjointed. Use your DAW’s grid to match the reverb’s tail to specific beats or offbeats, emphasizing rhythmic elements or creating a pulsing atmosphere. Timing is key to maintaining clarity while adding depth. Experiment with different sync points until the reverse-reverb feels integrated, giving your track a professional, polished feel without disrupting your overall rhythm. Additionally, understanding Kia Tuning options can help optimize your instrument’s sound to better match your atmospheric effects.
Creative Variations and Sound Design Ideas

Creative variations and sound design ideas can transform basic reverse reverb into unique, expressive textures. By experimenting with unconventional applications, you release new sonic landscapes. Try layering reversed sounds with different effects or modulating parameters like pitch and decay for evolving textures. Use unconventional techniques such as reversing non-musical sounds or manipulating transient points to create surprising atmospheres. These approaches expand your creative palette beyond traditional uses. To visualize this, consider the following ideas:
| Technique | Effect | Application Example |
|---|---|---|
| Layering with other effects | Richer, more complex textures | Combine reverse reverb with distortion |
| Modulation of decay | Evolving soundscapes | Automate decay time for movement |
| Reversing unusual sounds | Surprising textures | Reverse a field recording or noise |
| Using unconventional sources | Unique atmospheres | Reverse and process non-musical sounds |
Common Mistakes and How to Avoid Them

While exploring innovative techniques with reverse reverb can open exciting sounds, it’s easy to fall into common pitfalls that compromise your results. To avoid this, watch out for these mistakes:
- Ignoring phase cancellation, which can cause parts of your reverb to disappear or sound thin.
- Overusing stereo widening, leading to a disjointed or unnatural space.
- Applying reverse reverb without considering timing, resulting in muddy or cluttered mixes.
- Not automating decay times, which can make the effect feel inconsistent or overpowering.
Integrating Reverse-Reverb Into Your Mixing Workflow
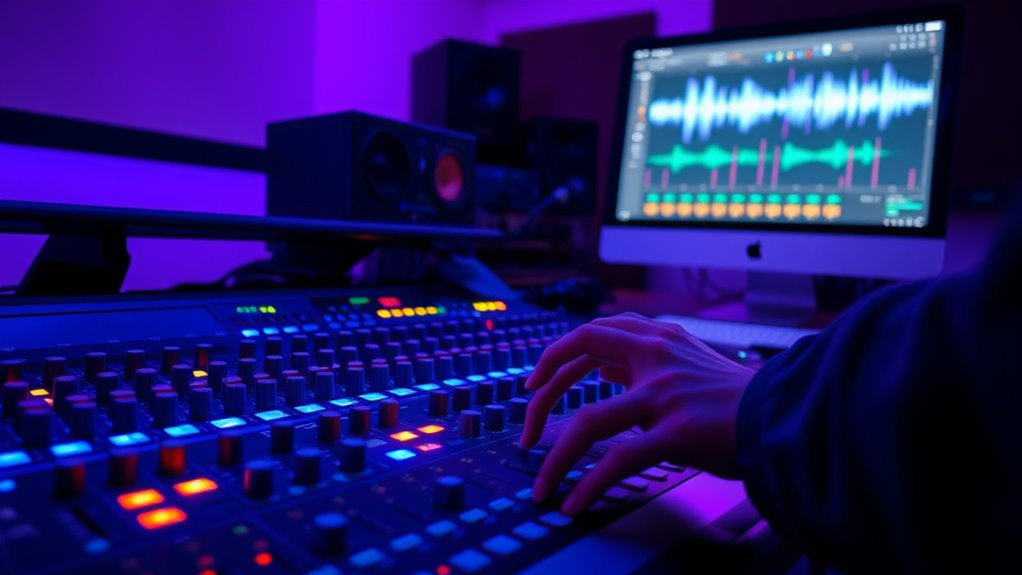
To seamlessly incorporate reverse reverb into your mixing workflow, start by planning where and how you’ll use it to enhance your track. Consider applying it during vocal processing to create a sense of anticipation or space before key phrases. Use reverse reverb on reverb tails to add smooth connections and a dreamy atmosphere. Experiment with timing and decay settings to assure the effect complements your overall mix without overwhelming other elements. Automate the reverse reverb to emphasize specific parts or create dynamic shifts. Keep in mind that less is often more—subtle reverse reverb can add depth without cluttering your mix. Integrating it thoughtfully helps maintain clarity while enriching the sonic landscape, making your tracks more engaging and atmospheric.
Frequently Asked Questions
Can Reverse-Reverb Be Used in Live Performance Settings?
You can definitely use reverse-reverb in your live setup, but it requires real-time processing tools or software that can handle the effect seamlessly. During a performance, you trigger reverse-reverb sounds on the fly, creating instant atmosphere. Just make certain your equipment is capable of fast, reliable processing, so the effect integrates smoothly without delays. With the right setup, reverse-reverb adds a unique, immersive quality to live performances.
How Does Reverse-Reverb Affect Overall Track Clarity?
Did you know that improper use of reverse-reverb can reduce mix clarity by up to 30%? When you add reverse-reverb, it can create a dreamy atmosphere, but it might also cause frequency masking, making vocals or instruments less distinct. To keep your track clear, use it sparingly and EQ carefully. This way, you preserve the balance and guarantee each element stands out without muddying the overall sound.
What Genres Benefit Most From Reverse-Reverb Effects?
You’ll find that genres like ambient, electronic, and experimental soundscapes benefit most from reverse-reverb effects. It adds rich textures and dreamy atmospheres, perfect for creating immersive environments. In ambient textures, reverse reverb enhances the spacious feel, while in experimental soundscapes, it introduces unexpected sonic twists. This effect helps you craft unique, atmospheric layers that captivate listeners and add depth to your music, regardless of genre.
How Do I Automate Reverse-Reverb for Dynamic Changes?
You might think automation techniques are complicated, but they’re essential for dynamic mixing. To automate reverse-reverb, start by recording automation lanes in your DAW, then gradually increase or decrease the effect during specific sections. This creates tension and release, making your track more engaging. Experiment with volume, decay, or pre-reverb parameters, and you’ll master how to add instant atmosphere that evolves naturally with your music.
Is Reverse-Reverb Suitable for All Vocal Styles?
You might wonder if reverse-reverb suits all vocal styles. It works best when you want to add depth or a dreamy texture, especially in genres like ambient, pop, or indie. However, for more aggressive or rhythmic vocals, it can sometimes clash with the vocal texture or disrupt the groove. Consider your genre compatibility and desired atmosphere to decide if reverse-reverb enhances your vocal track effectively.
Conclusion
Now that you know the secrets of reverse-reverb, you hold the key to transforming any track into a mesmerizing soundscape. With a little experimentation, you can turn simple sounds into immersive atmospheres that pull your listeners in. Don’t be afraid to push boundaries—every great artist once stepped into the unknown. Embrace the magic of reverse-reverb, and watch your music soar beyond the ordinary into something truly unforgettable.


