To add size with room mics without turning your mix into mush, focus on careful placement and gain control. Position them at a distance that captures natural reflections without overpowering the direct sound, and balance their levels to create a sense of space without clutter. Experiment with room size and surface reflections to find the right balance between openness and clarity. Keep refining your setup, and you’ll discover how to add spaciousness that enhances your recording without sacrificing definition.
Key Takeaways
- Position room mics at an optimal distance to capture spaciousness without blending into muddiness.
- Use appropriate gain levels to maintain clarity and prevent overpowering direct sound.
- Consider room acoustics; choose spaces with balanced reflective surfaces for natural reverberation.
- Experiment with mic placement to add size while avoiding excessive reflections that cause mush.
- Balance room mic levels with main microphones to enhance depth without sacrificing clarity.
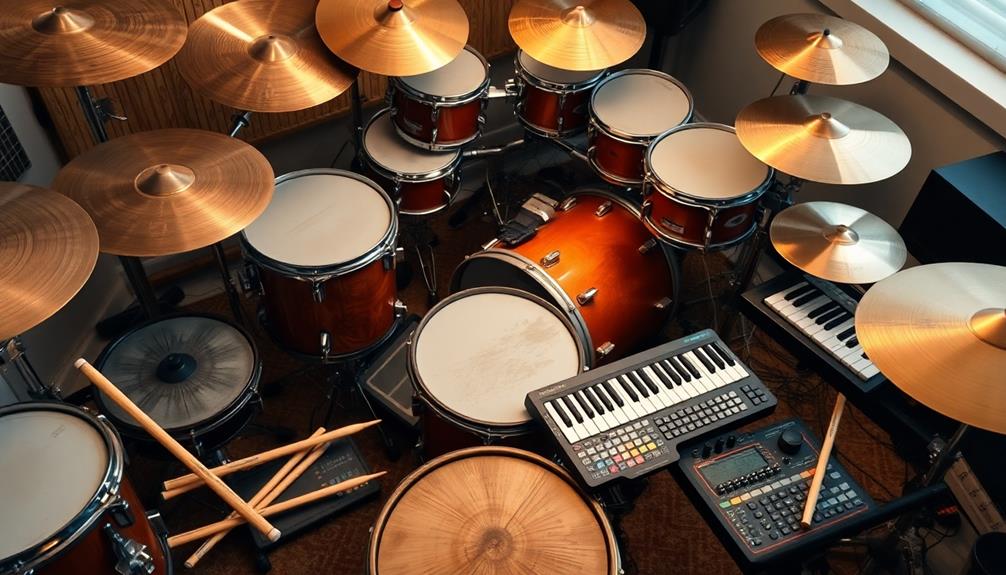
Ever wondered how recording studios capture the natural ambiance of a live performance? It’s all about how they use room mics to add depth and space to recordings without making everything sound muddy or overwhelming. When you set up room mics properly, you can enhance the overall acoustic effects, giving your mix a sense of realism and presence that close mics alone can’t deliver. These mics pick up the sound reflecting off the walls, ceiling, and floor, creating a natural reverberation that makes your recordings feel alive and immersive. But the key is balancing this ambiance so it doesn’t drown out the direct sound from the main microphones.
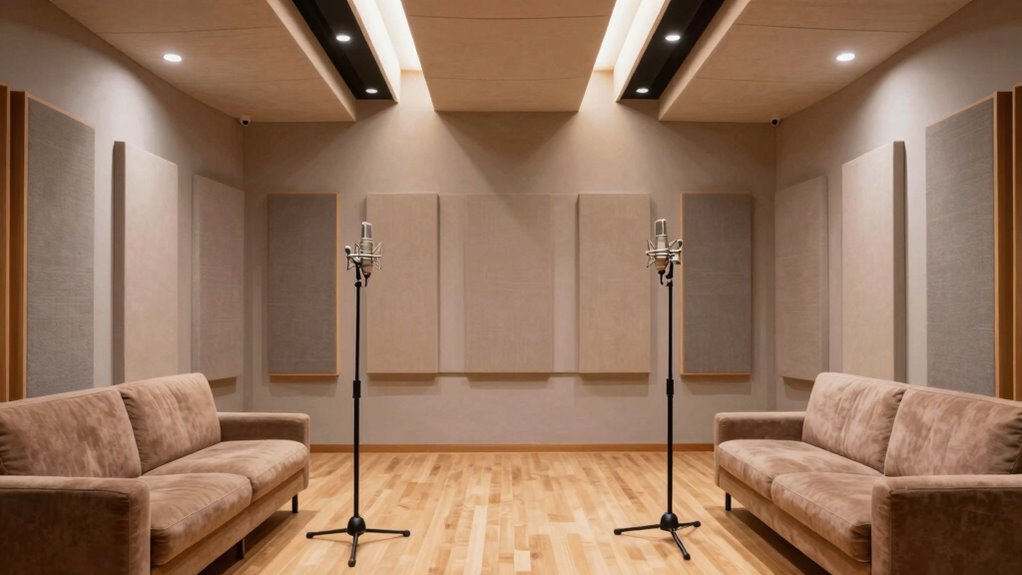
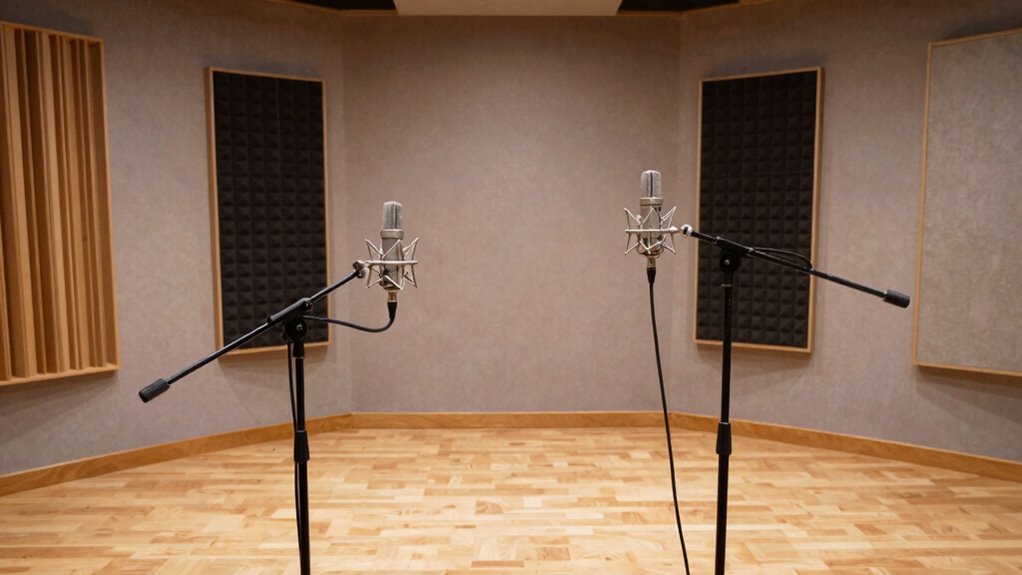
One of the biggest benefits of using room mics is improving stereo imaging. When you position them correctly, they help create a wider, more three-dimensional soundstage. Imagine placing a pair of room mics at either side of the performance; they capture the subtle differences in how sound reaches each microphone, which your mixing process can then translate into a spacious, realistic stereo image. That sense of space is vital for listeners, making them feel like they’re right there in the room. The challenge lies in avoiding a wash of sound that turns your mix into mush. Proper placement and gain staging are essential—set your room mics at just the right distance and level so they add size without overpowering the direct signals.
Incorporating room mics into your setup also means paying attention to the acoustic environment itself. The room’s size, shape, and surface materials all influence the acoustic effects you’ll get. Hard surfaces reflect more sound, adding brightness and clarity, while softer surfaces absorb some of the reflections, creating a warmer, more subdued ambiance. You can experiment with different mic placements—some engineers prefer placing room mics slightly farther away for a more spacious feel, while others might position them closer to capture more detail. The goal is to support the main sound with natural reverberation, enriching the stereo image and adding size without sacrificing clarity. When you get this balance right, your recordings will sound more vibrant, engaging, and true to life—proving that room mics are a powerful tool for adding dimension without turning your mix into a muddy mess.

Shure SM4 Studio Recording Microphone Kit, XLR Home Studio Condenser Mic with Mix-Ready Audio – All-Metal Construction, Includes Detachable Magnetic Pop Filter & Shock Mount (SM4-K-KIT)
- Audio Quality: Smooth, detailed natural sound
- Noise Rejection: Excellent off-axis noise rejection
- Proximity Effect Reduction: Consistent sound with large sweet spot
As an affiliate, we earn on qualifying purchases.
As an affiliate, we earn on qualifying purchases.
Frequently Asked Questions
How Do Room Mics Differ From Distant Mics?
Distant mics capture sound from far away, often emphasizing room acoustics and creating a sense of space, while room mics are placed closer but still pick up room reflections to add size without mush. Room mics usually use omnidirectional or cardioid polar patterns to balance direct sound and ambiance. Distant mics focus on ambiance, whereas room mics blend direct sound with room characteristics, giving your mix depth and naturalness.
What Are the Best Room Mic Placements for Vocals?
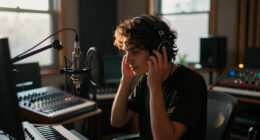
Think of your vocals as the heart of your song, and the best room mic placements are like gentle whispers that capture its essence. Position your mics about 6-12 inches from the singer, aiming for a cardioid polar pattern to reduce room acoustics influence. Place them slightly above and angled down for natural sound. Experiment with distance and angle to find the sweet spot that balances intimacy and room ambiance.
How Do I Prevent Room Noise From Affecting Recordings?
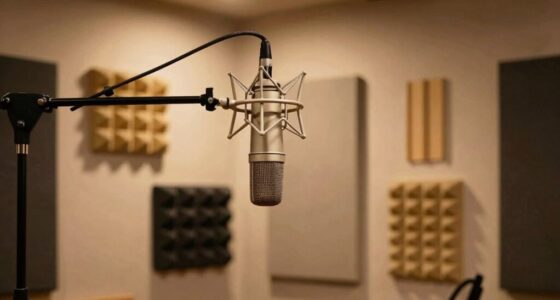
To prevent room noise from affecting recordings, focus on your studio acoustics and use the right microphone polar patterns. Opt for cardioid or hypercardioid mics to reject background sounds, and position them close to your source. Treat your space with bass traps and acoustic panels to minimize reflections. Regularly check your mic placement and room setup to guarantee unwanted noise stays out of your recordings, keeping sound clean and focused.
Can Room Mics Be Used for Live Sound Reinforcement?
Yes, you can use room mics for live sound reinforcement. To do this effectively, consider room acoustics and employ proper microphone techniques, such as placing mics at ideal distances and angles to capture the ambience without overwhelming the mix. Adjust the level carefully to prevent feedback and avoid mud. With careful placement and sound checks, room mics can add natural depth and size to your live sound, enhancing the audience experience.
What Equipment Is Essential for Effective Room Mic Setup?
You need a good pair of microphones with appropriate polar patterns, like cardioid or omnidirectional, to capture room acoustics effectively. A quality audio interface or mixer is essential to connect and control your mics, while sturdy microphone stands keep everything steady. Don’t forget acoustic treatment to minimize unwanted reflections. With the right gear, you’ll add size without turning to mush, giving your live sound a natural, spacious feel.
Conclusion
Just like a painter adds depth with subtle strokes, using room mics lets you craft a richer, more expansive sound without losing clarity. When you embrace their power, you’re not just capturing noise—you’re telling a story that breathes and grows. Remember, it’s in the details that the magic lies—so don’t be afraid to add size, but do so with purpose. After all, every great masterpiece balances space and focus, revealing its true beauty in the subtlety.