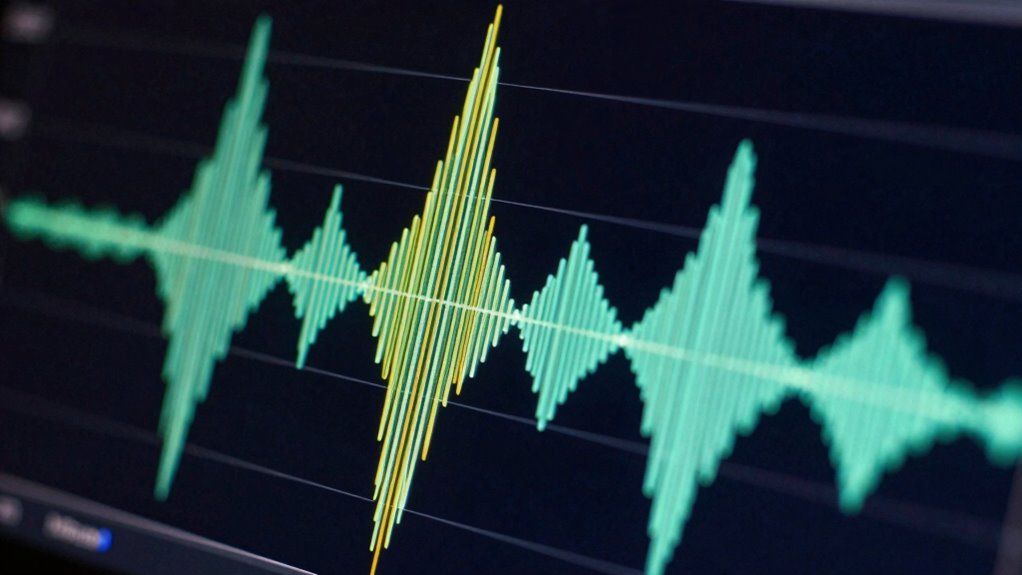

Inter-sample peaks are hidden spikes between digital samples that can cause distortion even if meters look safe. To understand them without panic, know they can occur during the final output stage and aren’t visible on standard peak meters. Using specialized meters or tools, you can detect these peaks and prevent clipping. By managing levels carefully and combining compression with accurate measurement, you’ll gain control and avoid surprises. Keep exploring to learn how to handle these elusive audio signals effectively.
Key Takeaways
- Recognize that inter-sample peaks occur between samples and aren’t visible on standard meters, so use specialized metering tools.
- Use true peak meters during mastering to detect and prevent potential clipping caused by inter-sample peaks.
- Combine peak normalization with gentle compression to manage transients without overdriving your audio.
- Understand that digital-to-analog conversion can reintroduce peaks, so proper level management is essential.
- Stay calm: proper metering and processing techniques effectively prevent distortion, avoiding unnecessary panic.
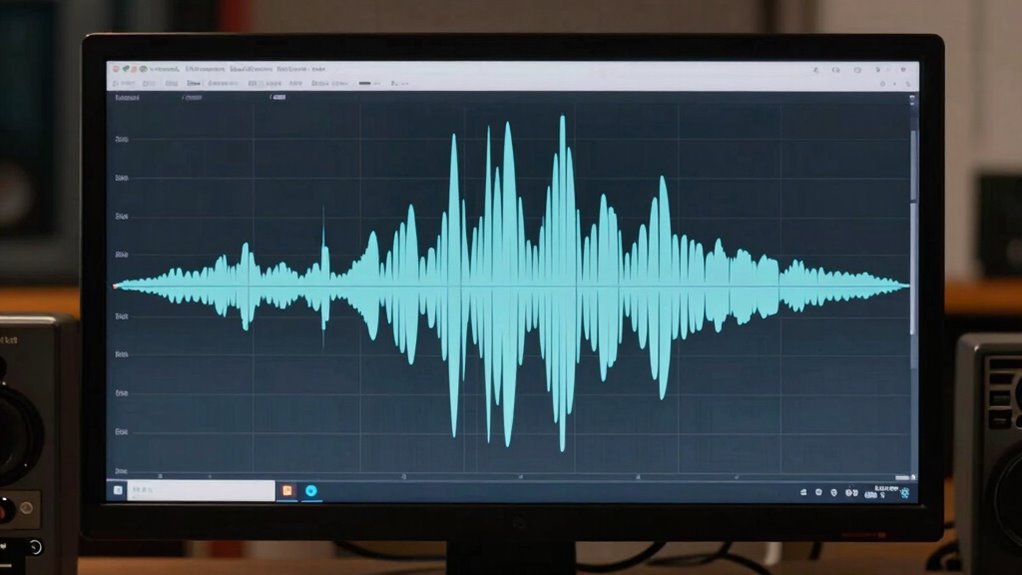
Understanding inter-sample peaks is essential for ensuring your audio signals stay within proper levels and avoid distortion. These peaks occur between digital samples, meaning your meters might show that your audio is well within limits, yet the reconstructed analog signal could still clip. To prevent this, you need to grasp what causes inter-sample peaks and how tools like audio compression and peak normalization help you manage them effectively.
Inter-sample peaks occur between digital samples, risking clipping despite meters showing safe levels.
When you’re working with digital audio, peak normalization is often used to set your maximum peak level across a track. It adjusts the gain so that the loudest point hits a target level, typically just below 0 dBFS. While peak normalization is useful for maximizing loudness, it doesn’t account for inter-sample peaks. This is where understanding the difference becomes vital: a loudness meter may show the track is fine, but the actual analog output could still distort if those inter-sample peaks are high enough. That’s why relying solely on peak normalization without considering inter-sample peaks can lead to unexpected clipping in the final playback.
Audio compression plays a key role here, but not in the way many think. Instead of simply reducing overall volume, compression can help control transient spikes and smooth out dynamic range. This process indirectly reduces the likelihood of inter-sample clipping by preventing sudden peaks from reaching destructive levels. However, compression alone doesn’t eliminate the need to measure inter-sample peaks specifically. You must combine compression with proper metering that can detect these subtle peaks, especially in mastering scenarios. Accurate metering is crucial for identifying these hidden peaks, which are not visible on standard peak meters. Additionally, understanding how digital-to-analog conversion impacts peak levels can help you better manage the transition from digital signals to analog outputs, reducing the risk of clipping. If the meter indicates inter-sample peaks are approaching clipping levels, you can adjust your gain or apply gentle compression to bring those peaks down without sacrificing overall loudness or audio quality. It’s also important to understand that inter-sample peaks can be particularly problematic in high-resolution audio formats, which demand precise level management. Being aware of audio signal reconstruction processes can further enhance your ability to prevent unexpected distortions during playback.
As an affiliate, we earn on qualifying purchases.
Frequently Asked Questions
How Do Inter-Sample Peaks Differ From Regular Peak Levels?
Inter-sample peaks differ from regular peak levels because they occur between digital samples, meaning they can cause clipping even if your meters show safe levels. You need to monitor these peaks to maintain a good dynamic range and prevent clipping during playback or mastering. By using specialized metering tools, you can detect and control inter-sample peaks, ensuring your audio stays clean and dynamic without risking distortion or clipping.
Can Inter-Sample Peaks Cause Audio Distortion?
Inter-sample peaks can indeed cause audio distortion, especially if they surpass your system’s dynamic range or approach the noise floor. When these peaks go unnoticed, they may clip during playback, resulting in harsh sound or unwanted artifacts. To prevent this, monitor inter-sample peaks carefully, keep levels well below the maximum, and make certain your system’s dynamic range can handle transient spikes without distortion or noise interference.
What Tools Are Best for Measuring Inter-Sample Peaks?
You should use specialized metering tools like iZotope Insight or Waves WLM Plus to measure inter-sample peaks effectively. These tools analyze digital conversion processes and help you monitor whether your audio exceeds the maximum dynamic range, preventing distortion. By accurately measuring inter-sample peaks, you guarantee your recordings stay within safe levels, avoiding clipping and preserving audio quality. Regularly checking with these tools helps maintain ideal sound during mixing and mastering.
Are Inter-Sample Peaks Relevant in All Audio Formats?
Inter-sample peaks are like hidden landmines in your audio landscape; they matter mainly in digital formats that rely on precise playback. In formats like MP3 or AAC, these peaks can cause analog clipping or playback artifacts if unchecked, distorting your sound. But in formats like WAV or AIFF, they’re less relevant. Always consider your format to prevent surprises that turn smooth audio into a crackling mess.
How Do I Prevent Inter-Sample Peaks During Mastering?
To prevent inter-sample peaks during mastering, you should monitor your loudness normalization levels and keep your dynamic range in check. Use a true peak limiter, which accurately detects and reduces these peaks before they distort. Regularly check your mix with metering tools to guarantee peaks stay below 0 dBFS, especially after loudness normalization. This way, your audio remains clear, avoiding distortion and maintaining a professional sound.
Conclusion
Think of inter-sample peaks like waves in the ocean—sometimes they’re calm, other times they crash unexpectedly. When I first started sound editing, I worried about every tiny peak, but I learned to see them as natural ripples, not threats. Remember, most modern meters and tools are designed to handle these fluctuations. With a little knowledge and patience, you’ll ride those waves confidently, knowing they’re just part of the audio landscape, not a sign to panic.