
Before hitting record, double-check your equipment: test microphones for proper levels and minimal background noise, ensure cameras are stable and focused, and verify lighting for a well-lit, professional look. Confirm that your environment is tidy and free of distractions, and check your internet and storage space. Have all your materials nearby for a smooth session. If you keep these steps in mind, you’ll be ready. Keep going to learn more useful tips.
Key Takeaways
- Verify all audio equipment functions properly and conduct test recordings to prevent issues.
- Confirm lighting is balanced, well-positioned, and free of harsh shadows or overexposure.
- Check camera angles, focus, and exposure; ensure stability with a tripod or mount.
- Review environment for distractions, clutter, and background noise; prepare a clean, organized space.
- Test internet connection, storage space, and review notes or prompts for a smooth recording session.
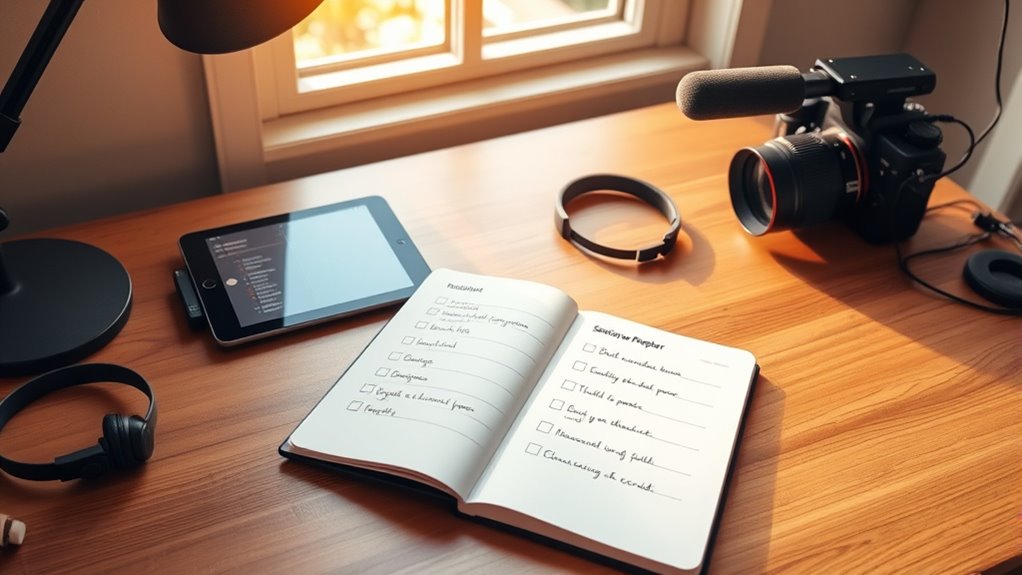
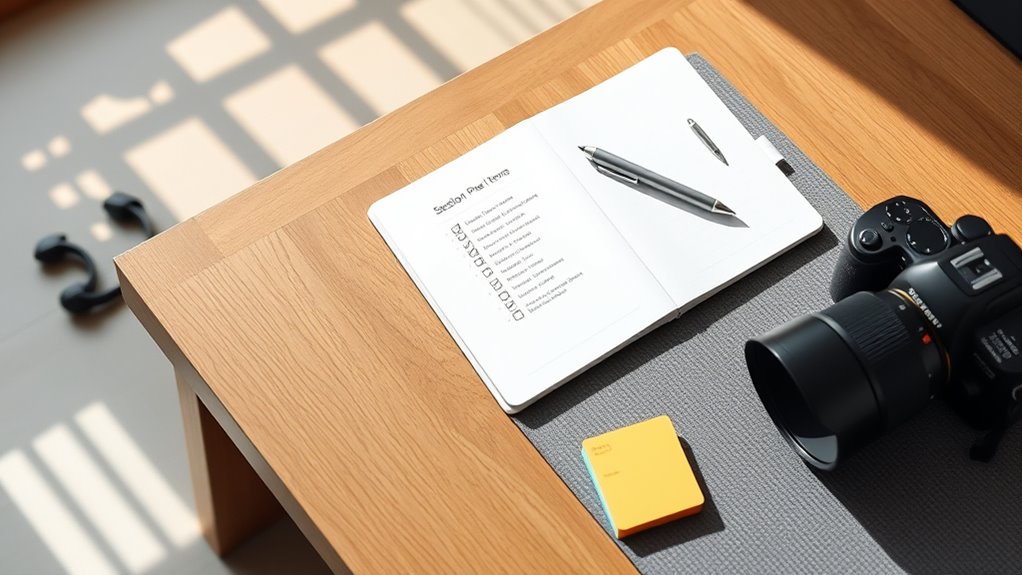
Before you hit record, having a solid session checklist can make all the difference in guaranteeing a smooth and successful recording. It’s easy to overlook small details in the rush to start, but taking a few moments beforehand can save you time, frustration, and subpar results. Start with your audio quality—making sure your microphones are properly set up, connected, and tested. Check that your levels aren’t peaking or too low, and assure there’s minimal background noise. Clear audio is fundamental; no matter how good your camera angles look, if the sound isn’t crisp and clean, your viewers will lose interest. Verify that your recording environment is quiet, and consider using pop filters or windshields if necessary. Also, confirm that all audio equipment is functioning properly, and do a quick test recording to catch any issues early.
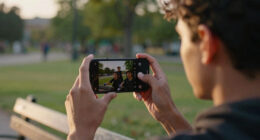
Next, think about camera angles. Your framing can considerably impact viewer engagement and the professionalism of your content. Before hitting record, decide on the best angles to showcase your subject, whether it’s you or a product. Set your camera at eye level for a natural, inviting look, or experiment with different angles to add visual interest. Confirm that your camera is stable on a tripod or mount, avoiding shaky footage. Check your lighting to ensure your face or subject is well-lit without harsh shadows or overexposure. Adjust your camera settings, like focus and exposure, so everything appears sharp and balanced. If you’re switching between multiple angles, set those up in advance, so transitions are seamless during recording. Making these preparations reduces distractions and keeps the flow smooth.
Beyond audio and camera setup, review your environment for distractions or clutter in the background. A clean, well-organized space not only looks professional but also helps your audience focus on you. Have your notes, scripts, or prompts ready and within reach so you don’t fumble during the take. Test your internet connection if you’re streaming live, making certain a stable signal to avoid interruptions. Also, double-check your recording device’s storage space—running out of space mid-recording can be disastrous. Consider doing a quick run-through of your entire setup, including lighting, audio, camera angles, and background, to catch any problems before you start. This preventive approach saves time and stress, allowing you to focus on delivering your best performance.

FIFINE USB Microphone, Metal Condenser Recording Microphone for MAC OS, Windows, Cardioid Laptop Mic for Recording Vocals, Voice Overs, Streaming, Meeting and YouTube Videos-K669B
[Convenient Setup] Plug and play recording USB microphone for PC, with 5.9-Foot USB cable included for computer PC…
As an affiliate, we earn on qualifying purchases.
As an affiliate, we earn on qualifying purchases.
Frequently Asked Questions
How Do I Customize a Checklist for Different Types of Recordings?
To customize a checklist for different recordings, start with a versatile template and apply personalization strategies tailored to each session type. Adjust items based on your specific needs, such as equipment checks for interviews or script reviews for presentations. Use template customization to streamline this process, ensuring each checklist is relevant and efficient. This way, you’re prepared every time, avoiding unnecessary steps and focusing on quality content.
What Tools Can Help Automate Session Checklist Processes?
Did you know that automation tools can improve checklist accuracy by up to 30%? You can use digital checklists and automation tools like Trello, Asana, or Notion to streamline your session prep. These tools help automate repetitive tasks, send reminders, and guarantee nothing gets overlooked. By integrating automation, you save time, reduce errors, and focus more on your content, making your recordings smoother and more professional.
How Often Should I Review and Update My Session Checklists?
You should review your session checklists regularly, ideally every few months, to verify they stay current and complete. Consider setting a specific update timing, like quarterly, to keep them aligned with any changes in your process or equipment. By maintaining a consistent frequency review, you prevent oversights and ensure your checklists effectively support smooth sessions, giving you confidence each time you hit record.
What Common Mistakes Should I Avoid When Preparing Checklists?
Don’t let your checklist become a shaky bridge, causing you to overlook details or rush preparations. Avoid common mistakes like skipping vital steps or assuming everything will fall into place. Double-check each item, stay organized, and give yourself ample time to prepare. Rushing can turn a smooth session into chaos, so slow down and guarantee every detail is in place. This way, you’ll confidently hit record with everything under control.
How Can I Ensure Team Members Follow the Checklist Consistently?
You can guarantee team members follow the checklist consistently by establishing clear expectations and emphasizing accountability. Encourage open communication, so everyone understands the importance of checklist adherence. Regularly review progress, provide constructive feedback, and recognize compliance efforts. Additionally, integrate the checklist into your workflow, making it easily accessible. By fostering a culture of team accountability, you motivate your team to stay diligent, ensuring tasks are completed accurately and efficiently before hitting record.

Torjim Softbox Photography Lighting Kit, 16'' x 16'' Professional Softbox Lighting Kit with 85W 3000-7500K LED Bulbs, Studio Lights for Photography/Video Recording/Live Streaming/Portraits Shooting
【Illuminate Your Creativity】 Torjim softbox lighting kit is made of high-quality PET fabric and a foldable nylon cover,…
As an affiliate, we earn on qualifying purchases.
As an affiliate, we earn on qualifying purchases.
Conclusion
Think of your session checklist as your safety net—like a lighthouse guiding you safely to shore. By going through your steps beforehand, you guarantee everything runs smoothly and confidently. Skipping these checks is like sailing without a compass; you risk missing details or facing surprises. So, take a few moments to prepare. When you hit record, you’ll feel as prepared as a captain ready to navigate calm waters. Now, you’re all set to create your best work.

Liphisy 64” Tripod for Cell Phone & Camera, Phone Tripod with Remote and Phone Holder, Sturdy & Stable Height Adjustable Multi-Angle Shot Selfie Stick Tripod for Video Recording
【Sturdy and Stable】: Made of premium aluminum alloy and stainless steel, Liphisy phone tripod with remote keeps your…
As an affiliate, we earn on qualifying purchases.
As an affiliate, we earn on qualifying purchases.

Seagate Portable 2TB External Hard Drive HDD — USB 3.0 for PC, Mac, PlayStation, & Xbox -1-Year Rescue Service (STGX2000400)
Easily store and access 2TB to content on the go with the Seagate Portable Drive, a USB external…
As an affiliate, we earn on qualifying purchases.
As an affiliate, we earn on qualifying purchases.