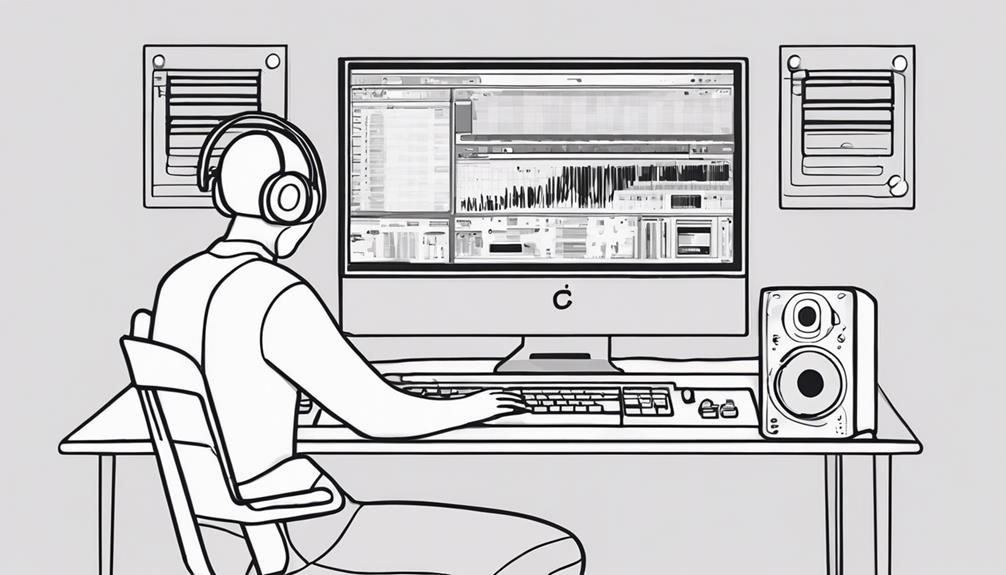
To begin your music production journey on Ableton, start by setting up the software on your computer. Familiarize yourself with the Arrangement and Session Views and the Browser for organization. Explore MIDI instrument basics, audio effects, and drum racks for creative exploration. Get comfortable with session and arrangement views for performance and editing. Sampling instruments and mastering mixing techniques will add depth to your tracks. Experiment with track arrangements to structure your music effectively. Understanding these fundamentals will pave the way for your musical creativity to flourish and take your productions to new heights!
Key Takeaways
- Familiarize with Ableton Live's Arrangement and Session Views for linear and non-linear music creation.
- Utilize MIDI instruments to program melodies, chords, and beats for diverse genres.
- Experiment with audio effects to enhance tracks and create custom effects chains.
- Understand dynamic automation to add movement and creativity to music productions.
- Master mixing techniques like balancing levels, panning, and using EQ and compression for polished tracks.
Setting Up Ableton Live
To start setting up Ableton Live, make sure you have downloaded and installed the software on your computer. Once installed, you'll be greeted with two primary views for music production: Arrangement View and Session View.
The Session View allows for a more improvisational and non-linear approach to creating music, while the Arrangement View is more suited for traditional linear composition.
Ableton Live's Browser is an essential tool for organizing your sounds, instruments, presets, and plugins. It categorizes these elements into Collections, Categories, and Places, making it easier for you to navigate and find what you need quickly during your music-making process.
Understanding the distinction between audio and MIDI tracks in Ableton Live is important. While audio tracks handle raw audio files, MIDI tracks require instruments to interpret and play the programmed notes.
Additionally, the software offers various warp modes that allow you to manipulate audio clips creatively by adjusting their timing, pitch, and more.
Understanding the Interface
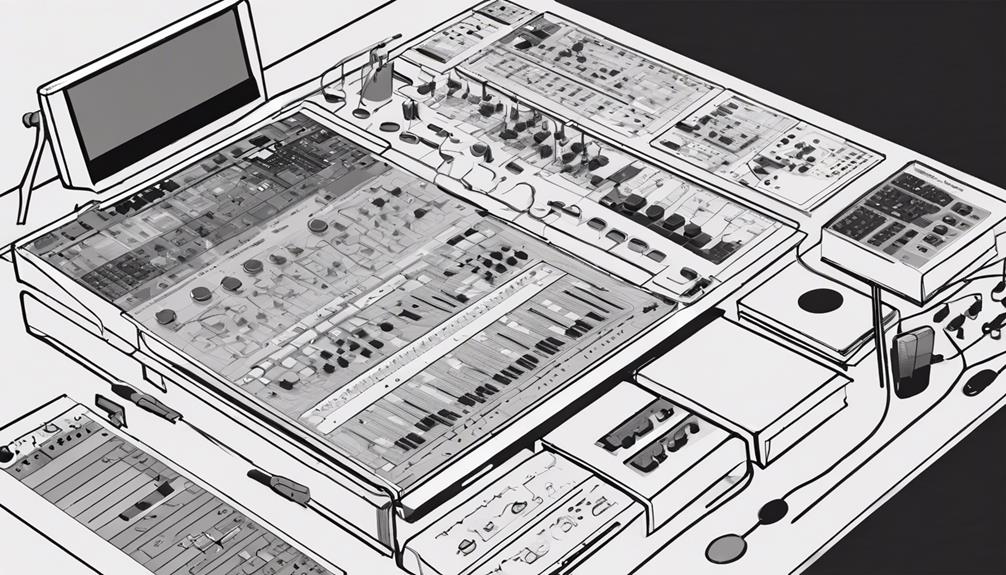
As you start exploring Ableton Live, understanding the interface is key. Get ready to navigate through the Interface Overview, utilize Navigation Tools, and learn about Customizing Layout options.
These aspects will help you feel comfortable and confident as you explore further into music production on Ableton.
Interface Overview
Within Ableton Live, understanding the interface involves familiarizing yourself with the Arrangement View and Session View. The Arrangement View is where you can arrange and edit your music linearly, while the Session View allows for non-linear experimentation and performance.
The interface includes essential features like transport controls for easy playback, recording, looping, and more. Functions like Capture MIDI, Automation Arm, and MIDI Arrangement Overdub enhance your music production experience by providing creative tools at your fingertips.
The Browser in Ableton Live conveniently organizes your sounds, instruments, presets, and plugins, making it easy to find what you need quickly. Additionally, MIDI mapping controls located on the right side of the interface enable you to customize your workflow by mapping keyboard keys or MIDI controller parameters to various functions within Ableton Live.
Familiarizing yourself with these interface elements will set a solid foundation for your music production journey in Ableton Live.
Navigation Tools
Explore the various navigation tools in Ableton Live to enhance your understanding of the interface.
When you immerse yourself in the world of music production, understanding the layout and tools available in Ableton is essential for a smooth workflow.
Here are some key elements to help you navigate Ableton Live effectively:
- Arrangement View: This view in Ableton allows you to arrange your music linearly, perfect for structuring your tracks and adding detailed edits.
- Session View: Ideal for experimenting with sounds and loops, Session View in Ableton enables you to trigger clips and create on-the-fly arrangements during live performances or jam sessions.
- Warp Modes: Ableton's warp modes such as Beats, Tones, and Texture offer you the flexibility to manipulate the timing and pitch of audio clips, allowing for creative adjustments and unique sound alterations.
Mastering these navigation tools in Ableton Live will empower you to navigate the interface efficiently and express your creativity in music production.
Customizing Layout
To enhance your music production experience in Ableton, familiarize yourself with customizing the layout to understand the interface better.
Ableton Live 10 offers two main views: Arrangement View and Session View, providing a versatile workflow.
The Browser in Ableton Live organizes sounds, instruments, presets, and plugins for easy access, streamlining your creative process.
Utilize MIDI mapping controls efficiently to map keyboard keys or MIDI controller parameters, enhancing your control over the software.
Whether you prefer the structured layout of Arrangement View for detailed editing or the improvisational nature of Session View for live performances, Ableton Live caters to your workflow preferences.
Unique transport functions like Capture MIDI, Automation Arm, and MIDI Arrangement Overdub further enhance your music production capabilities.
Additionally, take advantage of the various warp modes available in Ableton Live for adjusting timing and pitch of audio clips, enabling creative audio manipulation in your projects.
Familiarizing yourself with these customizable features will empower you to maximize your full creative potential in Ableton Live.
Exploring MIDI Instruments
Now let's delve into exploring MIDI instruments in Ableton Live.
You'll discover the basics of MIDI instruments and some helpful MIDI mapping tips to enhance your music production game.
Get ready to unlock your creativity with the power of MIDI instruments in Ableton Live!
MIDI Instrument Basics
You can explore the fundamentals of MIDI instruments in Ableton by understanding their role in creating and manipulating virtual sounds. In Ableton Live, MIDI instruments like Operator, Sampler, and Wavetable are powerful tools for sound creation. Here are three key aspects to take into account when diving into MIDI instrument basics:
- Programming: With Ableton's MIDI instruments, you can program intricate melodies, chords, and beats by inputting MIDI notes into the software synthesizers.
- Sound Design: MIDI instruments offer a wide range of parameters that can be customized to manipulate and shape the sound, allowing for unique and personalized audio creations.
- Versatility: Ableton Live provides a diverse selection of MIDI instruments catering to various music genres, giving you the flexibility to experiment and produce different styles of music effortlessly.
Understanding these aspects will lay a strong foundation for your music production journey using MIDI instruments in Ableton Live.
MIDI Mapping Tips
Enhance your control over MIDI instruments in Ableton Live by implementing effective MIDI mapping tips.
MIDI mapping in Ableton Live is a powerful tool that allows you to assign various parameters to MIDI controllers or keyboard keys, enabling personalized control over your music production.
By mapping MIDI controllers to software parameters such as volume, pan, or effects settings, you can easily manipulate your sounds and effects in real-time, making it ideal for live performances.
This customization not only enhances your creative expression but also streamlines your workflow in Ableton Live.
Understanding MIDI mapping is essential for optimizing your production process and achieving a more intuitive and efficient music-making experience.
Experiment with different mappings to discover new ways of interacting with your MIDI instruments and effects, opening up endless possibilities for creativity and expression in your productions.
Utilizing Audio Effects
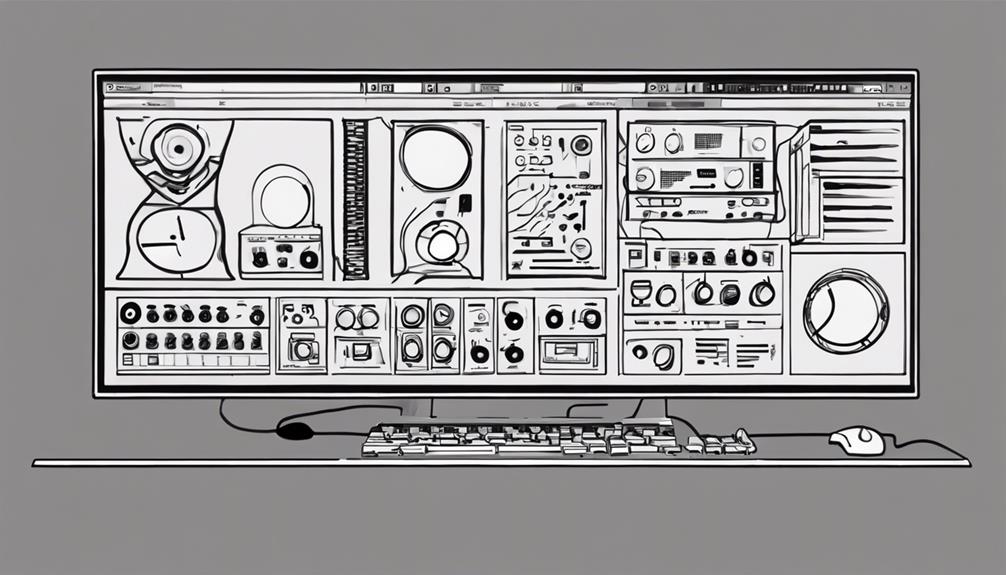
Exploring the diverse array of audio effects in Ableton Live can greatly enhance your music production capabilities. With Ableton Live's extensive collection of Audio Effects, you can take your mixing skills to the next level and add depth and character to your tracks.
Here's how you can make the most of these tools:
- Custom Effects Chains: Combine multiple Audio Effects in Ableton Live to create unique and personalized effects chains tailored to your specific sound requirements. Experiment with different combinations to discover new and exciting sonic possibilities.
- Master Track Enhancement: Apply Audio Effects not only to individual tracks but also to the Master track to polish and refine the overall mix. Utilize tools like EQ Eight, Compressor, Reverb, and Delay strategically to achieve a professional-sounding final product.
- Dynamic Automation: Use Automation to dynamically control audio effect parameters over time, adding movement and interest to your tracks. By automating parameters within Ableton Live's Audio Effects, you can bring your music to life and inject creativity into your productions.
Navigating Session and Arrangement Views
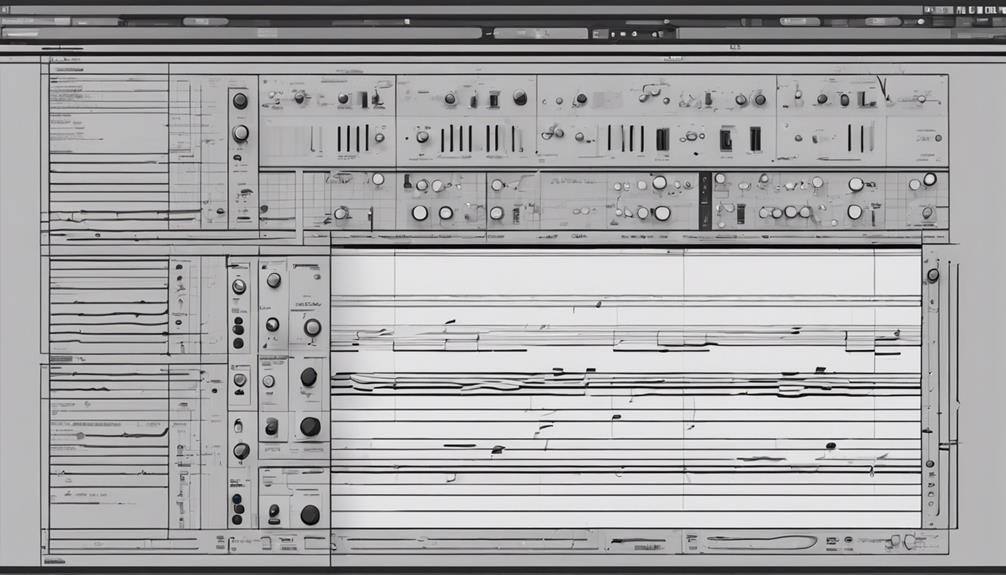
To familiarize yourself with Ableton Live's interface, understanding how to navigate between the Session and Arrangement Views is essential. The Session View is where the magic of creating music happens in a non-linear, improvisational way. On the other hand, the Arrangement View is perfect for detailed editing and structuring your tracks from start to finish. Here's a comparison between the two views:
| Session View | Arrangement View |
|---|---|
| Ideal for live performance and improvisation | Best for traditional multitrack recording and editing |
| Launch clips and create on-the-fly arrangements | Detailed editing, arranging, and structuring of tracks |
| Live triggering of loops, samples, and effects | Linear composition from start to finish |
Working With Drum Racks

When working with Drum Racks in Ableton Live, you'll discover a powerful tool for organizing and triggering multiple drum samples efficiently. Here are some key aspects to explore when delving into beat creation and drum programming:
- Organization: Drum Racks provide a grid-like interface where each pad can hold a different drum sample. This setup allows for easy access and management of various sounds, streamlining your workflow as you build your beats.
- Efficient Beat Creation: With Drum Racks, you can quickly sequence and layer different drum samples to craft unique rhythms. The ability to trigger multiple samples simultaneously enables you to experiment with diverse percussive elements seamlessly.
- Flexibility and Customization: Drum Racks offer a range of options for processing and arranging individual drum sounds. You can customize your racks with effects, MIDI mappings, and macros, empowering you to create dynamic and personalized drum patterns within Ableton Live.
Sampling Instruments
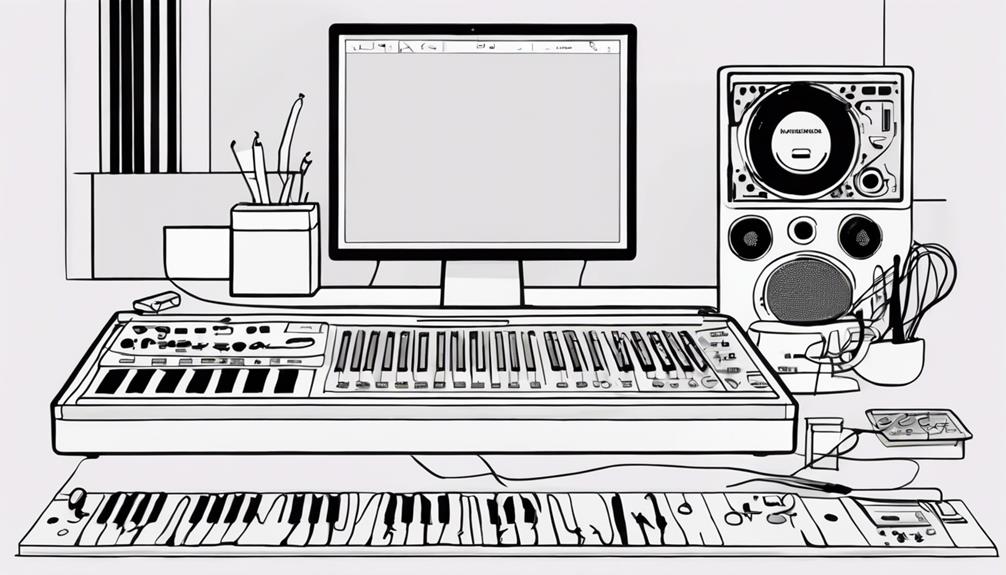
Sampling instruments in Ableton involves importing audio recordings or instrument samples for manipulation, allowing for the creation of unique sounds and melodies through chopping, slicing, and rearranging. Utilizing tools like Simpler and Sampler, you can easily play and edit these sampled instruments to suit your creative vision. Here's a comparison table to help you understand the differences between Simpler and Sampler:
| Feature | Simpler | Sampler |
|---|---|---|
| Flexibility | Basic, easier to use | Advanced, more features |
| Editing | Limited editing options | Extensive editing capabilities |
| Modulation | Limited modulation options | Rich modulation features |
Experimenting with sampling instruments not only enriches your music but also allows you to infuse real-world sounds or virtual instruments into your tracks. Immerse yourself in the world of sampling in Ableton, and let your creativity soar as you craft innovative and enthralling music.
Mastering Mixing Techniques
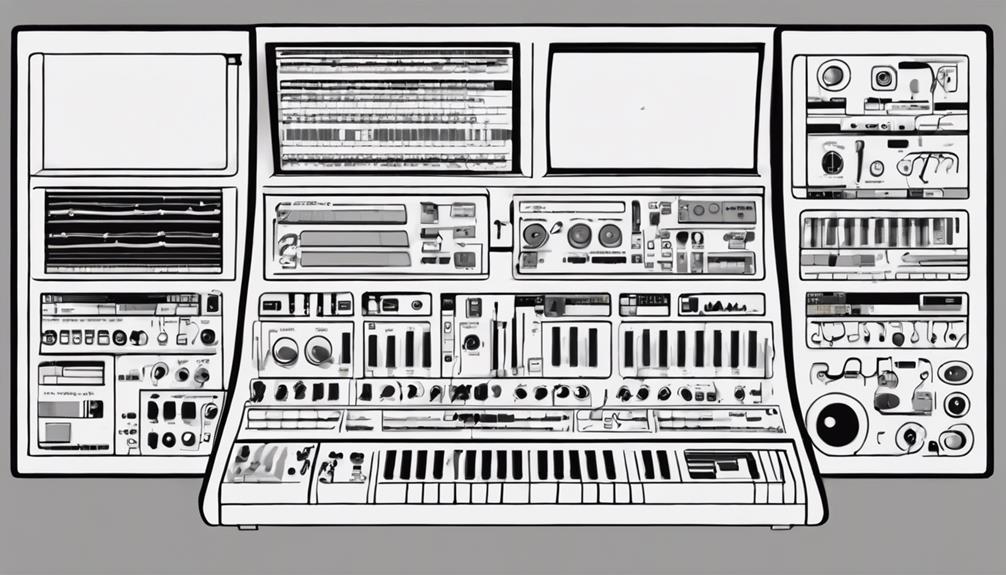
Explore mastering mixing techniques by learning how to balance levels, pan sounds, and effectively use audio effects in your mix. When it comes to mixing, mastering the use of EQ, compression, and reverb is essential for achieving a professional sound.
Here are three essential techniques to enhance your mixes:
- Balancing Levels: Adjusting the volume levels of different tracks guarantees that each element sits well in the mix without overpowering others. Use EQ to carve out space for each instrument, compression to control dynamics, and reverb to add depth and dimension.
- Panning Sounds: By placing different elements in the stereo field, you create a sense of width and separation in your mix. Experiment with panning to give each instrument its own space and make your mix more immersive.
- Utilizing Audio Effects: Incorporate reverb to create a sense of space, compression to control dynamics, and EQ to shape the tonal balance of your mix. Experiment with different settings to achieve the desired effect and enhance the overall sound quality. Mastering these techniques will help you craft professional-sounding mixes that stand out.
Implementing Track Arrangements
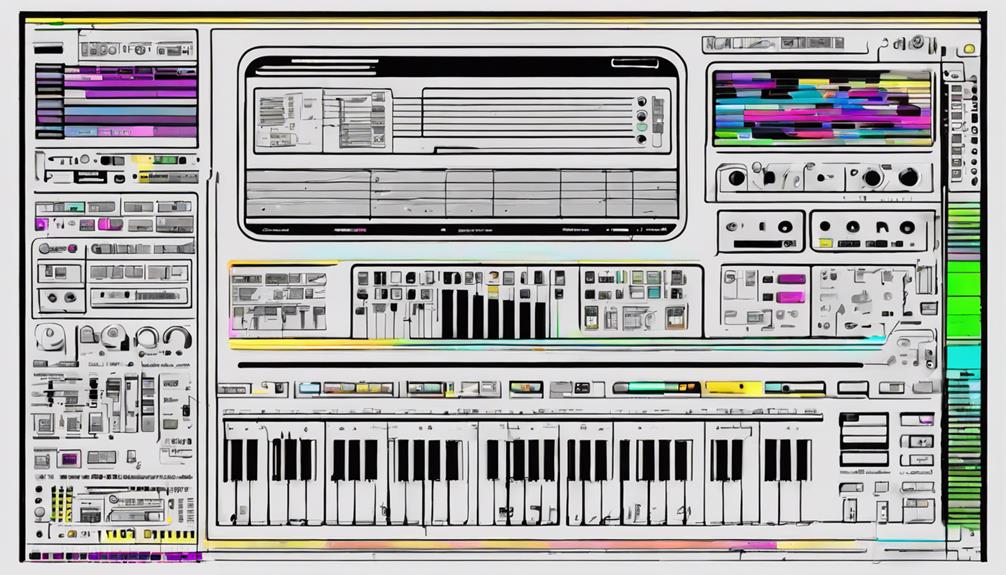
Implementing track arrangements in Ableton involves utilizing the Session and Arrangement Views to create a cohesive composition. In Ableton, you can smoothly shift between the Session and Arrangement Views to organize your music effectively.
Begin by creating scenes in the Session View, which are like building blocks of your track. These scenes can then be arranged and structured in the Arrangement View to form a complete piece of music.
When arranging tracks, you'll be working with clips, MIDI instruments, and audio tracks to craft your desired sound. Ableton offers various tools such as automation, clip consolidation, and MIDI mapping to help you fine-tune your track arrangement.
Frequently Asked Questions
How to Start Music Production on Ableton?
To begin music production on Ableton, immerse yourself in its layout and features. Explore sound design, MIDI programming, and editing techniques. Master crafting drumbeats, mixing tracks, and mastering. Access tutorials and resources to kickstart your journey.
How Do You Make Music Production Step by Step?
Crafting music production step by step is like painting a vivid masterpiece. Start by familiarizing yourself with Ableton Live, immerse yourself in drumbeats, synths, and MIDI editing. Progress to drums, sounds, FX, chords, arrangements, and finishing touches. Practice producing, mixing, and mastering tracks hands-on. Each element you create adds depth, color, and emotion to your composition, bringing your vision to life. Along the way, it’s valuable to explore different tools and techniques, such as learning how to use Audacity for audio editing or polishing recordings. With dedication and experimentation, your music production skills will evolve, allowing you to translate your ideas into captivating soundscapes.
Where to Start With Music Production?
Start with understanding music theory basics, choosing your preferred DAW, and exploring different genres for inspiration. Familiarize yourself with your chosen software's interface and tools, experiment with sounds, and practice consistently to improve your skills.
Can You Make Professional Music With Ableton?
With Ableton Live, you can create professional music that rivals industry standards. Its versatile tools and intuitive interface empower you to produce high-quality tracks. With dedication and practice, you'll master music production in no time.
Conclusion
Now that you've dipped your toes into the vast ocean of music production on Ableton, you're well on your way to creating your own unique sound. Keep exploring, experimenting, and honing your skills to discover endless creative possibilities.
Remember, the journey of music production is like a dance – full of twists, turns, and surprises. Embrace the process and let your creativity flow freely.
Happy producing!

