Organizing your plugins is vital for faster, smoother music production sessions. Create custom folders in your DAW to categorize your plugins effectively. This way, you'll spend less time searching and more time creating. Use drag-and-drop for real-time updates, making it easier to access essential tools during mixing. Consider establishing folders for key plugin types, so you streamline your workflow. Consistent naming conventions can help you quickly retrieve what you need. This thoughtful organization not only enhances productivity but also fosters better collaboration with others. If you're curious about best practices, there's more to explore that can elevate your sessions.
Key Takeaways
- Create custom folders in FL Studio to categorize plugins based on type, enhancing workflow efficiency during music production.
- Utilize drag-and-drop functionality for real-time updates, simplifying the retrieval of essential tools during sessions.
- Establish dedicated EQ and effects folders for quicker access, improving tonal adjustments and mixing processes.
- Regularly update your organization system to keep your workspace clutter-free and promote a smoother creative flow.
- Share organizational strategies with collaborators to enhance teamwork and ensure everyone understands the plugin setup.
Importance of Plugin Organization

When it comes to music production, organizing your plugins is essential for maintaining an efficient workflow. Streamlining your plugin collection not only saves you time but also enhances your creativity during mixing and mastering sessions. When you know exactly where to find your mastering plug-ins or any other tools, you can focus on making music instead of searching through endless lists.
Additionally, having a clear structure can improve your ability to manage multiple projects simultaneously, mirroring the way top projectors enhance experiences in home cinema setups. Using the tree setting in your DAW, like FL Studio, can help categorize your plugins, but manual organization often leads to even better results. By regularly updating and maintaining your plugin database, you reduce clutter and improve your overall productivity.
This organization becomes even more critical in collaborative environments, where multiple team members need to navigate the same set of tools seamlessly. An organized plugin collection allows you to quickly access the necessary tools, whether you're working with EQs, compressors, or reverbs.
The ease of finding your mastering plug-ins means less frustration and more time spent on creating the sounds you love. In short, investing time in plugin organization pays off immensely in the long run, allowing for faster, smoother sessions that let your creativity shine.
Custom Folder Creation
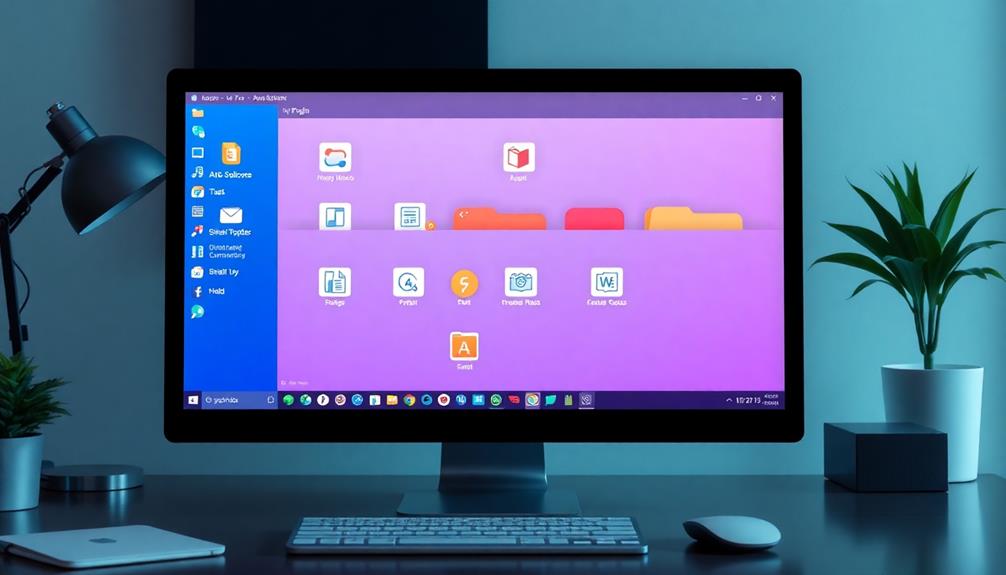
To start organizing your plugins more effectively, head over to the Plugin Database in FL Studio.
You can easily create custom folders and drag and drop your plugins into them, which updates in real-time.
This method not only helps you categorize your plugins but also boosts your workflow during music production.
Navigate to Plugin Database
Creating custom folders for your plugin organization in FL Studio is essential for optimizing your workflow. This step not only enhances your efficiency but also makes it easier for mastering engineers to find the tools they need quickly.
To navigate to the Plugin Database and set up your custom folders, follow these simple steps:
- Open your File Explorer and go to Documents > Image-Line > FL Studio > Presets > Plugin Database.
- In this directory, you can either rename existing folders or create new ones to categorize your plugins effectively, such as grouping EQ plugins or effects.
- After organizing, simply drag and drop plugins into the designated folders.
Drag and Drop Plugins
After you've set up your custom folders in the Plugin Database, it's time to start dragging and dropping your plugins into these organized spaces. This process is straightforward and allows you to tailor your plugin organization to fit your specific workflow preferences.
Just navigate to your newly created folders, and with a simple drag and drop, you can assign your plugins where they make the most sense for you.
Consider categorizing your plugins by type, such as EQ plugins or effects, which enhances accessibility and speeds up your mixing process. This organized method not only boosts your productivity but also makes it easier for anyone else collaborating with you to navigate your setup.
As you drag and drop plugins, remember that this structure will streamline your sessions, allowing for quicker access when you need to pull up a specific tool.
The beauty of using drag and drop plugins is that you can easily rearrange or adjust your organization without any hassle. This flexibility helps create a more efficient workflow, ensuring you spend less time searching and more time creating.
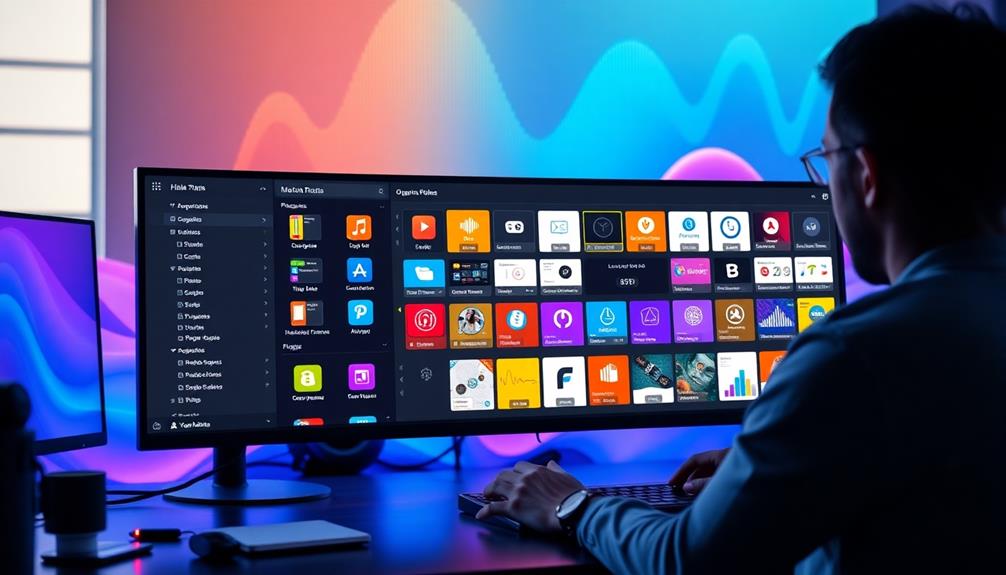
Real-Time Update Changes
Once you've set up your custom folders in the Plugin Database, you'll notice real-time updates that enhance your workflow.
These updates not only keep your plugins organized but also allow for immediate visibility in the mixer.
Here's how to make the most of these real-time update changes:
- Create Specific Folders: Navigate to Documents > Image-Line > FL Studio > Presets > Plugin Database. Here, you can rename existing folders or create new ones tailored to your needs, such as an EQ plugins folder.
- Drag and Drop: Once your folders are ready, simply drag and drop your plugins into these designated areas. As you do, changes will automatically reflect in the mixer, ensuring you have quick access to your essential tools.
- Streamline Your Workflow: By organizing plugins into specific categories, you'll enhance accessibility and efficiency during mixing sessions.
This method not only speeds up retrieval but also makes it easier to locate the plugins you need when you need them.
With these real-time update changes, you'll experience faster, smoother sessions, maximizing your productivity in audio production.
Efficient Plugin Categorization

When you create custom folders for your plugins, you set the stage for a more organized and efficient workflow.
By categorizing your plugins effectively, you can quickly access the tools you need during mixing sessions. This streamlined approach not only saves time but also enhances your overall performance in FL Studio.
Additionally, focusing on content relevance and authority guarantees that you choose plugins that truly meet your production needs, further optimizing your creative process.
Custom Folder Creation
Creating custom folders for plugin organization in FL Studio can greatly enhance your workflow and efficiency. By taking the time to create a structured system, you'll find it easier to navigate your plugins and improve your overall production process.
To get started with custom folder creation, follow these steps:
- Navigate to Documents > Image-Line > FL Studio > Presets > Plugin Database. Here, you can rename existing folders or create new ones tailored to your needs.
- Drag and drop plugins into your designated folders. This allows for real-time updates, guaranteeing your changes reflect immediately in the mixer.
- Consider establishing dedicated folders for essential plugin types, like EQs or effects. This makes them easily accessible during your mixing sessions.
Using alternative categorization methods by creating different folders guarantees you maintain a clear overview of your available plugins.
Additionally, sharing your organizational tips with collaborators can enhance collective workflow, leading to more productive sessions.
Custom folder creation not only streamlines your own process but can also improve teamwork in music production. Embrace this approach to elevate your sessions and release your creative potential.
Streamlined Workflow Benefits
Streamlining your workflow through efficient plugin categorization can greatly enhance your music production experience. When you use a digital audio workstation (DAW) like FL Studio, having your plugins organized means you can quickly locate and access the ones you need. This reduces session setup time considerably, allowing you to dive right into your creative process.
Creating custom folders for different plugin types, such as EQs or effects, makes your workflow more streamlined. Instead of wasting precious minutes searching for the right tool during mixing and mastering, you can retrieve plugins faster, which boosts your overall productivity.
Plus, this organization enhances your creative flow, letting you focus on crafting your sound rather than hunting for plugins. Utilizing the tree setting for automatic categorization can help, but don't hesitate to make manual adjustments to fit your personal preferences.
Remember, sharing your organizational strategies with collaborators can lead to improved efficiency and consistency across projects. Ultimately, a streamlined approach to plugin management will elevate your music production sessions, making them smoother and more enjoyable.
Streamlining Workflow With EQS

In today's fast-paced music production environment, having quick access to your essential EQ plugins can greatly boost your workflow. By creating a dedicated folder for EQ plugins in your DAW, like FL Studio, you're streamlining your mixing process. This setup allows you to easily search and retrieve specific EQ tools, making tonal adjustments more efficient.
Additionally, understanding the broader context of music education's evolving landscape can enhance your approach to production and help you stay current with industry trends.
Here are three key benefits of organizing your EQ plugins:
- Quick Access: A custom folder guarantees that all relevant EQs are readily accessible, cutting down on time spent searching during sessions.
- Enhanced Decision-Making: With an organized EQ plugin folder, you maintain a clearer overview of available tools, aiding in more informed choices while mixing.
- Collaboration-Friendly: An organized structure enhances shared understanding among producers, promoting smoother workflows during team projects.
Utilizing the tree setting in FL Studio can help, but a manual folder setup gives you complete control. By efficiently categorizing your EQ plugins, you not only speed up your mixing process but also improve overall session management.
Start organizing now, and experience the difference in your production workflow!
Organizing Effects Plugins

When you've got your EQ plugins organized, it's time to turn your attention to effects plugins. Start by creating custom folders within the Plugin Database in FL Studio. This helps you efficiently categorize different types like reverb, delay, and modulation effects.
You can streamline your workflow even further by renaming existing folders or crafting new ones specifically for your effects plugins. This way, you'll find what you need quickly during your sessions.
Dragging and dropping effects plugins into your designated folders guarantees real-time updates in the mixer, allowing for quick retrieval and application while you're mixing. Implementing a consistent naming convention and category structure for your effects plugins can greatly enhance your productivity.
You'll spend less time searching and more time focused on mastering your tracks.
Don't forget to share your organizational strategies with collaborators. This not only improves your workflow but also fosters better practices within the music production community.
Mastering Plugin Management
To achieve an efficient music production workflow, mastering plugin management is essential. By organizing your plugins into custom folders, you'll enhance accessibility and speed during mixing sessions.
Here are three effective strategies for mastering plugin management:
- Create Specific Folders: Organize plugins by type or function, such as dedicated folders for EQ, compression, and reverb plugins. This helps you locate the tools you need quickly.
- Utilize the FL Studio Presets Directory: Navigate to the presets directory to rename existing folders or create new ones. Tailor your organization based on your preferences, making it easier to find relevant plugins.
- Adjust the Tree Setting: Use FL Studio's tree setting to categorize plugins effectively. You may need to manually adjust it, as stock plugins often dominate the list.
Collaboration Through Organization

Effective collaboration thrives on organization, especially in music production. When your plugin lists are organized, you and your team can quickly access the same tools, which guarantees a smoother workflow during joint projects.
Make certain to create custom folders for specific plugin types; this way, everyone understands each other's setups and spends less time searching for plugins.
A clear categorization system—like tree settings or manual folders—fosters better communication about available resources. It enables you to have more effective discussions regarding sound design, leading to a richer collaborative experience.
Improved organization directly translates to better productivity, allowing you and your collaborators to focus on creative tasks instead of maneuvering through disorganized plugin lists.
Encouraging the exchange of knowledge about efficient plugin management can greatly enhance your collective workflow. When everyone knows how to find and use the tools at their disposal, the quality of your productions improves, and projects get completed faster.
Best Practices for Plugin Use

Organizing your plugins not only enhances collaboration but also sets the stage for using them effectively during production. To maximize your efficiency, consider these best practices for plugin use:
- Create Custom Folders: Organize your plugins into specific categories such as EQ, compressors, and effects. This streamlines your workflow and improves accessibility during sessions.
- Utilize the Search Function: Quickly locate specific plugins using the search function in your DAW. This feature saves you time and keeps your mixing and mastering process smooth.
- Regularly Update Organization: As you add new plugins or make changes, update your organization system. A clutter-free workspace remains intuitive, allowing you to focus on creativity rather than searching for tools.
Additionally, take advantage of your DAW's tree or list settings to categorize plugins. This provides a clearer overview, facilitating faster retrieval during sessions.
Don't forget to share your organizational strategies with collaborators; this fosters a productive workflow and guarantees everyone can easily find what they need.
Exploring Plugin Alliance Demos

When diving into the world of audio production, exploring Plugin Alliance demos can greatly elevate your experience. With a 30-day free trial for all its 180+ plugins, you can add a new layer of creativity to your projects without commitment.
These demos provide access to high-quality emulations of hardware, allowing you to get hands-on experience with professional tools used by iconic artists. You can test powerful mastering tools like Brainworx bx_masterdesk PRO and ADPTR AUDIO Streamliner, which are designed to simplify your mastering workflow and enhance audio quality.
Each demo features user-friendly interfaces, making it easy for you to navigate and utilize the plugins effectively, no matter your skill level. Additionally, the active community and support resources—including online tutorials and user forums—help you maximize your experience.
Engaging with fellow users can provide insights and tips that enhance your understanding of the plugins. By taking advantage of these demos, you can discover which tools resonate with your workflow, ensuring that when you decide to commit, you're choosing the right plugins for your audio productions.
Frequently Asked Questions
How to Organize Plugins in Reaper?
To organize plugins in Reaper, right-click in the "FX" window, add folders, and drag plugins into them. Use the "Favorites" section for quick access and manage unnecessary plugins through the plugin manager for a cleaner workflow.
How to Organize Plugins in Ableton?
Plugin prioritization's pivotal! You can streamline your setup by categorizing plugins in Ableton. Utilize folders in the User Library, tag devices, and mark favorites for faster, more fluid access during your creative sessions.
What Plugins to Use on Master Track?
For your master track, try using Brainworx bx_masterdesk PRO for simplicity, ADPTR AUDIO Streamliner for distribution preparation, and ProAudioDSP DSM V3 for detailed control. These plugins enhance loudness while maintaining clarity across your mixes.
How to Organize Plugins in Pro Tools?
To organize plugins in Pro Tools, navigate to the "Plug-In Manager," create custom folders, and drag plugins into categories like EQ or Compression. Use the "Favorites" feature for quick access to frequently used tools. To streamline your workflow, consider naming your custom folders based on specific tasks or genres, such as “Vocal Processing” or “Mastering Tools,” to help locate plugins faster. Organizing VST plugins efficiently not only saves time during sessions but also enhances creativity by reducing distractions. Regularly updating and curating your plugin categories ensures your favorite tools remain easily accessible while discarding any outdated or unused ones.
Conclusion
By organizing your plugins, you're not just tidying up your workspace; you're opening a treasure chest of creativity. A well-structured system lets you plunge into your projects with confidence, turning chaos into clarity. Remember, every minute saved is a moment gained for inspiration. So, take the time to streamline your setup, and watch as your sessions transform into smooth, flowing experiences. Embrace the power of organization, and let your creativity soar like a bird set free.