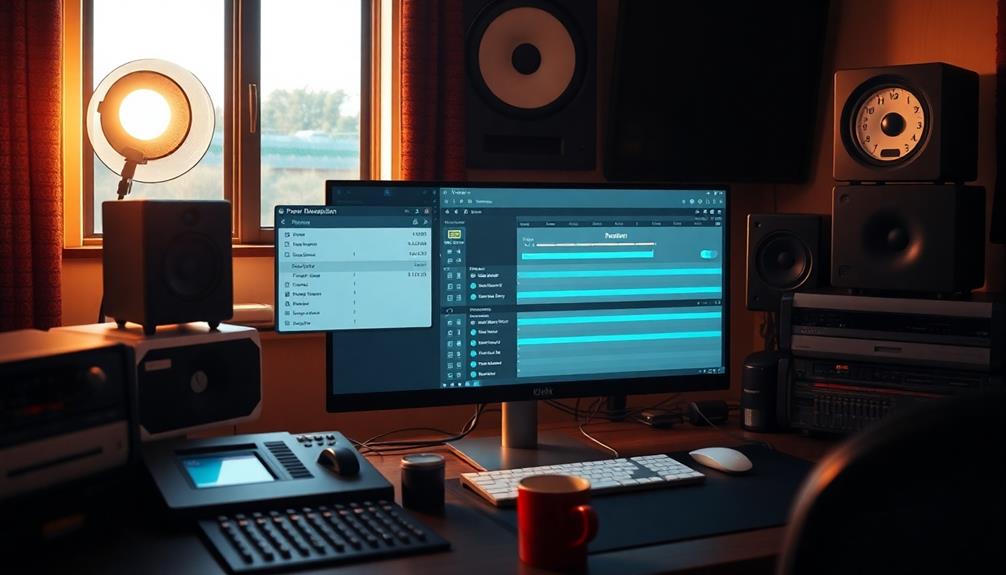
To optimize your hardware for music production, start with a powerful processor and at least 8GB of RAM. Use a dedicated SSD for your DAW projects to speed up data access. Make sure to connect your audio interfaces directly to USB 3.0 ports to minimize interference and noise. Regularly update your software and drivers for improved stability. It's important to maintain good file management and monitor your CPU usage, aiming to keep it below 75%. By following these practices, you can enhance your music production experience considerably and reveal more tips for further optimization. Additionally, consider optimizing laptop settings for productivity by disabling unnecessary background processes and adjusting power settings to prioritize performance over energy saving. Using an external monitor and high-quality headphones can also enhance your workflow and ensure precise audio monitoring. With these adjustments, you’ll create a smoother and more efficient environment for music production.
Key Takeaways
- Upgrade to a powerful processor and at least 8GB RAM for efficient handling of large sample libraries during music production.
- Utilize a dedicated SSD for your DAW projects to significantly enhance data access speeds compared to traditional HDDs.
- Regularly update drivers and firmware for your audio interfaces to ensure compatibility and optimize performance during sessions.
- Set your power plan to "High Performance" to prevent system sleep and maximize CPU usage while working on music production.
- Maintain a structured file organization and implement regular backups to protect your DAW projects and ensure efficient workflow.
Importance of Hardware Optimization
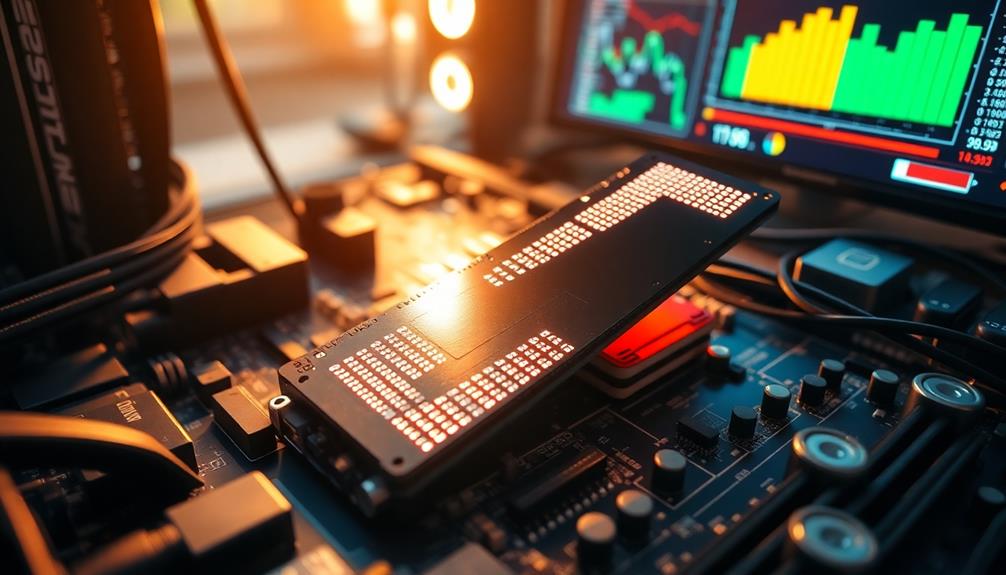
When diving into music production, optimizing your hardware is essential for releasing your full creative potential. A powerful processor, like an Intel Core i7 with at least 8GB of RAM, allows you to handle large sample libraries and multiple plug-ins without running into CPU overload.
Additionally, implementing a well-structured music production workflow can streamline your process and enhance creativity, as discussed in music production essentials. To further improve your audio performance, using a dedicated SSD for your DAW projects and sound libraries is vital; it can enhance data access speeds by 4-5 times compared to traditional HDDs, resulting in faster load times and smoother operation.
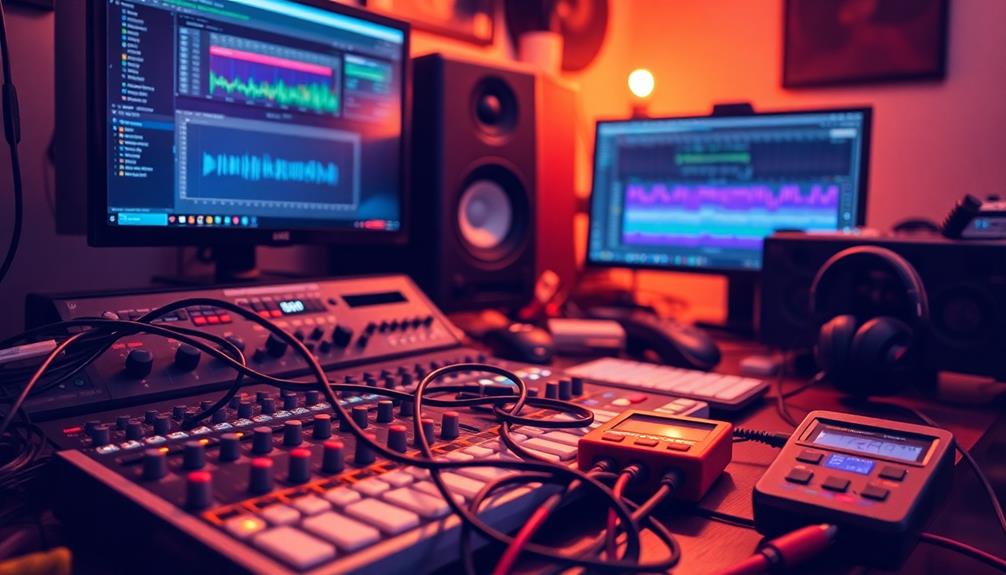
Make sure to connect your audio interface directly to USB 3.0 ports instead of hubs. This can help minimize disconnections and noise, creating a more stable audio signal.
Regularly updating the drivers for your interface is another key aspect of hardware optimization. Keeping your drivers current guarantees compatibility and maximizes performance, helping you avoid playback and recording issues.
System Maintenance Best Practices
Maintaining your music production system is vital for guaranteeing peak performance and reliability. Regularly updating Windows and your Digital Audio Workstation (DAW) software can greatly address DPC latency issues and enhance stability. Aim to run at least Windows 10 build 1903 for ideal results.
Perform routine antivirus and malware scans to protect your system's integrity, preventing unwanted interference during sessions. Organizing your files and dedicating separate drives for DAW projects and sound libraries will improve hard drive space and streamline your workflow.
Here's a quick reference for maintenance tasks:
| Task | Frequency |
|---|---|
| Update Windows & DAW | Monthly |
| Antivirus & Malware Scan | Weekly |
| Disk Cleanup & Defragment | Monthly |
Utilize disk cleanup tools and regularly defragment mechanical hard drives to improve access speeds, which is essential for audio data retrieval. Also, don't forget to schedule automatic backups of important files to external drives or cloud services. Following these system maintenance best practices can make certain your hardware stays in top shape, maximizing your music production performance.
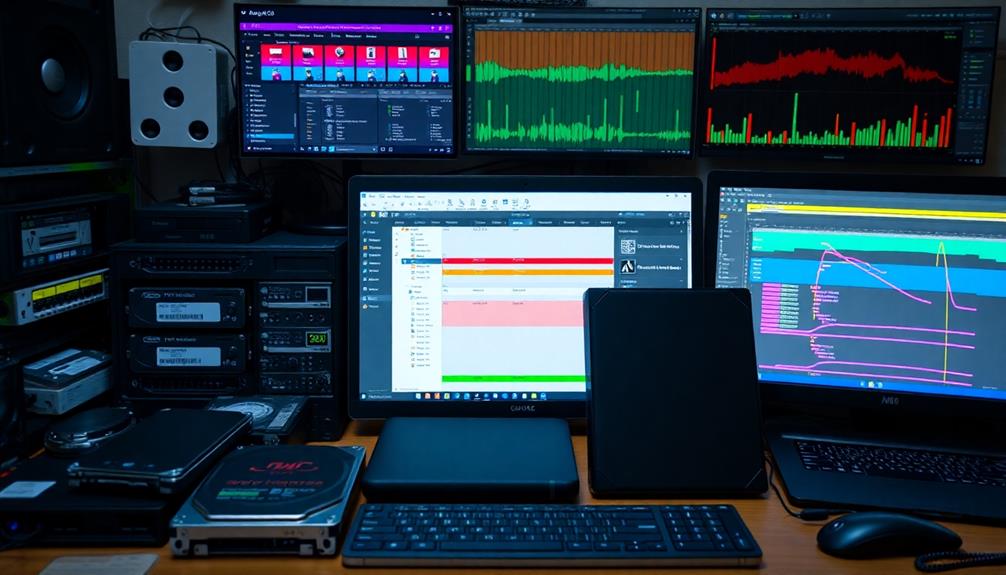
Effective File and Disk Management
To keep your music production setup running smoothly, you need to organize your project files effectively.
Establishing a clear folder structure and performing regular disk maintenance can greatly enhance your workflow.
Organizing Project Files
Organizing your project files effectively is vital for a smooth music production process. Start by creating a dedicated folder structure for each DAW project, sound library, and plugin. This organization streamlines access and management, allowing you to focus on your creativity rather than searching for files.
Utilize external drives specifically for storing DAW projects; this prevents fragmentation and guarantees peak performance of your main system drive.
Regularly perform disk cleanup to remove unnecessary files and free up space. Aim to maintain at least 20% free space on your primary hard drive to avoid performance degradation. It's important to monitor disk space usage frequently, making sure your drives are adequately cleared and organized for an efficient workflow.
Implement a solid backup strategy using built-in Windows Backup options or trusted third-party solutions. Regularly backing up your important project files protects against potential data loss, giving you peace of mind.
Regular Disk Maintenance
Proper file management sets the stage for effective disk maintenance, which is vital to optimizing your music production setup. To keep your hard drive performing at its best, you should regularly defragment it. Fragmentation can slow down read and write times, hindering your workflow. Use built-in tools or third-party software to perform this essential task.
In addition to defragmentation, utilize disk cleanup tools to remove unnecessary files. This frees up hard drive space and prevents performance degradation due to a cluttered system. Maintaining a clean hard drive is essential, so take time to organize your files into dedicated folders. This not only helps you track disk space but also reduces the risk of data loss.
Monitor your disk space consistently, verifying at least 20% remains free. Low disk space can greatly impact system performance and stability, which is the final thing you want during music production.
Power Management Settings
When diving into music production, tweaking your power management settings can make a significant difference in performance. Start by setting your power plan to "High Performance" in the Control Panel. This guarantees your CPU runs at full speed, preventing any performance drops during your sessions.
Next, you'll want to disable the option that allows the computer to turn off USB controllers to save power. This prevents disconnections with your audio interface, guaranteeing seamless recording.
Additionally, consider disabling Fast Startup, as this feature can interfere with driver loading and overall system stability during music production.
Regularly check and adjust your advanced power settings to prevent USB selective suspend, which can disrupt your audio devices while in use.
If you're serious about optimizing your power, think about creating a custom power plan specifically for audio production. This allows you to fine-tune all related settings for uninterrupted performance.
Updating Drivers and Firmware

Keeping your audio hardware up to date is vital for maximizing performance in music production. Regularly check the manufacturer's website for the latest drivers and firmware updates, as these often resolve bugs and lead to performance improvements.
When updating drivers, be sure to uninstall outdated drivers first to prevent conflicts and make certain your system recognizes the hardware properly.
Focus particularly on ASIO drivers, as they can greatly reduce latency during recording and playback, optimizing audio performance. After downloading the new drivers, follow the installation process carefully.
Don't forget to restart your computer afterward; this step is important for allowing the system to recognize the changes.
It's also a good idea to keep track of driver versions and any changes made. Documenting updates can help you troubleshoot issues if they arise after installations.
Troubleshooting Audio Interfaces
After ensuring your audio hardware is up to date, you might still encounter issues with your audio interface during music production. First, check the compatibility of your audio interface with your version of Windows; compatibility issues can lead to performance problems and audio dropouts.
Regularly updating the drivers from the manufacturer's website is vital for maintaining ideal functionality and resolving playback issues.
Next, focus on reducing latency. Utilizing ASIO4ALL or the dedicated drivers for your audio interface can greatly enhance your recording and playback experience.
Another important aspect to take into account is the USB connection. Make sure to connect your audio interface directly to your computer's USB port, bypassing any hubs for more reliable performance.
If you're experiencing audio glitches or dropouts, adjusting the buffer size in your audio interface settings can help. A larger buffer size can alleviate CPU strain during intensive sessions, leading to smoother operation.
Resource Management Strategies

Effective resource management is crucial for a smooth music production experience. Monitor your CPU usage during sessions, and aim to keep it below 70-75% to avoid performance issues and audio dropouts.
To help distribute the CPU load efficiently, use auxiliary tracks for any resource-intensive plug-ins in your digital audio workstation (DAW). Additionally, consider leveraging automation of security protocols to manage your system's resources more effectively, which can enhance overall performance.
Before you start your DAW, close any unnecessary background applications and services. This frees up resources, allowing your music production tasks to run more smoothly.
Keeping your system organized is also important; regularly uninstall unused software and monitor your hard drive space. Aim to keep at least 20% of your primary drive free to maintain peak performance and avoid slowdowns due to excessive indexing and fragmentation.
Don't forget to archive projects and back up large sample libraries to free up hard drive space. By doing this, you guarantee your system runs efficiently.
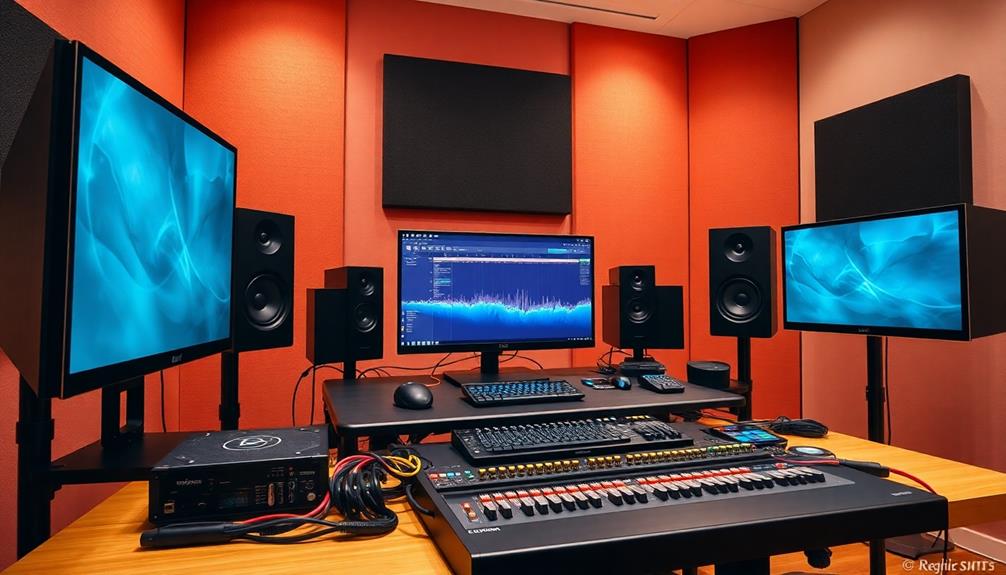
USB Configuration Tips

When setting up your music production hardware, the way you configure your USB connections can make a big difference.
You should always connect your audio interfaces directly to your computer's USB ports and avoid using hubs to reduce latency.
Additionally, disabling USB power management can help prevent interruptions during your sessions.
Correct USB Port Usage
Connecting your audio devices to the right USB ports can make a notable difference in your music production experience. Always use USB 3.0 ports for your USB 3.0 audio devices. This guarantees peak data transfer rates and helps reduce latency issues, allowing you to focus on your creativity without interruptions.
If you're connecting multiple devices but have limited ports, powered USB hubs are your best bet. They maintain stable connections and prevent power-related issues.
To further enhance performance, make certain to disable USB selective suspend in your Power Options. This prevents your audio interfaces from entering a low-power state, which can disrupt your sessions.
Additionally, avoid using USB extension cables longer than 2 meters; longer cables can lead to signal degradation and increased latency, causing frustrating audio dropouts.
Lastly, regularly check and update your USB drivers through Device Manager. Outdated drivers can lead to connectivity issues and greatly affect your audio devices' performance.
Disable USB Power Management
To maintain a seamless music production experience, disabling USB Power Management is key. This step helps prevent frustrating audio dropouts that can disrupt your creative flow.
Start by accessing Device Manager, where you can select the properties of the USB Root Hub. Uncheck the option that allows the computer to turn off the device to save power. This simple action will guarantee that your USB devices remain fully operational during your sessions.
Additionally, make certain your USB devices are directly connected to your computer's USB ports rather than through hubs. This minimizes power management issues and guarantees a steady data flow.
You should also regularly update your USB drivers through the manufacturer's website to enhance compatibility and performance, guaranteeing that any power management settings are correctly applied.
Adopting the High Performance power plan in Windows settings is another effective way to prevent the system from entering power-saving modes that can negatively impact USB device performance.
For optimized performance, consider disabling USB Selective Suspend in the advanced power settings. By taking these steps, you'll considerably improve your music production experience and maintain consistent power delivery to your audio interfaces.
Optimize USB Hub Setup
Ideal USB hub setup plays an essential role in enhancing your music production workflow. To guarantee smooth operation, always connect your audio interface directly to a USB port on your computer. This minimizes latency and prevents dropouts during critical recording sessions. Consider using powered USB hubs to connect multiple devices; this guarantees a sufficient power supply and avoids draining your computer's USB bus.
Here's a quick reference table for optimizing your USB setup:
| Tip | Action | Benefit |
|---|---|---|
| Connect Audio Interface Directly | Avoid using USB hubs for your audio interface | Minimize latency |
| Use Powered USB Hubs | Connect multiple devices without power issues | Maintain stable connections |
| Match USB Device Types | Use USB 3.0 devices with USB 3.0 ports, USB 2.0 with USB 2.0 | Optimize data transfer rates |
| Keep USB Cables Short | Use cables under 2 meters | Reduce signal degradation |
Additionally, disable USB power management settings to prevent disruptions during audio tasks. By following these tips, you'll create a more efficient and reliable music production environment.
Enhancing Overall System Performance
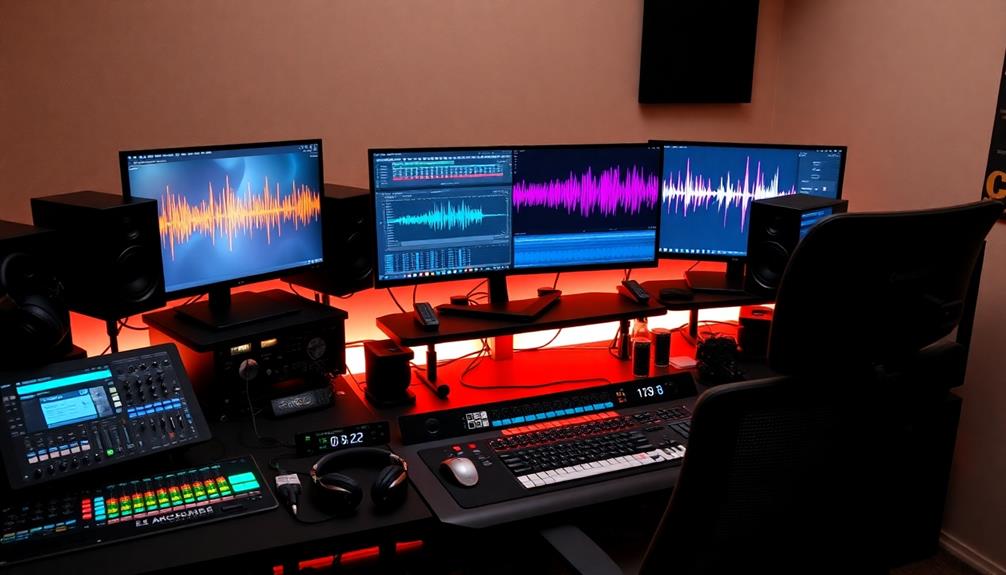
Enhancing overall system performance is essential for achieving seamless music production. Start by setting your Power Options to "High Performance." This prevents your system from sleeping and guarantees your CPU runs at full speed, which helps optimize overall audio performance during recording sessions.
Regularly update Windows and all your recording software to stabilize your system and minimize CPU load. Outdated software can lead to latency issues that disrupt your workflow.
Consider using dedicated SSDs for storing your DAW projects and sound libraries. They provide 4-5 times faster data access speeds compared to traditional hard drives, greatly improving load times and overall performance.
Keep an eye on your CPU usage using Task Manager; aim to maintain it below 70-75% during sessions to avoid audio dropouts and guarantee smooth playback and recording.
Frequently Asked Questions
How to Optimise PC for Music Production?
To optimize your PC for music production, guarantee you've at least 8 GB of RAM, set your power plan to "High Performance," and disable unnecessary background applications for smoother, uninterrupted recording and playback experiences.
What Is the Best Hardware for Music Production?
When it comes to music production, think of your setup as a finely-tuned orchestra. You'll need a powerful Intel Core i7, at least 8 GB of RAM, and dedicated SSD drives for seamless creativity.
How to Increase CPU Performance for Music Production?
To increase your CPU performance, set your power plan to "High Performance," adjust your audio interface's buffer size, close unnecessary background applications, and keep your CPU usage under 70% during sessions for smoother operation.
How Do I Optimize My Hardware?
To optimize your hardware, use dedicated drives for your OS and projects, connect USB devices directly, set your power plan to "High Performance," and guarantee you have at least 8 GB of RAM for efficiency.
Conclusion
By optimizing your hardware for music production, you'll access your system's full potential, leading to smoother sessions and better creativity. For instance, imagine a producer who struggled with latency issues during an essential recording session. After implementing USB configuration tips and updating their drivers, they experienced a significant reduction in lag, allowing them to capture their best performance. Taking these steps can make a world of difference, so don't underestimate the power of hardware optimization!