
To allocate CPU resources effectively for better DAW performance, start by adjusting your audio buffer size. Lower sizes work great for live recording, while higher ones are better for mixing. Next, close unnecessary background apps to free up CPU power. Consider using return tracks for effects, which conserves resources by applying a single instance across multiple tracks. Don't forget to freeze or bounce tracks to reduce CPU load. Finally, make sure you maintain enough free space on your system drive for peak performance. Stick around to discover even more advanced tips to boost your DAW efficiency!
Key Takeaways
- Adjust audio buffer size based on project needs; lower for recording, higher for mixing to balance latency and CPU load.
- Close unnecessary background applications and set the power plan to "High Performance" to free CPU resources for DAW tasks.
- Use track freezing and bouncing to reduce CPU load by rendering effects and minimizing audio glitches.
- Optimize plugin usage by smart disabling idle plugins and utilizing return tracks for shared effects across multiple tracks.
- Regularly monitor system drive space, ensuring at least 15% free on mechanical drives and 25% on SSDs to maintain performance.

Focusrite Scarlett Solo 3rd Gen USB Audio Interface for Guitarists, Vocalists, Podcasters or Producers to record and playback studio quality sound
- High-Performance Mic Preamps: Brighter recordings with Air mode
- High-Headroom Instrument Inputs: Plug in guitars or basses easily
- Studio-Quality Recording: Record at up to 24-bit/192kHz
As an affiliate, we earn on qualifying purchases.
As an affiliate, we earn on qualifying purchases.
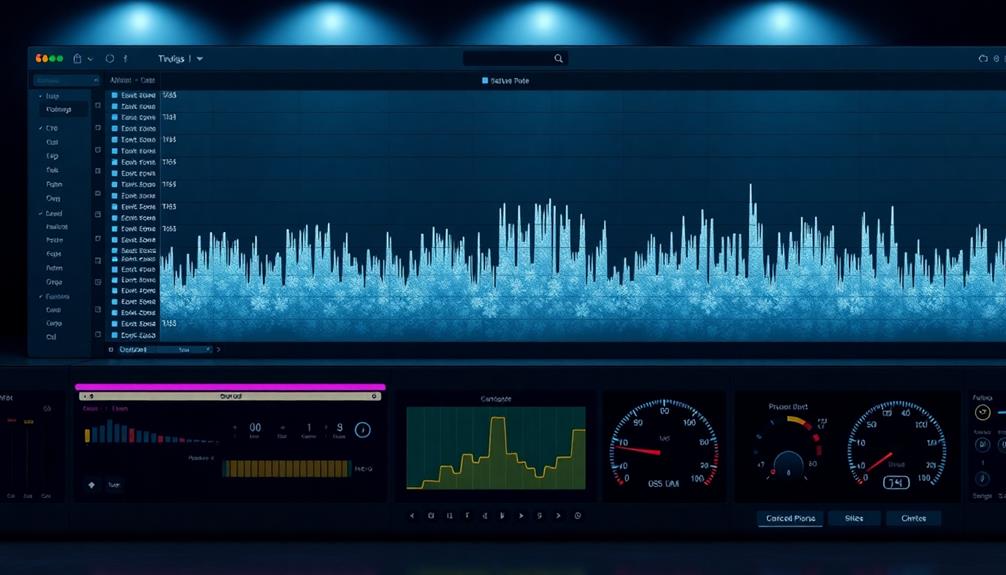
Adjusting Audio Buffer Size
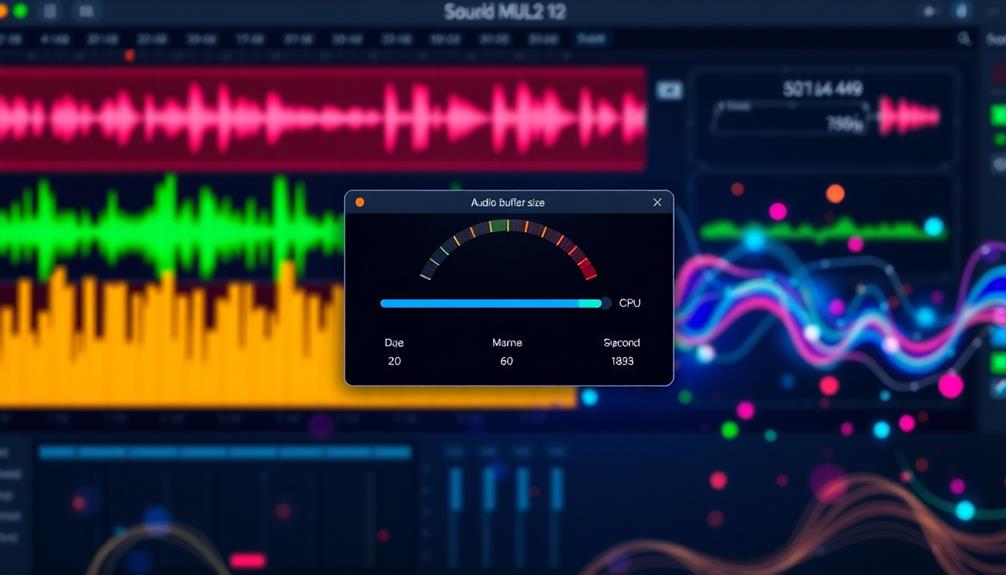
Adjusting your audio buffer size is essential for optimizing your DAW's performance. The buffer size directly impacts both CPU usage and audio latency, so you need to find the right balance.
For live recording, lower buffer sizes, like 128 samples, are ideal, as they minimize latency and allow for real-time monitoring. However, if you're mixing or mastering, higher buffer sizes, such as 1024 or 2048 samples, are recommended. These larger settings give your CPU more time to process audio, reducing performance issues like clicks, pops, and dropouts.
It's important to remember that while increasing your buffer size lightens the CPU load, it also results in increased latency. This trade-off can be vital for tasks requiring precise timing.
Regularly testing different buffer sizes based on your specific workflow can help you optimize your CPU and maintain a smooth playback experience. By understanding these dynamics, you can effectively manage your DAW's performance.
Stay mindful of your project needs, and don't hesitate to adjust the buffer size as necessary to enhance your overall audio production experience.
Managing Latency and Sample Rate

Finding the right balance in audio buffer size sets the stage for managing latency and sample rate effectively.
Latency refers to the delay between your input and output during playback, and you want it as low as possible for the best performance. Smaller buffer sizes, like 128 samples, enhance responsiveness but can strain your CPU performance. Larger sizes, like 1024-2048 samples, are better for mixing and mastering since they alleviate that strain.
Here are four key points to keep in mind:
- Balance is essential: Too low a buffer causes clicks and pops; too high introduces noticeable latency.
- Standard sample rates: 44.1 kHz works for most music, but unless you need higher quality, don't push it to 192 kHz.
- ASIO GUARD: Utilize this feature in DAWs like Cubase to reduce latency by pre-processing channels, easing the CPU load.
- Live recording needs: For live performances, prioritize low buffer sizes to maintain responsiveness.
Optimizing CPU Usage
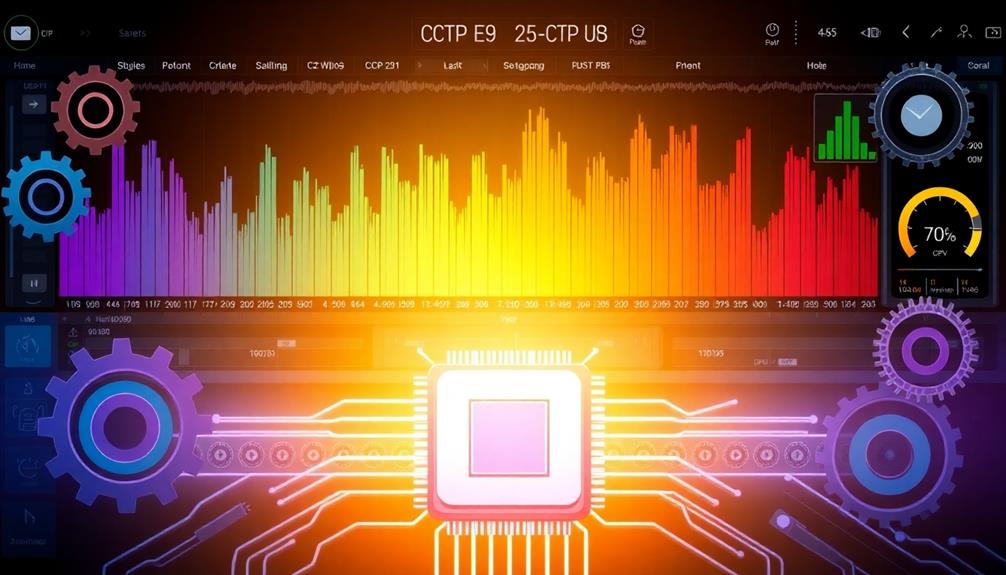
To optimize CPU usage in your DAW, start by closing any unnecessary background applications that could be hogging resources.
Next, adjust your power settings to "High Performance" mode to maximize your CPU's capabilities.
Disable Unused Background Applications
When you're deep into a resource-intensive session with your DAW, disabling unused background applications can be a game changer for your CPU performance. Every bit of processing power matters when you're recording or mixing audio.
By closing unnecessary apps, you free up valuable CPU resources, allowing your DAW to function more efficiently.
Here are four steps to help you optimize your performance:
- Use Task Manager or Activity Monitor: Identify which background applications are hogging your CPU and RAM, and terminate them to reclaim resources.
- Disable Startup Programs: Prevent certain applications from launching at startup to keep your CPU focused on your DAW tasks.
- Regularly Restart Your Computer: This clears out background processes that may be consuming precious CPU resources, guaranteeing maximum capacity for your session.
- Implement System Maintenance: Regular disk cleanup and defragmentation (if you use HDDs) can greatly enhance overall system efficiency, reducing CPU load during your audio work.
Taking these steps will guarantee your DAW has the CPU performance it needs for a seamless recording experience. By optimizing your audio settings, such as increasing buffer size for mixing and decreasing it for recording, you can ensure smooth playback and recording processes. Additionally, implementing latencyfree recording setup tips, like disabling unnecessary background processes and keeping your plugins updated, will further enhance your system’s efficiency. Regular system maintenance, including managing storage and monitoring heat levels, also plays a crucial role in maintaining peak performance.
Adjust Power Settings
Optimizing your power settings is vital for achieving peak CPU performance while working in your DAW. Start by setting your power plan to High Performance in Windows. This change maximizes CPU speed and prevents throttling, especially during intensive audio tasks.
You'll want to disable energy-saving features like sleep mode and core parking to keep your CPU fully engaged, guaranteeing ideal performance.
Next, adjust processor scheduling to prioritize Background Services. This tweak can enhance audio driver performance and considerably reduce latency during playback.
It's also important to regularly check and update your system's power management settings. This makes sure they align with your DAW's requirements for consistent CPU allocation.
Optimize Plugin Usage
Effective plugin management is essential for maximizing CPU efficiency in your DAW. By optimizing your plugin usage, you can create a smoother workflow and avoid frustrating performance hiccups. Incorporating techniques from the 10 Steps to Recording Songs on Cassette Tapes can also enhance your overall production quality.
Here are some strategies to contemplate:
- Smart Disable Plugins: Enable this feature to automatically deactivate idle plugins, greatly reducing CPU load when they're not in use.
- Use Return Tracks: Route multiple tracks to a single return track with an effect plugin. This minimizes the number of plugin instances and keeps your mix cohesive while conserving CPU resources.
- Render to Audio: Bounce or render your MIDI tracks and effect-heavy audio files. Doing this frees up CPU resources, allowing you to close unnecessary plugin instances.
- Avoid Bridged Plugins: Stick to 64-bit versions of plugins. Bridged 32-bit options can drain more CPU power and create compatibility issues.
Don't forget to regularly monitor plugin usage in your DAW. By identifying and optimizing resource-heavy plugins, you'll guarantee a smoother performance during your sessions.
Implementing these tips can transform your music production experience.
Freezing and Bouncing Tracks
Freezing and bouncing tracks can drastically improve your DAW's performance by reducing CPU load.
When you render MIDI or plugin-heavy tracks to audio, you free up valuable resources for smoother playback and mixing.
This efficient resource management not only streamlines your workflow but also helps maintain sound quality throughout the process.
Track Rendering Benefits
When working on a complex music project, managing CPU resources can be a real challenge. That's where track rendering benefits come into play. By utilizing freezing and bouncing tracks, you can greatly reduce CPU load, enabling smoother playback and a more efficient workflow.
Here are some advantages of rendering tracks:
- Reduced CPU Load: Freezing tracks allows you to temporarily render audio with all effects, freeing essential CPU resources.
- Enhanced Stability: Bouncing tracks transforms processed MIDI or audio into a single file, minimizing the potential for audio glitches and dropouts.
- Future Edit Flexibility: You can still make changes after freezing or bouncing, keeping your creative options open while alleviating strain on your system.
- Improved Focus: With less CPU strain, you're free to concentrate on mixing and arranging without interruptions caused by heavy plugin usage.
Implementing these track rendering techniques is particularly beneficial in larger projects where multiple effects are applied.
Efficient Resource Management
Efficient resource management in a DAW is essential for maintaining ideal performance, especially during demanding projects. One effective way to achieve this is by freezing tracks. When you freeze a track, you're rendering the audio from processed tracks, which considerably reduces real-time CPU load. Plus, you can easily unfreeze and edit later if needed.
Bouncing tracks is another valuable technique. This method commits the processed audio to a new file, cutting down on the number of active plugins. By doing this, you can free up CPU resources, leading to smoother performance during mixing sessions.
Flattening tracks also helps; it permanently renders the audio and eliminates the need for CPU-intensive effects, enhancing processing efficiency.
Consider utilizing return tracks for common effects as well. This allows you to share a single instance of a plugin across multiple tracks, conserving CPU resources while promoting a cohesive mix.
Regularly freezing or bouncing tracks in your project can help maintain a manageable CPU load, particularly in complex sessions with numerous plugins and effects. By mastering these techniques, you'll optimize your audio interface's performance and guarantee a more seamless workflow.
Monitoring System Drive Space

Monitoring your system drive space is essential for maintaining high-quality DAW performance. If your drive space runs low, you risk slowing down your CPU, leading to frustrating interruptions while working on your projects.
To keep your DAW running smoothly, consider the following tips:
- Keep at least 15% free space on mechanical hard drives and 25% on solid-state drives to avoid performance issues.
- Regularly clean up unnecessary files and applications to free up valuable drive space and prevent resource constraints.
- Organize your sample libraries to reduce file access times, enhancing your overall DAW functionality.
- Utilize disk usage analysis tools to identify large files or applications that might be consuming your precious drive space.
Closing Unnecessary Background Applications

To keep your DAW performing at its best, closing unnecessary background applications is key. When you eliminate these non-essential apps, you free up valuable CPU resources that your DAW can utilize, especially during demanding tasks like mixing and recording. Applications like web browsers or cloud storage services can greatly increase CPU load, so shutting them down helps improve DAW performance and reduce latency during playback.
You can use Task Manager on Windows or Activity Monitor on macOS to identify and terminate these applications. Doing so can enhance your DAW's efficiency by 20-30%. Additionally, regularly restarting your computer clears out accumulated background processes, ensuring your DAW has the necessary resources at its disposal.
Here's a quick overview of common background applications and their impact on CPU usage:
| Application Type | Impact on CPU Resources | Recommended Action |
|---|---|---|
| Web Browsers | High | Close |
| Cloud Storage Services | Moderate | Close |
| Music Streaming Services | Moderate | Close |
| Office Applications | Low | Close if not in use |
| System Updates | Variable | Schedule for later |
Utilizing Return Tracks Effectively
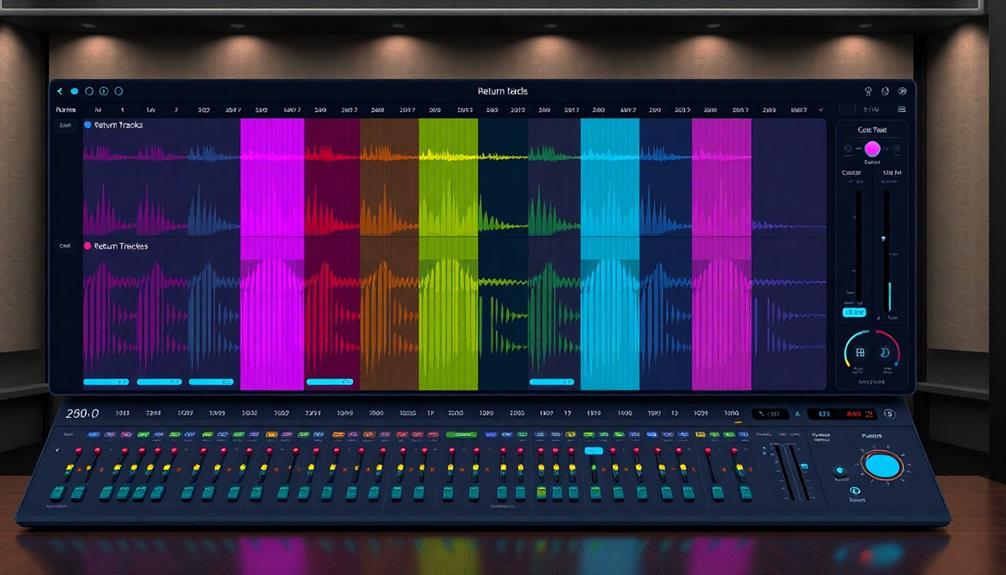
Using return tracks effectively can greatly improve your DAW's performance while mixing. By using return tracks, you can apply a single instance of a CPU-intensive effect plugin across multiple tracks. This approach considerably reduces overall CPU usage, allowing you to maintain a smooth workflow.
Here are four reasons to start utilizing return tracks:
- Conserve Processing Power: Route several audio tracks to a return track instead of inserting plugins on each track.
- Cohesive Mix: Maintain a unified sound by applying effects like reverb or delay across multiple tracks simultaneously.
- Streamlined Workflow: Adjust effect levels and parameters easily, since changes on the return track affect all routed tracks.
- Efficient Monitoring: Regularly check your CPU load to guarantee you're optimizing performance, especially in larger sessions.
To set up a return track, create an auxiliary channel, insert your desired effect plugin, and route audio from various tracks via sends.
This method not only conserves processing power but also enhances your mixing options, allowing for creativity without the burden of high CPU usage.
Frequently Asked Questions
How to Reduce CPU Usage in DAW?
To reduce CPU usage in your DAW, close unnecessary apps, use "Smart Disable" for idle plugins, render tracks to audio, increase buffer size during mixing, and monitor CPU usage for heavy processes.
How Do I Optimize My Computer for DAW?
Did you know that 70% of music producers struggle with performance issues? To optimize your computer for a DAW, set power options to "High Performance," manage drive space, and disable unnecessary background apps for smoother sessions.
How Do I Optimize My CPU Resources?
To optimize your CPU resources, disable energy-saving settings, restart your computer regularly, and monitor CPU load. Use smart disable features for idle plugins and guarantee adequate system drive space to maintain efficient performance.
How to Choose CPU for Music Production?
When choosing a CPU for music production, visualize your tracks flowing seamlessly. Pick a processor with higher clock speeds, at least 4 cores, and make certain it's compatible with your DAW for peak performance during intense sessions.
Conclusion
Imagine your DAW as a bustling city, where each track is a busy street. By allocating CPU resources wisely, you're the mayor ensuring smooth traffic flow. Adjust audio buffer size, freeze tracks, and close unnecessary apps to keep the roads clear. Manage latency like a skilled traffic cop, guiding data safely to its destination. With these strategies, your city thrives, creating a harmonious symphony instead of a chaotic jam. Embrace the role, and watch your music flourish!